


The Content Designer for marketing emails is a visual drag&drop editor that enables creating email templates that look great on desktop and mobile devices. Working in the Content Designer does not require an in-depth understanding of HTML: Creatio generates the code automatically based on the layout that you design in the visual editor.
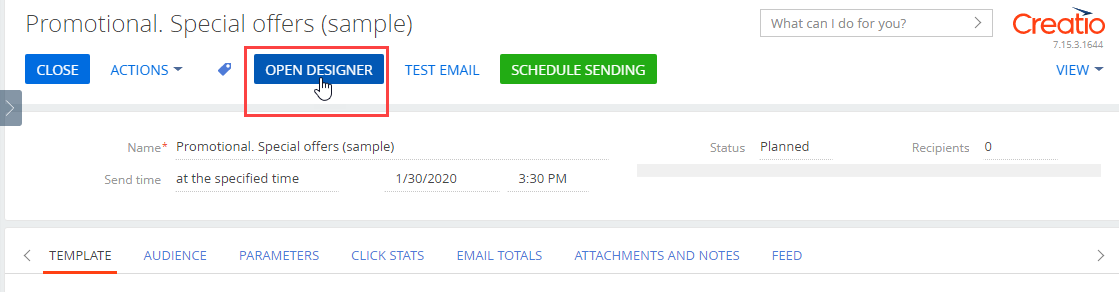
To start working with a template in the Content Designer, click [Open Designer] on the page of an unsent email (Fig. 1).
Fig. 1 The [Open Designer] button on the page of an unsent email
The Content Designer has three tabs for configuring various aspects of your email template:
-
Design – configure the template layout and message body text.
-
Headers – set the email headers and pre-headers.
-
Preview – see how an email based on the template will look in a desktop or mobile mail client, send test emails, and download the template as an HTML file.
The [Design] tab of the marketing Content Designer
The [Design] tab (Fig. 2) is where you work with your template layout, content, and content block settings.
Fig. 2 The [Design] tab of the marketing Content Designer
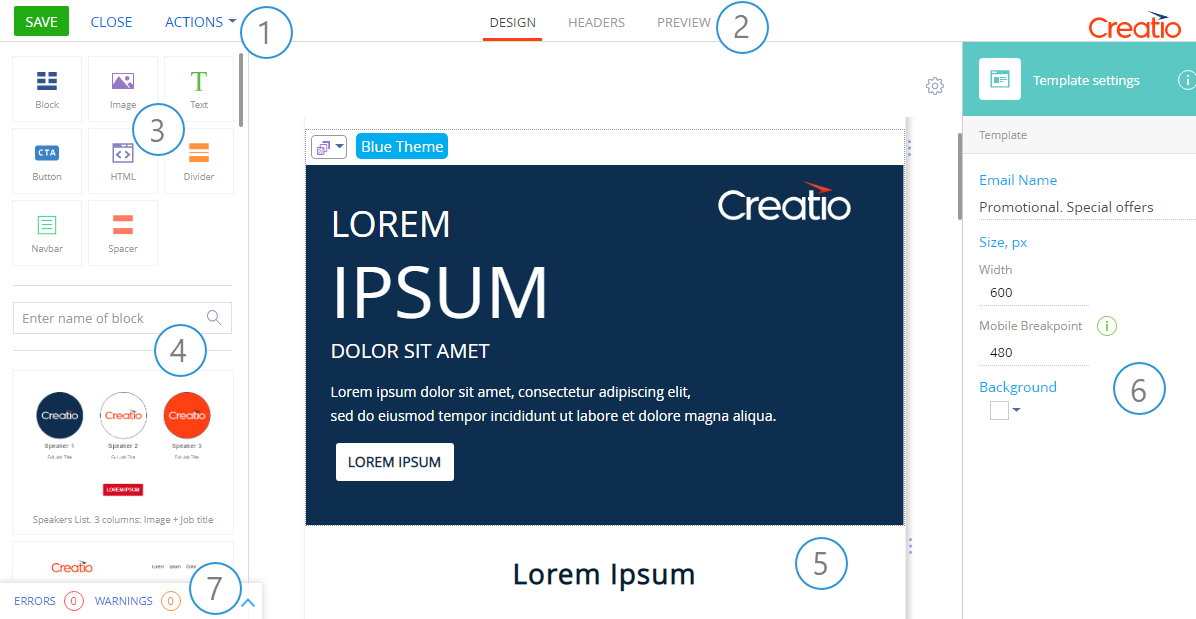
Action panel (1)
Use the action panel to quickly send a test email or select a template from the [Email templates] lookup by clicking a corresponding option under the [Actions] menu (Fig. 3).
Fig. 3 Action menu in the marketing Content Designer

Tab panel (2)
Use the tab panel to go to the [Headers] and [Preview] tabs.
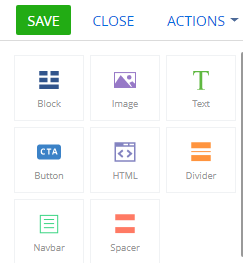
Template element area (3)
The template element area (Fig. 4) includes a list of template elements for constructing the email template layout.
Fig. 4 The template element area
Block library (4)
The block library displays a list of pre-configured content blocks that you can use in your template. Each content block is a combination of several template elements, such as images, text elements, buttons, and separators.
Note
You can also use any content block to apply dynamic content rules so that it displays for specific segments of recipients.
Fig. 5 The block library area
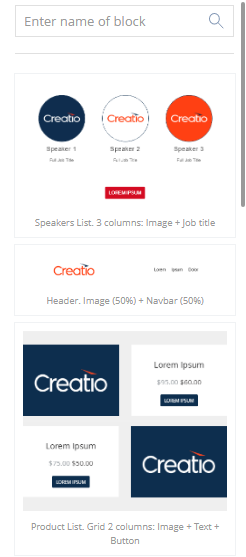
The content blocks are stored in the [Content blocks library] lookup. Learn more about how to work with content blocks in the “Reusable content blocks” article.
Working area (5)
The working area is where you create your marketing email content. To design a template, drag&drop template elements, and content blocks directly to this area.
Setup area (6)
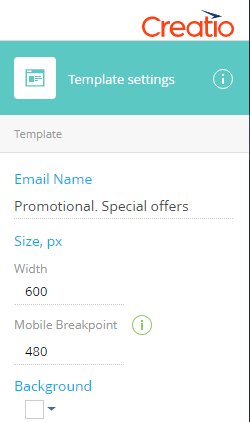
The setup area displays template settings (Fig. 6) or settings of the currently selected element in the working area. Here you can specify properties of the template and its content blocks, e.g., build the structure of block sections, specify the dimensions of section columns and the background color, add images and banners to your block, etc. This area also holds rules for segmenting the audience and the dynamic content. To open the settings of an element, click it in the template working area.
Fig. 6 The template setting area
Issue viewer (7)
The issue viewer notifies about errors and warnings detected in the current email template. The issue viewer displays on every tab of the marketing Content Designer and consists of 2 tabs: [Errors] and [Warnings].
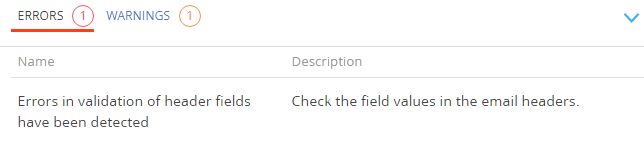
The [Errors] tab (Fig. 7) shows critical errors that inform you that the template is invalid. Creatio will not send an email with errors to your recipients. However, you can save such a template with a “Draft” status. To send this draft, you will first need to fix the errors.
Fig. 7 An error notification in the issue viewer
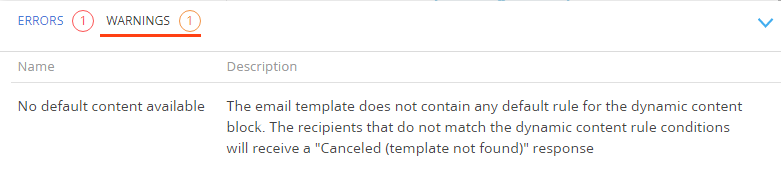
The [Warnings] tab (Fig. 8) shows recommendations on how you can improve your template. You can save an email template that has warnings with a “Planned” status and send it later or send it right away.
Fig. 8 Warning notification in the issue viewer
The list of errors and warnings in the issue viewer updates in two cases:
-
sending a test email,
-
saving the template.
Note
The “Action panel” (1), the “Tab panel” (2), and the “Issue viewer” (7) blocks are available for all tabs of the marketing Content Designer.
The [Headers] tab in the marketing Content Designer
The [Headers] tab (Fig. 9) of the Content Designer enables you to configure email headers (i.e., information about the sender, recipient, the email subject, etc.) for your email template. The functionality of the [Headers] tab is different for static and dynamic content emails:
•If you use dynamic content rules in your email, you can display different header values for different audiences (Fig. 10).
•The [Headers] tab will not display the [Default headers] and [Dynamic headers] panels, if your email does not have any dynamic content (Fig. 11).
Fig. 9 The [Headers] tab of the Content Designer
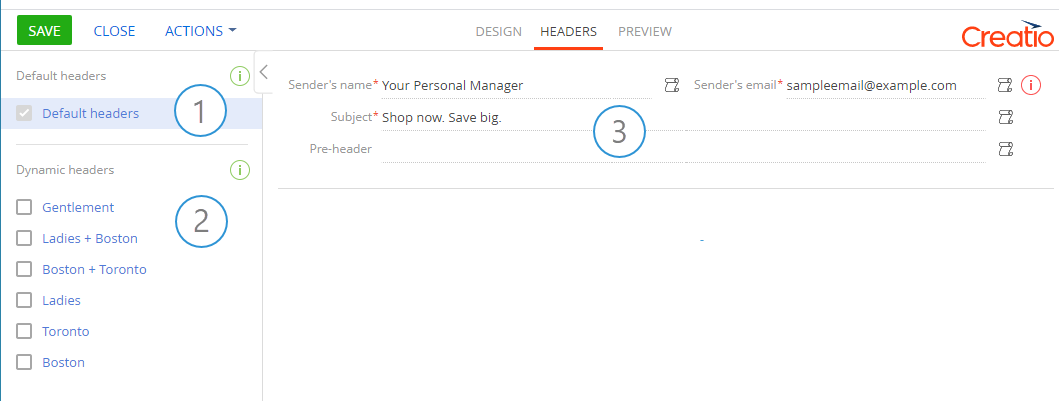
Click [Default headers] (1) (Fig. 9) to view and edit the email headers (i.e., [Sender’s name], [Sender’s email], [Subject] or/and [Pre-header]) that will display to the recipients by default. Read more >>>
The [Dynamic headers] (2) (Fig. 9) panel shows the list of dynamic rules used in your template. You can set separate email headers for different dynamic rules. Select the checkboxes next to the needed dynamic rules on the left panel to edit the headers that should display for this combination of rules instead of the default headers (Fig. 10).
Fig. 10 Specifying separate headers for dynamic rules
Fig. 11 The [Headers] tab of a static email
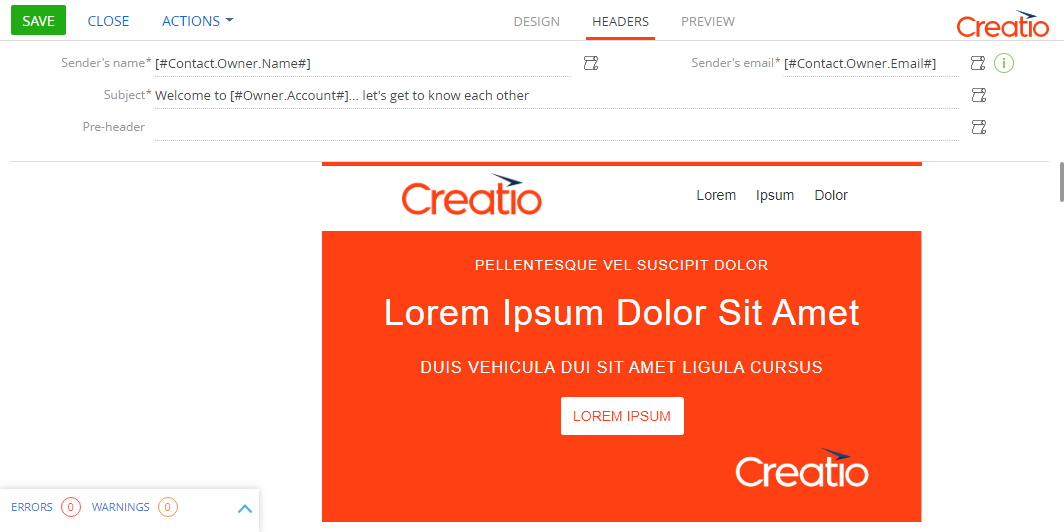
The header setup area (3) (Fig. 9) is where you configure headers for your email.
If your email template has dynamic content, the header setup area will display the headers for the dynamic content business rule(s) that you select (Fig. 10).
The header setup area has the following fields:
| Sender’s name | Displays the sender of your marketing email to the recipients. If your email address is added to a recipient’s address book, their mail client will display the sender’s name from the address book instead. |
| Sender’s email | The email address that will be used for sending your emails. |
| Subject | The email subject is visible to the recipients before they open the email contents. |
| Pre-header | The message preview text that most email clients display even before the email is opened. Usually displays after the email subject. Learn more about working with pre-headers in the “Configure email pre-headers” article. |
Note
You can use macros for the [Sender’s name], [Sender’s email], and [Subject] fields. Learn more about how to work with macros in the “Add macros in an email subject” and “Add macros in sender’s name and sender’s email” articles.
The [Preview] tab in the marketing Content Designer
The [Preview] tab (Fig. 12) enables you to check how your email will look when received by your audience.
Fig. 12 Content Designer, the [Preview] tab view
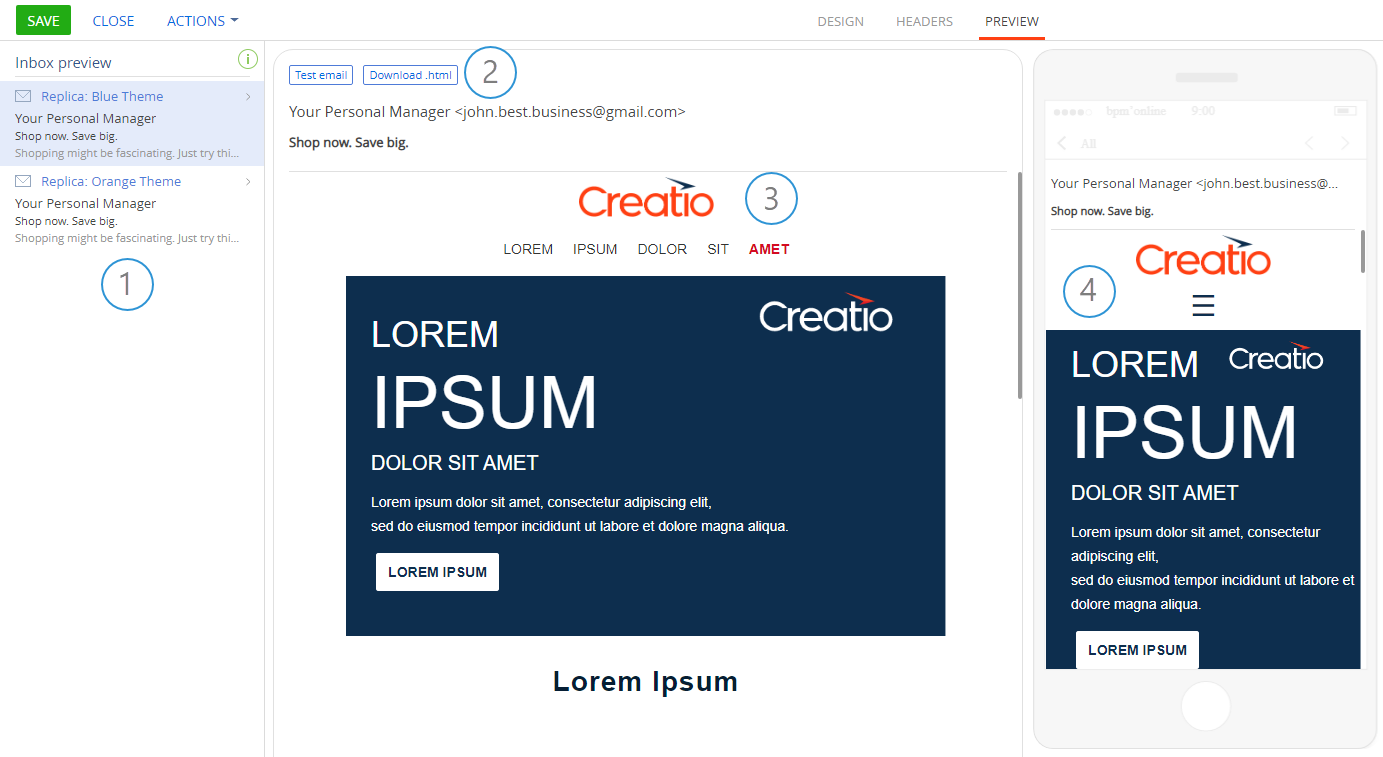
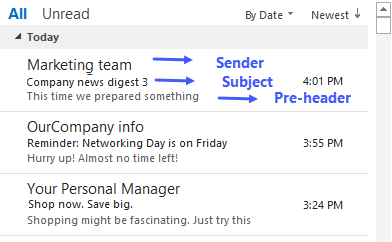
Inbox preview panel (1) lets you see how your email will show in the inbox of an email client using the email headers you have set (Fig. 13).
Fig. 13 Email headers seen in the MS Outlook email client
The inbox preview area displays the list of available replicas for emails with dynamic content and the only [Replica static] option for emails with static content.
Additional actions (2) enable you to perform the following operations right from the [Preview] tab:
-
[Send a test email.] This will send a single email using this template to the email address that you specify. This action enables you to make sure that the email headers, macros, and the email contents display correctly. In the test email, Creatio will use the contact specified in the [Test email recipient] (TestSendingBulkEmailContact) system setting for the macro values. Learn more about sending test emails in the “How to send a test email” article.
-
[Download .html.] Clicking this action will enable downloading the HTML version of the current template. This action helps to check the template size and make sure you do not exceed the allowed limit of 5 Mb per replica or 30 Mb per email with several replicas.
Desktop view (3) displays how the email looks in a desktop mail client. Note that if a desktop display resolution is too low, the “desktop view” and “mobile view” areas may overlap. Click the needed view to see it unobstructed (Fig. 14).
Mobile view (4) displays how the recipients see the email on a mobile device screen.
Fig. 14 The [Preview] tab on a low-resolution screen
See also
•Configuring an email template