Implement an Attachments detail
Add the Photos attachment detail of the Attachments type to the record page of the Photos custom section.
1. Create a custom section
-
Create a custom package and set it as the current package. Learn more in a separate article: Packages basics.
-
Click
 to open the System Designer.
 -
Go to the System setup block → Section wizard.
-
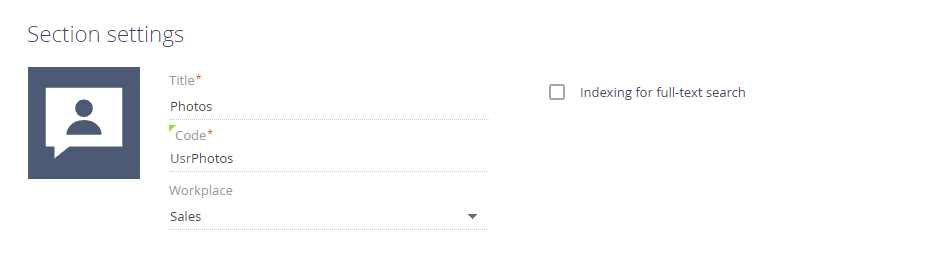
Fill out the section properties:
- Set Title to "Photos."
- Set Code to "UsrPhotos."
- Set Workplace to "Sales."
-
Click Save on the Section Wizard's toolbar.
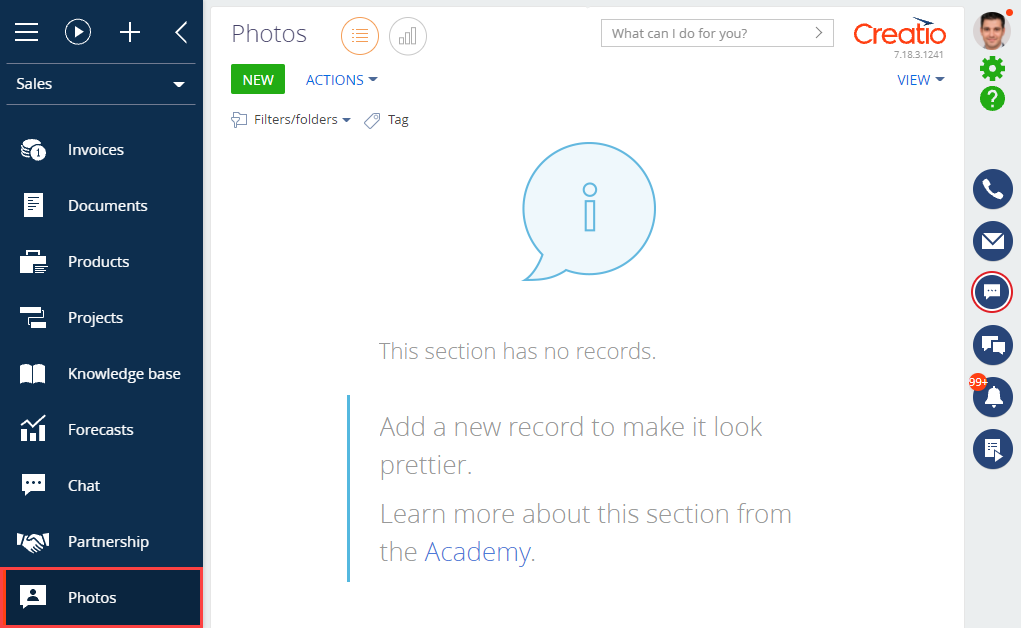
As a result:
-
Creatio will display the Photos custom section in the Sales workplace.
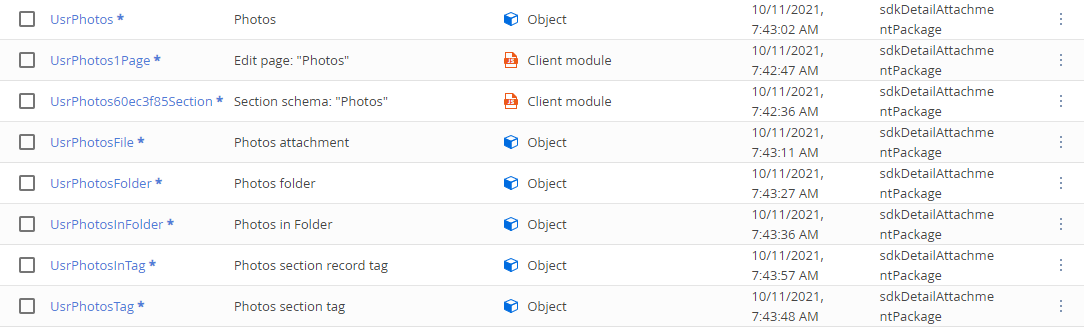
-
Creatio will add the schemas of the Photos section to the configuration.
2. Create a custom detail
-
Click
to open the System Designer. -
Go to the System setup block → Detail wizard.
-
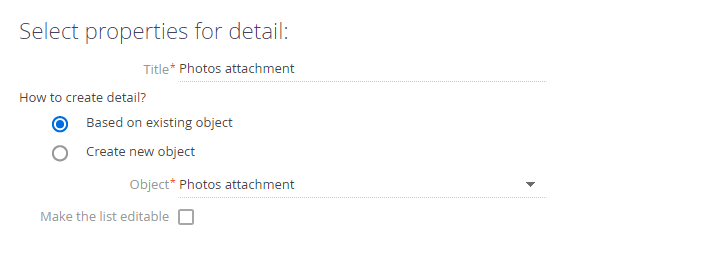
Fill out the detail properties:
- Set Title to "Photos attachment."
- Set How to create detail? to "Based on existing object."
- Set Object to "Photos attachment."
-
Click Save on the Detail Wizard's toolbar.
As a result, Creatio will add the following schemas to the configuration:
- The
UsrSchemae9733d1bDetailschema of the Photos attachments detail's view model. - The
UsrUsrPhotosFiled6a229baPageschema of the Photos attachments detail's record page.
3. Set up the custom detail
-
Go to the Configuration section and select a custom package to set as current.
-
Open the
UsrUsrPhotosFiled6a229baPageschema of the Photos attachments detail's record page. -
Click the
/scr_edit_button.png) button on the properties panel and specify
button on the properties panel and specify FileDetailV2in the Parent object field. TheFileDetailV2schema of theUIv2package implements the Attachments detail. By default, the parent object in the Detail Wizard is the base detail schema that contains the list.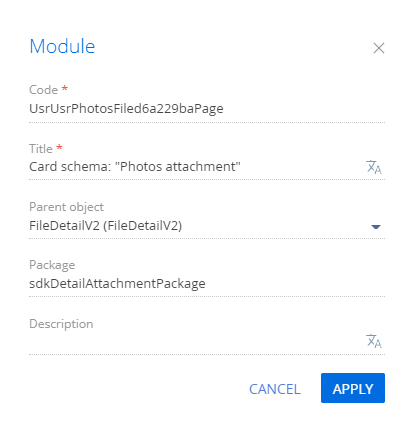
-
Click Apply to apply the properties.
-
Click Save on the Designer's toolbar.
4. Add the detail to the section
-
Go to the Photos section.
-
Click View → Open section wizard on the toolbar.
-
Go to the Section pages block → the Edit page button.
-
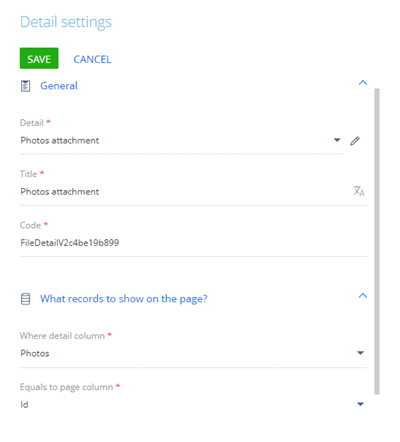
Click New detail in the Section Wizard workspace.
-
Fill out the detail parameters.
- Set Detail to "Photos attachment." Creatio will populate the Title and Code fields.
- Set Title to "Photos attachment."
-
Click Save → Section wizard → Save.
As a result, Creatio will add the Photos attachment detail to the record page of the Photos section.

5. Add custom detail styles
The view model schema of the detail page does not support visual styles. As such, take the following steps to add styles:
- Create a module schema. Define the styles in it.
- Add the style module to the dependencies of the detail module.
1. Create a module schema
-
Go to the Configuration section and select a custom package to set as the current package.
-
Click Add → Module on the section list toolbar.
/scr_add_module.png)
-
Fill out the following schema properties:
- Set Code to "UsrSchemaDetailCSS."
- Set Title to "SchemaDetailCSS."
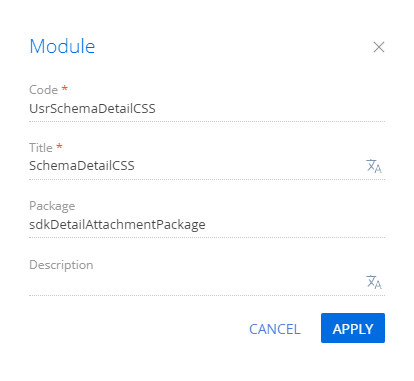
Click Apply to apply the properties.
-
Go to the LESS node of the object structure and set up the needed visual styles of the detail.
Set up the visual styles of the detaildiv[id*="UsrSchemae9733d1bDetail"] {
.grid-status-message-empty {
display: none;
}
.grid-empty > .grid-bottom-spinner-space {
height: 5px;
}
.dropzone {
height: 35px;
width: 100%;
border: 1px dashed #999999;
text-align: center;
line-height: 35px;
}
.dropzone-hover {
border: 1px dashed #4b7fc7;
}
.DragAndDropLabel {
font-size: 1.8em;
color: rgb(110, 110, 112);
}
}
div[data-item-marker*="added-detail"] {
div[data-item-marker*="tiled"], div[data-item-marker*="listed"] {
.entity-image-class {
width: 165px;
}
.entity-image-container-class {
float: right;
width: 128px;
height: 128px;
text-align: center;
line-height: 128px;
}
.entity-image-view-class {
max-width: 128px;
max-height: 128px;
vertical-align: middle;
}
.images-list-class {
min-height: 0.5em;
}
.images-list-class > .selectable {
margin-right: 10px;
display: inline-block;
}
.entity-label {
display: block;
max-width: 128px;
margin-bottom: 10px;
text-align: center;
}
.entity-link-container-class > a {
font-size: 1.4em;
line-height: 1.5em;
display: block;
max-width: 128px;
margin-bottom: 10px;
color: #444;
text-decoration: none;
text-overflow: ellipsis;
overflow: hidden;
white-space: nowrap;
}
.entity-link-container-class > a:hover {
color: #0e84cf;
}
.entity-link-container-class {
float: right;
width: 128px;
text-align: center;
}
.select-entity-container-class {
float: left;
width: 2em;
}
.listed-mode-button {
border-top-right-radius: 1px;
border-bottom-right-radius: 1px;
}
.tiled-mode-button {
border-top-left-radius: 1px;
border-bottom-left-radius: 1px;
}
.tiled-mode-button, .listed-mode-button {
padding-left: 0.308em;
padding-right: 0.462em;
}
}
.button-pressed {
background: #fff;
.t-btn-image {
background-position: 0 16px !important;
}
}
div[data-item-marker*="tiled"] {
.tiled-mode-button {
.button-pressed;
}
}
div[data-item-marker*="listed"] {
.listed-mode-button {
.button-pressed;
}
}
} -
Click Save on the Designer's toolbar.
2. Modify the view model schema of a detail
To use the module and its styles in the detail schema:
-
Open the
UsrSchemae9733d1bDetailschema of the Photos attachment detail's view model. -
Add the
UsrSchemaDetailCSSmodule to the dependencies of theUsrSchemae9733d1bDetailschema.View the source code of the modified schema below.
UsrSchemae9733d1bDetaildefine("UsrSchemae9733d1bDetail", ["css!UsrSchemaDetailCSS"], function() {
return {
entitySchemaName: "UsrPhotosFile",
details: /**SCHEMA_DETAILS*/{}/**SCHEMA_DETAILS*/,
methods: {},
diff: /**SCHEMA_DIFF*/[]/**SCHEMA_DIFF*/
};
}); -
Click Save on the Designer's toolbar.
Outcome of the example
As a result, Creatio will add the Photos attachment detail to the record page of the Photos custom section.
