


Setting up templates for MS Word printables
You can customize the visual appearance of a printable by editing the standard MS Word template.
Click the [Download template] button in the [Printables] lookup window or the [Download template] button in the printable card in order to download the printable template.
The Creatio printable builder plug-in for MS Word must be installed in order to work with the printable templates. To upload the customized file to the system, click the [Upload template] button in the [Printables] lookup window or in the printable card.
Note
You can use macros to set up printables. More information about the base macros can be found in the separate article. More information about custom macros and adding them to the printables can be found in the Developing Guide.
Saving the MS Word printable template
1.Open the system designer and click the [Lookups] link in the [System setup] navigation block.
2.Open the [Printables] lookup.
3.Select a printable from the list and click the [Download template file] button (Fig. 1).
Fig. 1 Downloading the MS Word printable template
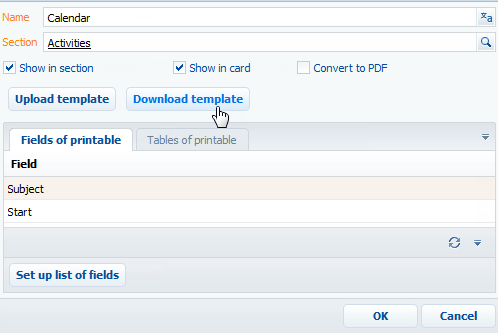
As a result, a MS Word template of the printable will be downloaded.
Editing the MS Word printable template
1.Open the downloaded template file in MS Word.
2.Click the [Connect] button on the Creatio plug-in toolbar (Fig. 2).
3.Log in to the system with your Creatio credentials.
Fig. 2 Connecting the MS Word printable plug-in to Creatio
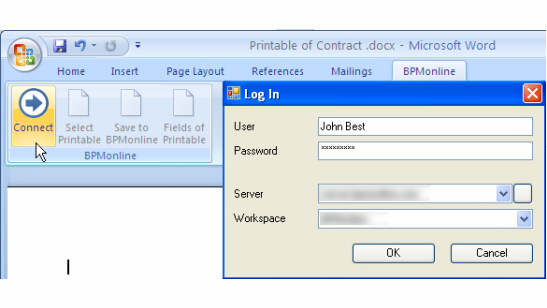
As a result, a list of columns for the selected printable will be displayed in the right part of the MS Word window.
Adding fields to the template
Prior to adding fields to a template, you should create a list of fields of the printable in the printable card. You can add fields to a printable after its registration.
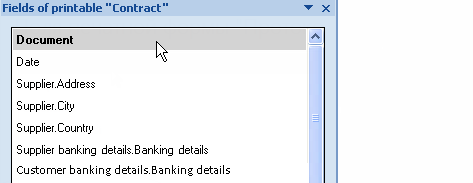
In the template, the printable fields are represented as the MS Word fields. When the printable is generated, the field will contain data from the corresponding system record. The list of available fields is displayed in the [Fields of printable...] window (Fig. 3).
Quick adding of all fields to a template
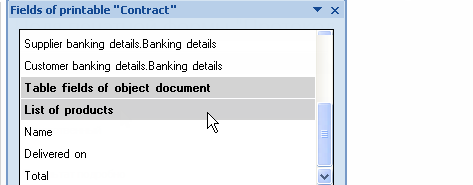
To add all fields to a template, drag a group of fields to the template page (Fig. 3).
Fig. 3 Adding a field group to a template
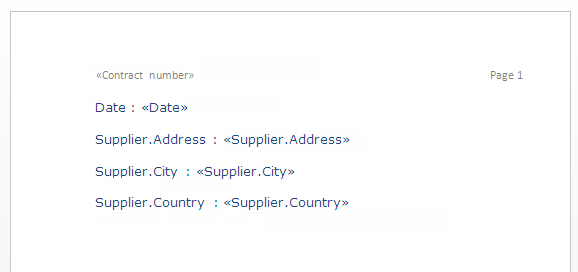
As a result, all fields and names of the corresponding Creatio columns will be added to the template in the following format: “Column name: Field” (Fig. 4).
Fig. 4 A printable template with a field group added
You can use standard MS Word tools to customize the added fields.
Adding individual fields to a template:
1.To add data to the template, drag the corresponding field on the page (Fig. 5).
Fig. 5 Adding one field to the printable template
2.As a result, a field will be added on the page. When the printable is generated, the field will contain data from the corresponding system record in Creatio.
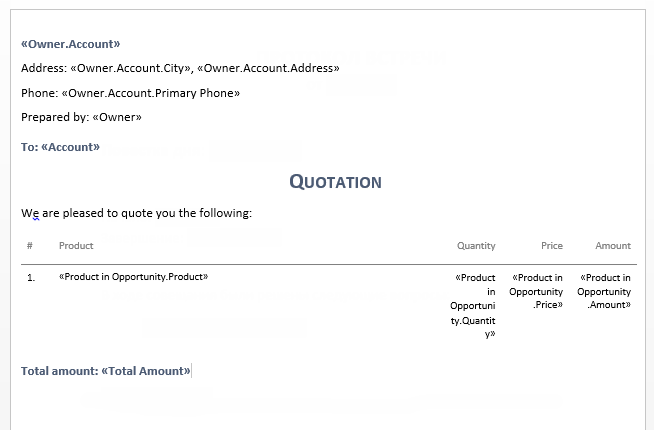
3.Add all other necessary fields as well as the text in the printable (Fig. 6).
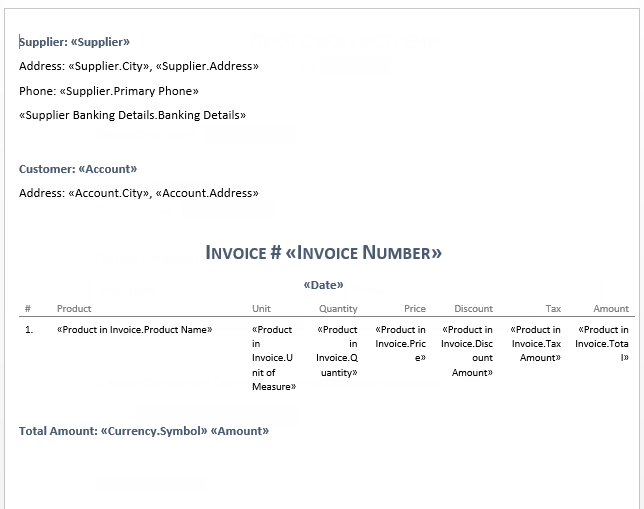
Fig. 6 A printable with the added fields and static text
4.Save the printable template.
Adding table data to a template
Prior to adding tables to a template, add the table data on the [Tables of printable] tab of the printable card.
Quick adding of a table to a template
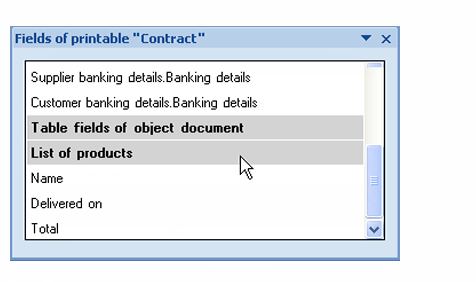
To add all table columns to a template, drag a group of table fields to the template page (Fig. 7).
Fig. 7 Adding all table columns to the template
As a result, the template will contain the table with all columns from the selected group. Titles of table columns will correspond to the titles of columns in Creatio.
Fig. 8 A printable template with the built-in table
You can use standard MS Word tools to customize the added table. The text in titles of the table columns can be edited. Fields placed in table cells determine the data that will be displayed in the column.
Add individual columns:
1.Add a simple table with the required number of columns on the template page. Each column must comprise a title and one row (Fig. 9).
Fig. 9 Adding a table to the template manually

2.Enter the text of the column titles (Fig. 10).
Fig. 10 A table with static titles of columns

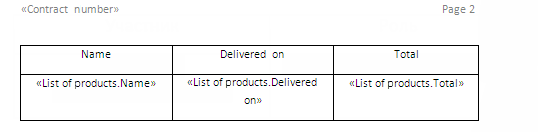
3.Drag a column title to an empty cell of the table which should display the data from this column (Fig. 11).
Fig. 11 A table with fields added

4.Set up the template visual appearance by placing the table in the right part of the file (Fig. 12).
Fig. 12 Setting up template visual appearance
5.Save the printable template.
In the generated printable, fields of the table will contain data from Creatio. Number of rows in the table will correspond to the quantity of records.
Uploading an updated template to Creatio
1.Open the system designer and click the [Lookups] link in the [System setup] navigation block.
2.Open the [Printables] lookup.
3.Double-click the printable whose template you want to upload.
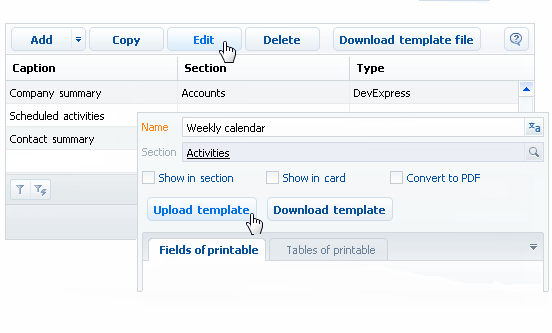
4.In the opened printable card, click the [Upload template] button (Fig. 13).
Fig. 13 Downloading the MS Word printable template
5.Select the previously saved template.
6.Save the printable card.
As a result, a new template will be used the next time a printable is generated.
See also