


Setting up Just-In-Time User Provisioning
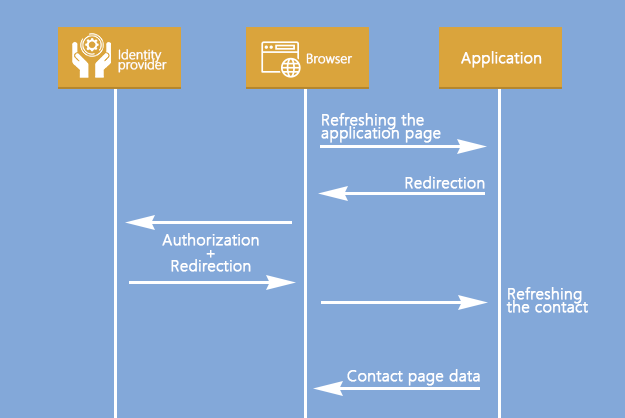
Use Just-In-Time User Provisioning (JIT UP) function to avoid creating accounts for each separate service and to keep user database up-to-date. JIT UP extends the Single Sign-On (SSO) technology and helps to reduce the number of operations for administrating accounts and personal data in contact records. Each time a user logs on using SSO, the data on the contact page are updated with the data obtained from the identity provider (Fig. 1). If a user has no account in Creatio, it can be created when the user logs in for the first time.
Fig. 1 Updating data via Just-in-Time User Provisioning
Note
Updating a contact with data from an identity provider includes updating the data on the record page and contact’s connections to user groups.
To specify contact fields that should be populated with data from the identity provider, configure the mapping of the SAML Assertion fields with Creatio columns. This is done in the SAML Assertion of the identity provider and in the [SAML field name converters to contact field name] lookup.
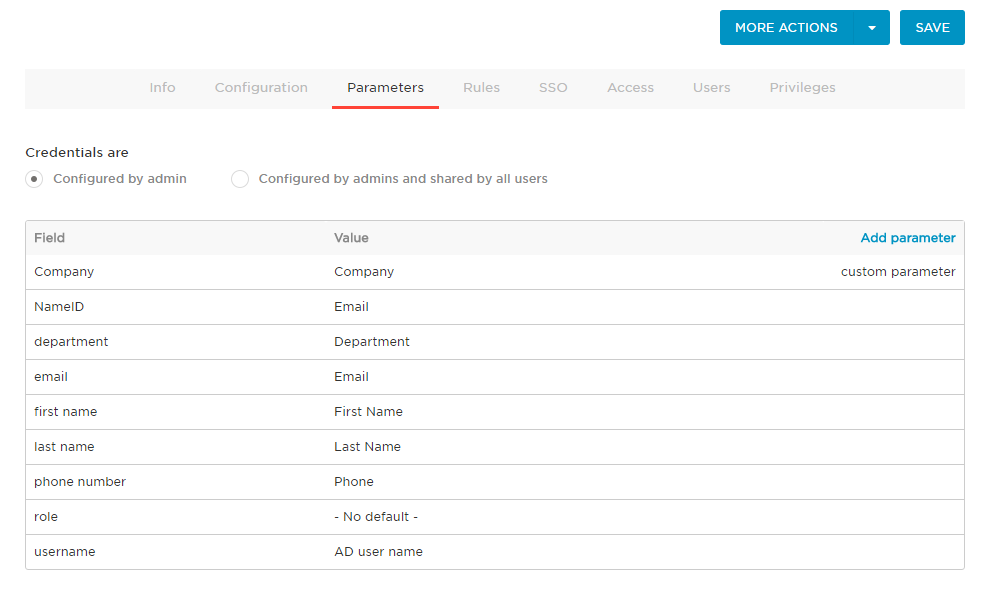
To set up mapping, you will need a configured account in the identity provider (Fig. 2) with the data required for Creatio.
Fig. 2 Account fields in the OneLogin identity provider
To set up field population parameters:
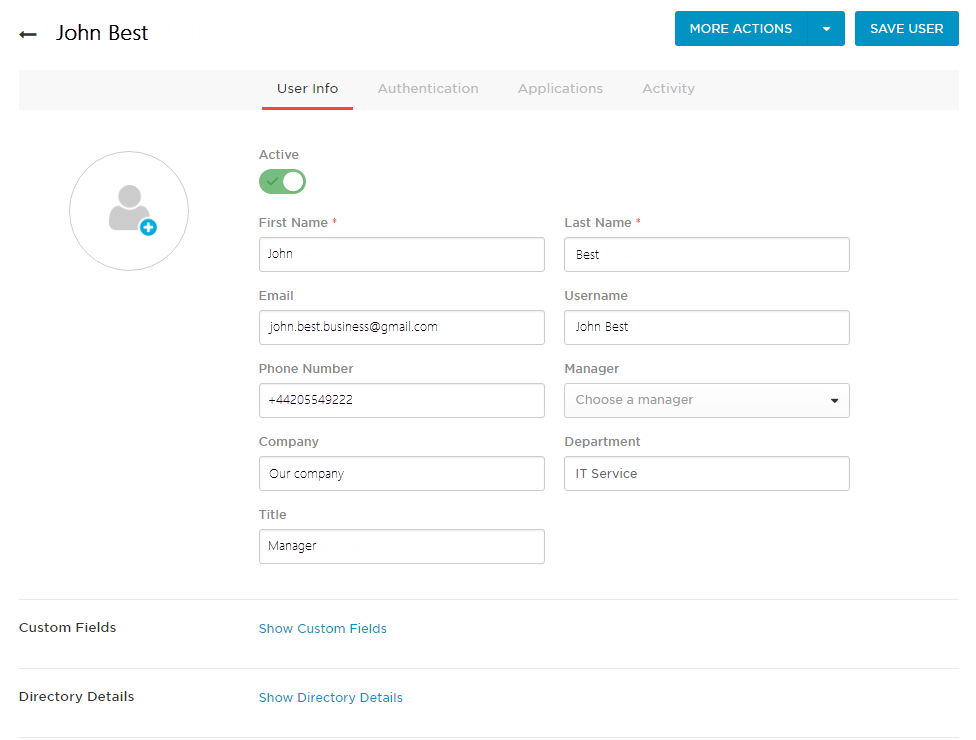
1.Ensure that all required field values are transferred to Creatio. For example, to fill the profile of John Best with data from the [Company], [Department], [Email], [First Name], [Last Name] and [Phone] fields (Fig. 3).
Fig. 3 Application parameters in the OneLogin identity provider
Note
To verify the parameters, use the SAML Decoder extension in the Google Chrome browser.
2.Verify that correct rules to receive values and update the columns for each required field are specified on the Creatio side. Rules are configured in the [SAML field name converters to contact field name] lookup. Specify a column in the Creatio for each field received from the identity provider. For example, to fill the [Department], [Account], [Phone], [Email], [Given name] and [Surname] columns in Creatio, specify them next to the corresponding SAML attributes (Fig. 4).
Note
Specify column names in the Creatio database as contact columns.
Fig. 4 Configuration of the [SAML field name converters to contact field name] lookup
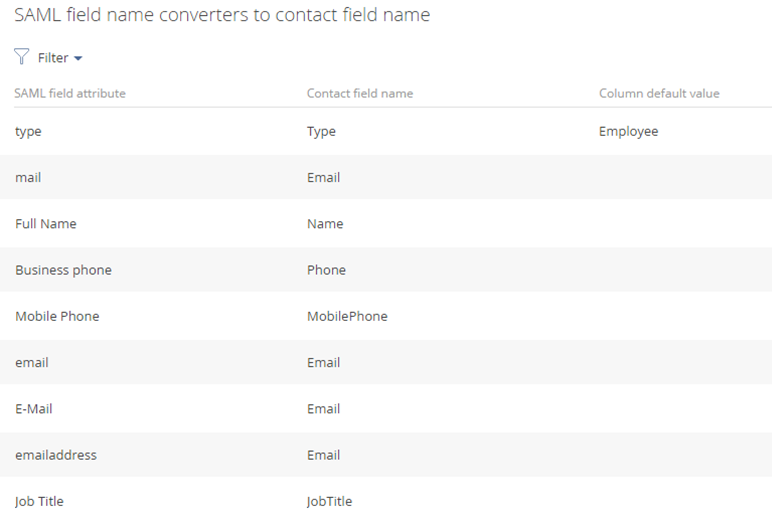
3.A field that is missing in the identity provider data can be populated with the value specified in the [Column default value] field of the [SAML field name converters to contact field name] lookup. For example, the OneLogin identity provider does not contain the [Type] field and does not pass it when the user logs on. To populate this field in Creatio, create a rule in the lookup and specify the “Employee” value as default (Fig. 4). In this case, all created contacts will have the “Employee” value in the [Type] field.
4.You can add custom parameters to the OneLogin identity provider and specify macros for them. Working with macros is covered in a separate article.
See also
•Setting up Single Sign-On via ADFS
•Setting up Single Sign-On via OneLogin