


Installing an SVN package in the file system development mode
Glossary Item Box

Introduction
Package installation from the SVN repository in the file system development mode is considerably different from package setup in the [Configuration] section (see “ Installing packages from repository”). The main difference is that the interaction with the SVN repository (installing, committing, updating packages) is performed only from the file system.
The procedure for installing an SVN package in the file system development mode is as follows:
1. Install the package in the file system.
2. Install the package in the application.
3. Generate source codes.
4. Compile the changes.
5. Update the database structure.
6. Install SQL scripts and bound data, if necessary.
To apply all necessary changes automatically, after the package is installed, enable the automatic mechanisms that apply changes. To do this, edit the ..\Terrasoft.WebApp\Web.config file and set the following appSettings element keys to true:
<add key="AutoUpdateOnCommit" value="true" />
<add key="AutoUpdateDBStructure" value="true" />
<add key="AutoInstallSqlScript" value="true" />
<add key="AutoInstallPackageData" value="true" />
The AutoUpdateOnCommit key is responsible for automatic updating of packages from the SVN before committing. If this key is set to false, then the application will notify the user that an update is required if the package schemas have been modified. The AutoUpdateDBStructure, AutoInstallSqlScript, AutoInstallPackageData keys are responsible for automatic database structure update, SQL script installation and installation of bound data respectively.
If the mechanism for auto-applying the changes is enabled, then steps 3—6 can be skipped. The mode must be enabled before the package is installed.
If you need to interact with the SVN repository both from the [Configuration] section and the file system, then:
1. Install the package from the repository in the [Configuration] section (see “ Installing packages from repository”).
2. Export the package to the file system using the [Download packages to file system] action.
Repeat steps 3—6 from the package installation sequence.
Case description
In the file system development mode, install the package from the SVN repository under the following URL:
http://svn-server:8050/SDKPackages/sdkCreateDetailWithEditableGrid/branches/7.8.0
The package in this particular example contains a detail with editable list, which was created according to this article: “Adding a detail with an editable list”.
Case implementation algorithm
1. Installing the package in the file system
Open the application catalog ...\Terrasoft.WebApp\Terrasoft.Configuration\Pkg in Windows Explorer and execute [SCN Checkout] (Fig. 1).
Fig. 1. Running the [SVN Checkout] action
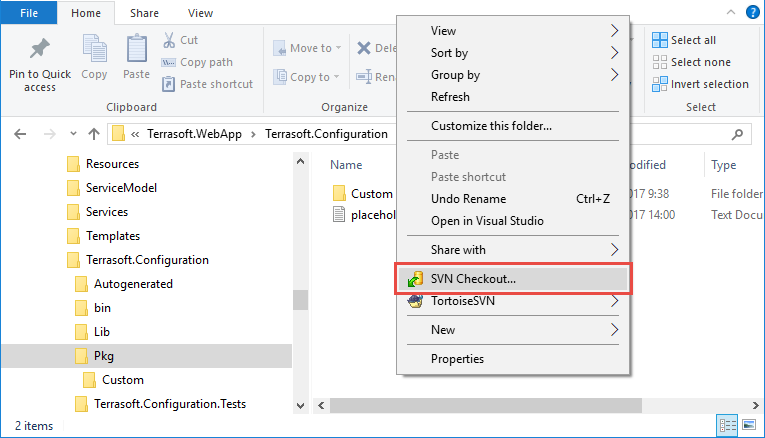
We recommend using the TortoiseSVN client (v.1.8 and up) for working with Subversion. This client is a Windows shell extension and is built into the Explorer context menu. For more information see TortoiseSVN documentation.
In the checkout window (Fig. 2), specify the package repository address (1) and the export catalog for the package contents (2).
Fig. 2. TortoiseSVN Checkout window
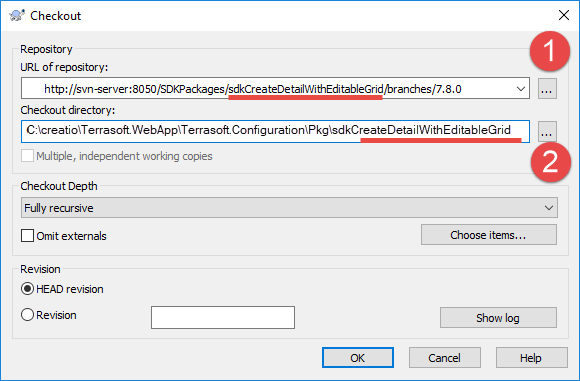
The checkout catalog name must be the same as the package name (Fig. 2).
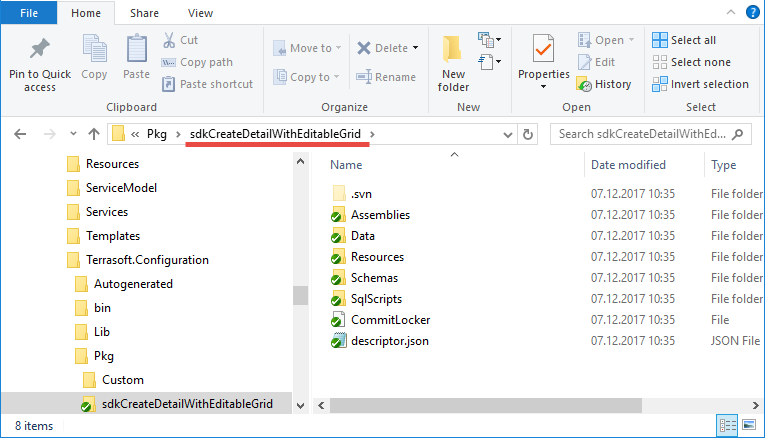
After the checkout is complete (Fig. 3), the ..\Terrasoft.WebApp\Terrasoft.Configuration\Pkg catalog will contain a local working copy of the package (Fig. 4).
Fig. 3. Checkout operation log
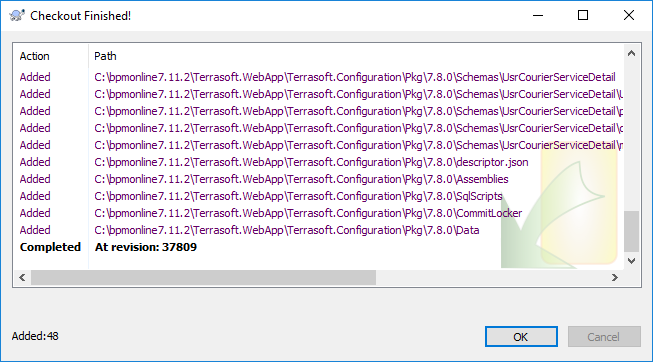
Fig. 4. Package working copy
2. Installing the package in the application
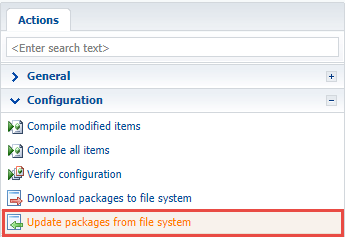
To install a package from the file system, go to the [Configuration] section and execute the [Update packages from file system] action (Fig. 5).
Fig. 5. The [Update packages from file system] action
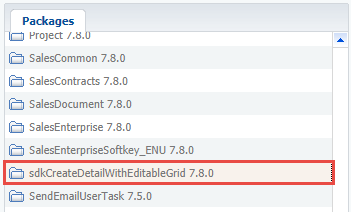
As a result, the package will be added to the application (Fig. 6, Fig. 7).
Fig. 6. Message with the package importing status
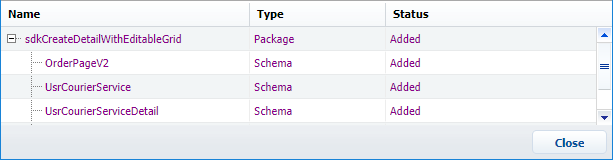
Fig. 7. The package on the [Packages] tab
If the repository name is missing from the package name, then all changes can be committed to the repository from the file system only.
3. Generating source codes
Execute the [Generate where it is needed] action in the [Configuration] section to generate source core. For more on source code actions, see “Built-in IDE. The [Configuration] section”.
4. Compiling the changes
To compile the changes, execute the [Compile modified items] action. For more on configuration actions, see “Built-in IDE. The [Configuration] section”.
The requirement for updating the database structure and installing SQL scripts is indicated by the [Database update required] and [Needs to be installed in the database] columns. Please refer to the [Last error message text] column in case of errors during the database structure update and SQL script installation.
Not all these columns display in the list of the [Schemas], [SQL scripts] and [Data] tabs of the [Configuration] section by default. Right-click the list and select the [Set up columns] command to add these columns to view.
5. Updating the database structure
After the compilation is complete, run the [Update where it is needed] action. For more on database structure actions, see “Built-in IDE. The [Configuration] section”.
6. Installing SQL scripts and bound data
If the package contains bound SQL scripts and data, you will need to run additional actions. For more on the
SQL script and data actions, see “Built-in IDE. The [Configuration] section”.
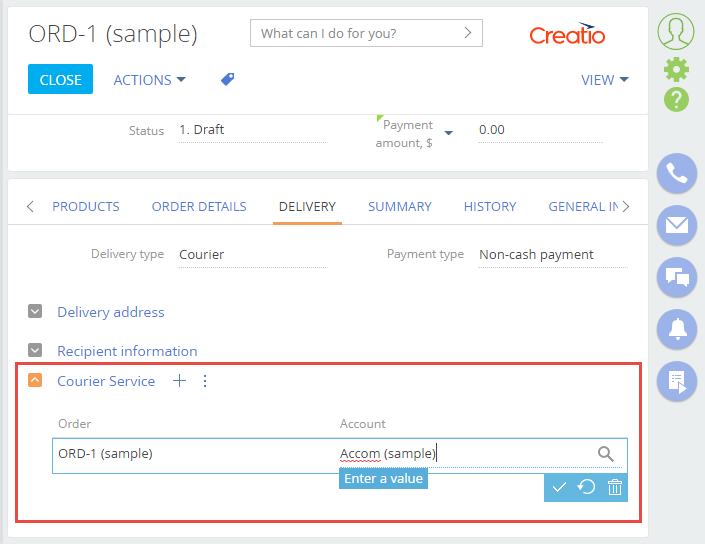
After all the setup actions have been completed, the package functions will become available. In this case, it is a custom detail with editable list (Fig. 8).
Fig. 8. Custom detail with editable list
Users may need to update the page and clear browser cache to access the new functions.
See also
- Working with SVN in the file system
- Creating a package in the file system development mode
- Binding an existing package to SVN
- Updating and committing changes to the SVN from the file system
- Creation of the package and switching to the file system development mode