Case Designer elements reference
Case elements are steps that constitute a case stage. Each element is some form of action in bpm’online, very similar to actions in a BPMS business process.
Some elements require some form of user activity, while others are executed by the system. Select the element on the case diagram to display its properties in the setup area. You can configure each element in either the “primary” or “advanced” mode. By default, the setup area opens in the primary mode and features all user settings. Click the  button to view advanced properties. In this mode, the setup area will contain the list of all parameters of the task element.
How to add an element to a case
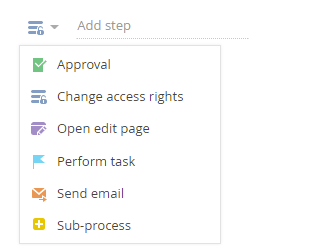
To add an element to a stage, click the  icon below the corresponding stage in the designer working area. Select the type of the case element in the drop-down list (Fig. 1).
Fig. 1 Selecting an element in the menu

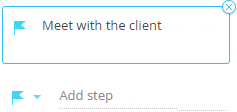
Enter the name of a new case element and press Enter. The new element will appear in the working area. The setup area for the newly added element will display. The [Add step] field will be displayed below the last element of the stage (Fig. 2).
Fig. 2 New element on the case diagram

How to move elements in the Case Designer
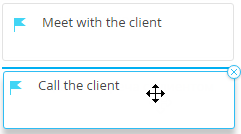
You can rearrange case stages and elements at any time. To move an element, drag & drop it to the new location (Fig. 3). You can drag & drop case elements within a stage or between stages.
Fig. 3 Moving a [Perform task] case element

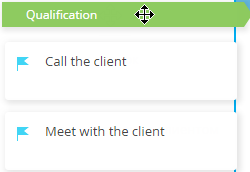
You can also drag & drop case stages to change their order. All stage steps will be moved along with their stage (Fig. 4).

Note
Grouped stages are moved simultaneously if any of the stages in the group is moved.
How to delete a case element
You can always delete unnecessary case stages and steps. To delete an element, select it and click the  button or press the “Delete” key on the keyboard.
Note
If a case stage is deleted, all its steps will be deleted as well.
Contents
•[Open edit page] case element


