


To enable a new user to log in to the portal, you will need to send them an email invitation. The invitations are sent to the email specified on the contact page of the portal user. You can customize the invitation by modifying the corresponding email template.
You can send invitations in the following cases:
-
When creating portal users.
-
At any moment after the portal users have been created.
Note
Portal users who are administrators of portal organizations can also send invitations. More information is available in the “Portal administrators” article.
Attention
Sending invitations requires mailbox integration. Learn more in the “Working with emails” article.
1.Set up a mailbox for sending portal user invitations and password recovery emails. Specify the mailbox address in the “SSP registration mail box” (“SSPRegistrationMailbox”) system setting. More information is available in the “User self-registration on the portal” article.
2.If necessary, set up preferred languages for the portal user contacts and localized templates. By default, the users will receive notifications in English. If the [Culture] field on the user page contains language other than English, and notification templates are available in that language, the user will receive localized notifications. Read more in the “User profile article.
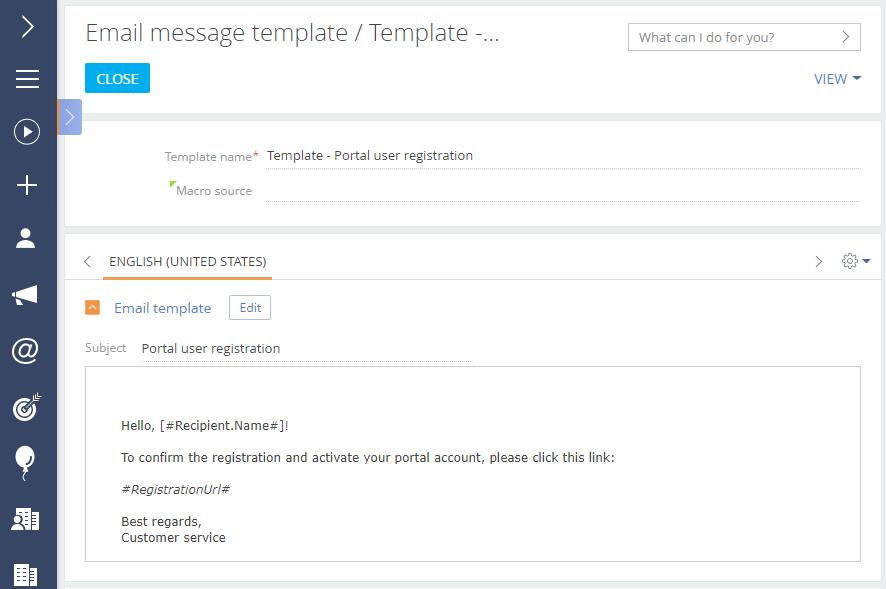
3.Customize the email text. To do this, edit the invitation email template: open  —> [Lookups] —> [Email templates] —> [Open content] —> “Template - Portal user registration” (Fig. 1). Edit this template to customize the email text and layout, add localized versions.
Fig. 1 Email template for notification about portal user registration
Send portal invitations
The following options are available for sending invitations:
-
Send the invitation right after adding a new portal user by clicking [Send invitation]. Learn more in the “Add portal users” article.
-
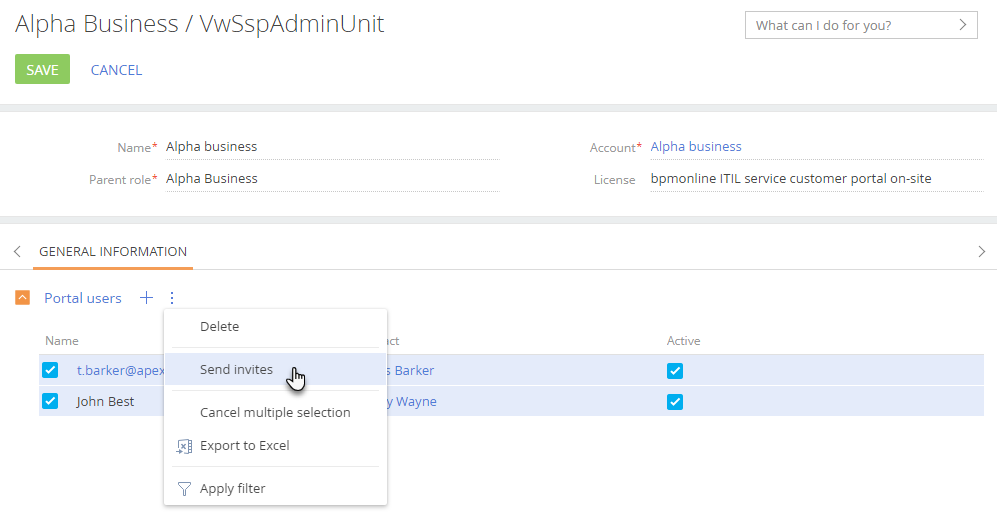
Send an invitation to specific users at any time. To do this:
•Select the needed users in the list of the [Portal users] detail.
•Click  —> [Send invites] (Fig. 2).
A portal administrator can send an invitation in a similar way. More information is available in the “Portal administrators” article.
Note
If a user clicks the portal link in the invitation email and does not specify any password, the password will be generated automatically. The link in the invitation email works only once. A portal administrator should send another portal invite to any users who do not specify their password on the first login.
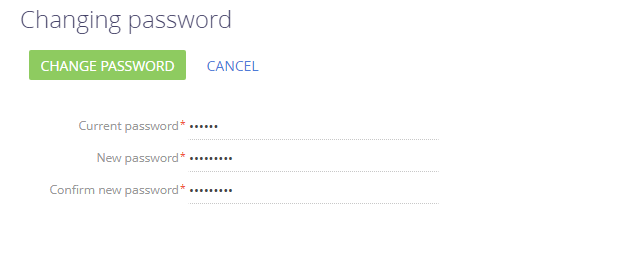
After clicking the link in the portal invitation email, the user is redirected to the page where they need to create their password (Fig. 3).
Fig. 3 Creating a password on the first login
Note
You can add a password recovery link on the portal login page. Learn more in the “Password recovery setup” article.
See Also