


Working with Git
Glossary Item Box

Introduction
The main distinction of Git compared to any other version control system (including Subversion) is the approach to working with data. Most version control systems store data as a series of file changes. CVS, Subversion, Perforce, Bazaar and other version control systems store data as a set of files and individual file changes over time (i.e., utilize “delta-based” version control).
Git approach, on the other hand, is based on taking a series of file snapshots Each time you commit your changes, Git creates a snapshot of each file and keeps a link to that snapshot. To boost efficiency, Git does not take snapshots of unmodified files. Rather, it creates a link pointing to an existing snapshot. Git represents data as a stream of snapshots.
Your files can have one of three statuses in Git: “committed,” “modified” or “staged.” A committed file is saved in your local repository. Modified files are different from the original files, but they are not yet committed. Staged files are modified files that are marked to be included in the next commit.
You can find out more about installing and working with Git in the official documentation on the Git website.
You can also use any suitable GUI to work with Git, such as Sourcetree, which can be seen on the screenshots in this article.
Working with Git in Creatio
Integrated Creatio tools are only designed to work with the Subversion version control system. However, the version control integration mechanism is disabled when the development mode is on. In this mode, you can use any version control system, including Git.
The general procedure for working with Git
Step 1. Enable the file system development mode
To enable the file system development mode, edit the Web.config file in the application root folder and set the enabled attribute of the fileDesignMode element to true.
Currently, the file system development mode is not compatible with retrieving client content from pre-generated files. To ensure the correct operation of the file system development mode, you need to disable retrieving client static content from the file system. To disable this function, set the UseStaticFileContent flag in the Web.config file to false.
<fileDesignMode enabled="true" />
...
<add key="UseStaticFileContent" value="false" />
Step 2. Create a package without binding it to the repository
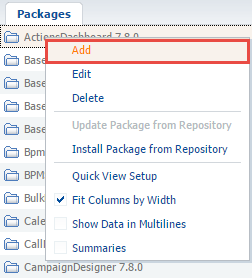
Go the [Packages] tab in the [Configuration] section and run the [Add] command in the context menu (fig. 1).
Fig. 1. – The [Add] package command
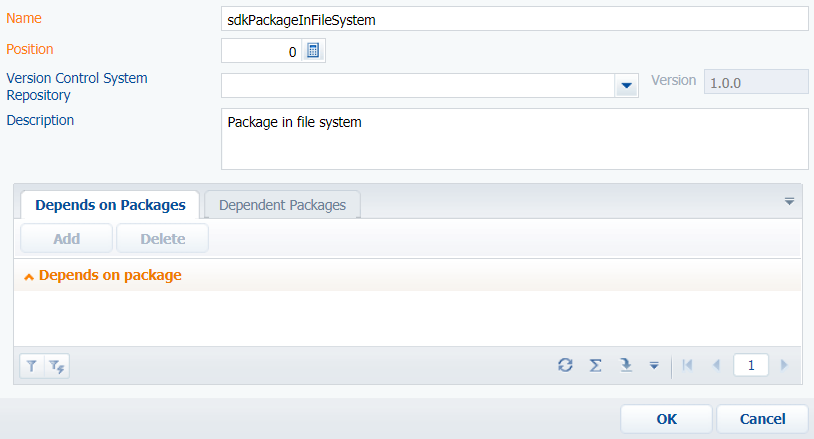
In the package summary (fig. 2), populate the primary fields of the package properties (see the “Creating a package for development” article) without specifying the name of the repository to bind the package.
Fig. 2. – Package summary
Step 3. Create the required package schemas.
Creating client and server schemas is described in the “Creating a custom client module schema” and “Creating the [Source code] schema” articles.
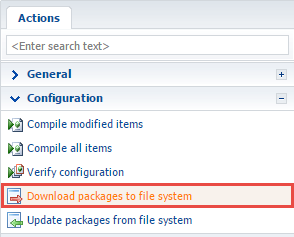
Step 4. Export the package to the file system.
Run the [Download packages to file system] command (Fig. 3).
Fig. 3. – The [Download packages to file system] command
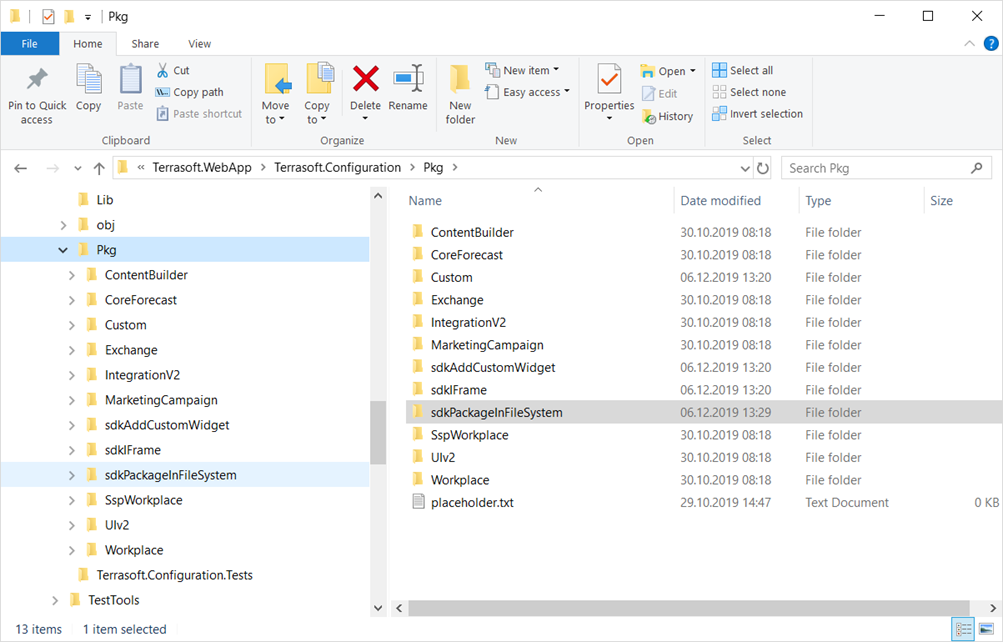
As a result, the package will be exported to the following directory: [Path to the installed application]\Terrasoft.WebApp\Terrasoft.Configuration\Pkg\sdkPackageInFileSystem (Fig. 4).
Fig. 4. The package in the file system
Step 5. Add the required source code
You can use any suitable IDE for working with the source code. You can find more information about working with the source code in the Microsoft Visual Studio IDE in the “Working with the client code” and “Working with the server side source code” articles.
Step 6. Commit the changes to the version control system
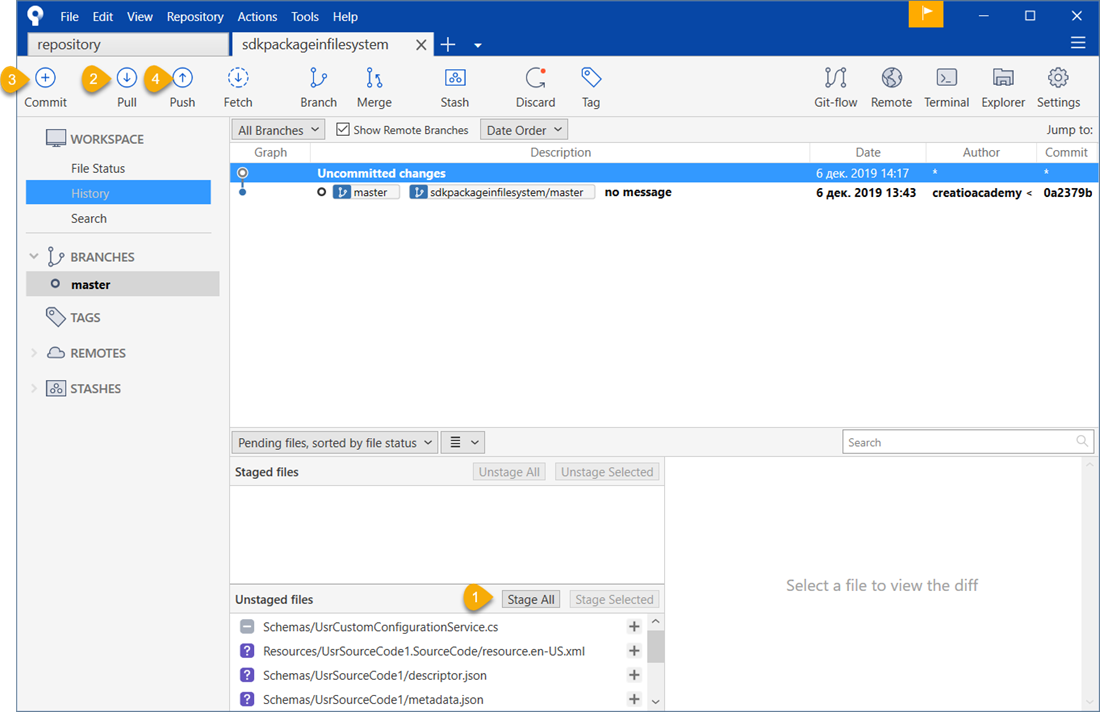
The general procedure for committing your changes (fig. 5):
- Stage all files due for a commit ([Stage All]).
- Pull the changes made by the other team members from the global repository ([Pull]).
- Commit the changes to the local repository ([Commit]).
- Push the committed changes to the global repository ([Push]).
Fig. 5. – Committing your changes in the Git repository
Step 7. Install an updated package in the application
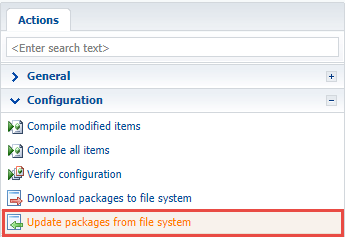
To install a package from the file system, go to the [Configuration] section and run the [Update packages from file system] command (Fig. 6).
Fig. 6. The [Update packages from file system] command
Step 8. Generate source codes
Run the [Generate where it is needed] command in the [Configuration] section to generate source code. For more information on the [Source Code] group, see “Built-in IDE. The [Configuration] section.”
Step 9. Compiling the changes
To compile the changes, run the [Compile modified items] command. For more on configuration commands, see “Built-in IDE. The [Configuration] section.”
Creatio informs you about the need to update the database structure and/or install SQL scripts via the [Database update required] and [Needs to be installed in the database] columns in the list of the [Schemas], [SQL scripts] and [Data] tabs of the [Configuration] section. Please refer to the [Last error message text] column in case of errors during the database structure update and SQL script installation.
Note that the [Database update required] and [Needs to be installed in the database] columns may not display by default. Right-click the list and select the [Set up columns] command to add these columns to view.
Step 10. Updating the database structure
After the compilation is complete, run the [Update where it is needed] command. For more on database structure commands, see “Built-in IDE. The [Configuration] section.”
Step 11. Installing SQL scripts and bound data
If the package contains bound SQL scripts and data, you will need to run additional commands. For more on the SQL script and data commands, see “Built-in IDE. The [Configuration] section.”
As a result, the package functions will become available in your Creatio configuration.