


The "Report setup" section
Glossary Item Box

Introduction
The “Report setup” section enables users to create reports using the Creatio tools and configure such reports using the FastReport Designer.
ATTENTION
You can set up custom reports using Creatio version 7.15.3 and up.
To open the [Report setup] section:
- Open the System Designer by clicking
 .
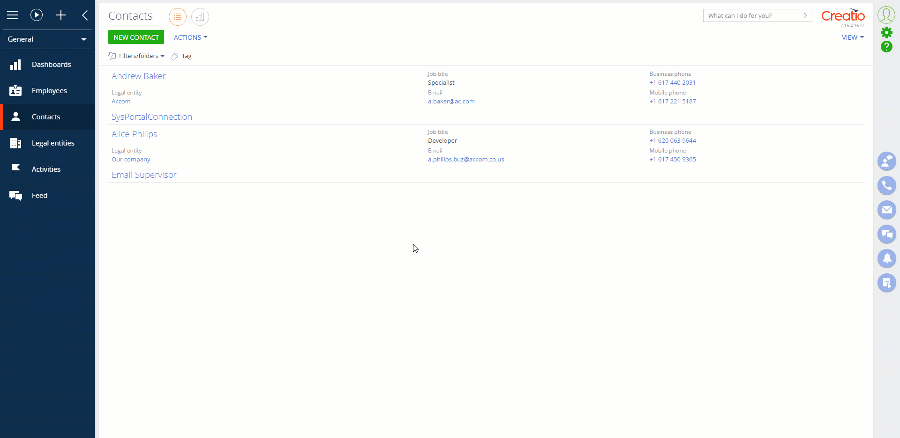
. - In the [System setup] block, select the [Report setup] link (Fig. 1).
Fig. 1. – Opening the [Report setup] section
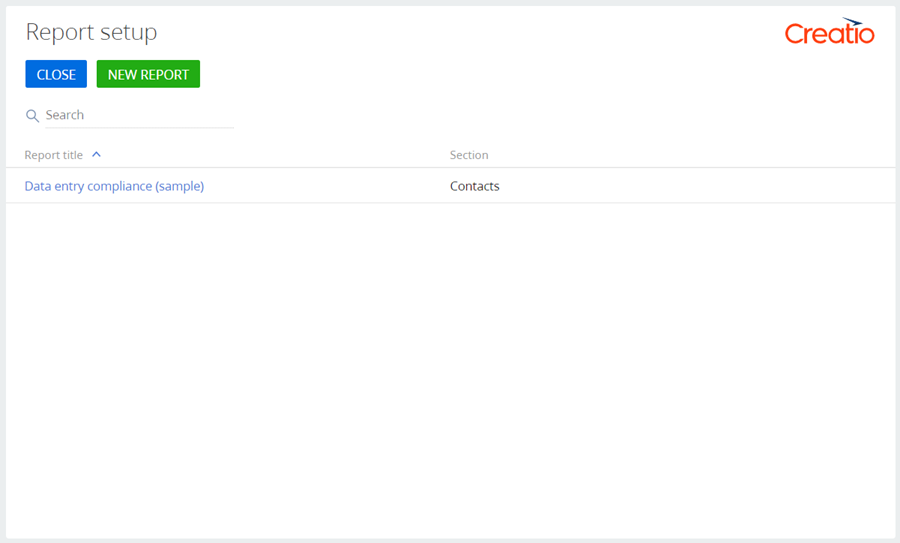
The report setup section page (Fig. 2) will open. The page contains the following elements:
- The [Close] button – closes the report setup section.
- The [New report] button – adds a new report.
- The [Delete] button – removes the selected report from the section list. The button appears when you select an existing report.
- The [Search] string – performs the search of a report by name.
Fig. 2. – The “Report setup” section list
When you click the [New report] button, a report setup page (Fig. 3) will open. The page contains several functional areas with the tools to create and set up a report.
Fig. 3. – The “Report setup” page
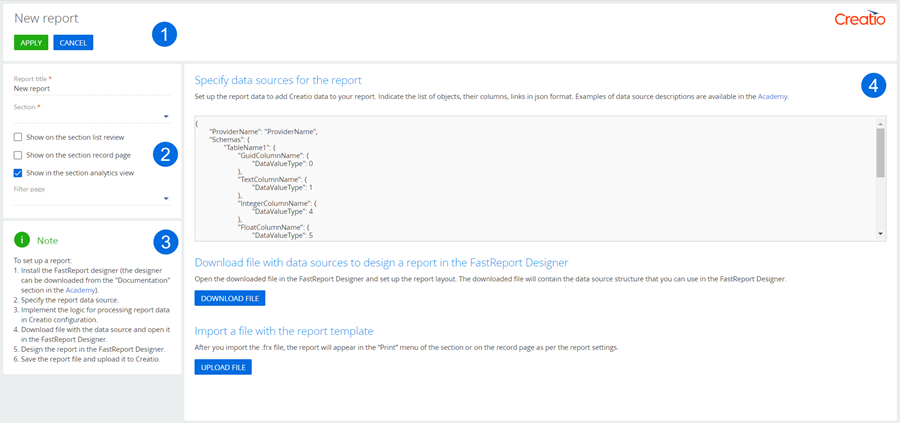
Toolbar
The Toolbar (Fig. 3, 1) has the following buttons:
- [Apply] – saves the created report. The button appears after you click any field on the page.
- [Cancel] – closes the report setup without saving the changes.
The setup area of display parameters
The setup area of display parameters (Fig. 3, 2) includes the following elements:
- The [Report title] field – sets the name for the report. Depending on your settings, the report name will display in the menu of the [Print] button in a section or on a record page, as well as in the [Reports] button drop-down list of a section in the dashboard view.
- The [Section] field – a drop-down list of sections that you can select for generating your report.
- The [Show on the section list review] checkbox – determines whether the report displays in the drop-down list of the [Print] button in a section.
- The [Show on the section record page] checkbox – determines whether the report displays in the drop-down list of the [Print] button on a page of a section record.
- The [Show in the section analytics view] checkbox – determines whether the report displays in the drop-down list of the [Reports] button in the section dashboard view. In this case, you can use a custom page of additional filtering. Set the filtering parameters using a schema. Specify this schema in the [Filter page] field. To set the filtering parameters, select a report (click the [Reports] button in the section dashboard view and select the report from the drop-down list).
- The [Filter page] field – a drop-down list of pages with filters. The field only appears if you select the [Show in the section analytics view] checkbox. You can select the SimpleReportFilterPage standard filtering page or create a custom filtering page and specify the BaseReportFilterPage schema as its parent schema.
NOTE
Standard filters are implemented in the SimpleReportFilterPage filtering page schema. After you select a report from the drop-down list of the [Reports] button in the section dashboard view, you will see a page where you can specify the following report parameters:
- [Selected records]
- [Filtered records in list]
- [All records in list]
The information [Note] area
The [Note] area (Fig. 3, 3) contains a short instruction on how to set up the reports.
Working area
Use the working area of the report setup page (Fig. 3, 4) to set up your report. The report setup working area contains the flowing elements:
- The [Specify data sources for the report] block – use it to enter the sources of data for your report and set localizable strings in the JSON format.
- The [Download file with data sources to design a report in the Fast Report Designer] – use it to download the report template (a *.frx file). To do this, click the [Download file] button.
- The [Import a file with the report template] block – use it to upload the template to Creatio after you set it up using FastReport. To do this, click the [Upload file] button.
Learn more about setting up reports in the "Setting up reports in Creatio” article.