


Enable required Windows components
Make sure that you install the following components on the web server before you create and set up a website:
-
Windows components. Note that the Microsoft Visual C++ 2010 component is required.
-
Web Server IIS components.
Attention
Production environment for Creatio .NET Framework application requires a Windows Server OS. You can deploy application server on Windows 10 only for development and pre-production environments.
| Component | Component items |
|---|---|
| Common HTTP Features | Static Content Default Document HTTP Errors HTTP Redirection |
| Application Development | ASP.Net .Net extensibility ISAPI extensions ISAPI Filters WebSocket Protocol |
| Microsoft .Net framework 3.5.1 | Windows Communication Foundation HTTP Activation Windows Communication Foundation Non-HTTP Activation |
| Microsoft .Net Framework 4.7 Advanced Services and up (Windows 8, Windows 10, Windows Server 2012, Windows Server 2016).
| ASP.NET 4.6.2 or 4.7; WCF services HTTP Activation Message Queuing (MSMQ) Activation Named Pipe Activation TCP Activation TCP Port Sharing |
| Health and Diagnostics: | HTTP Logging Logging Tools Request Monitor Custom Logging |
| Security | Basic Authentication Request Filtering IP and Domain Restriction |
Enable required Windows Components on Windows Server 2016
To check the availability of the needed components:
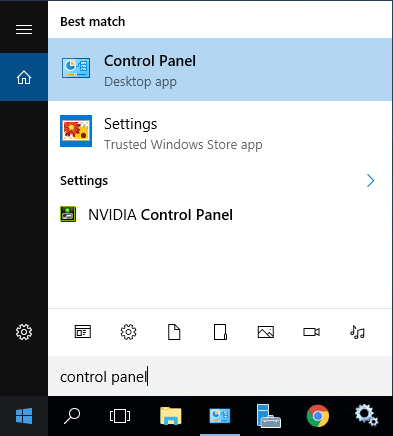
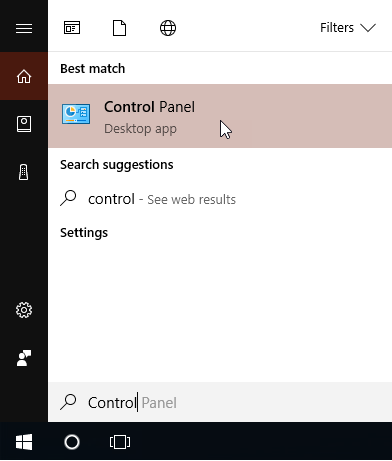
1.Enter the “control panel” in the [Start] menu and select the [Control Panel] (Fig. 1).
Fig. 1 The [Control Panel] section in the [Start] menu
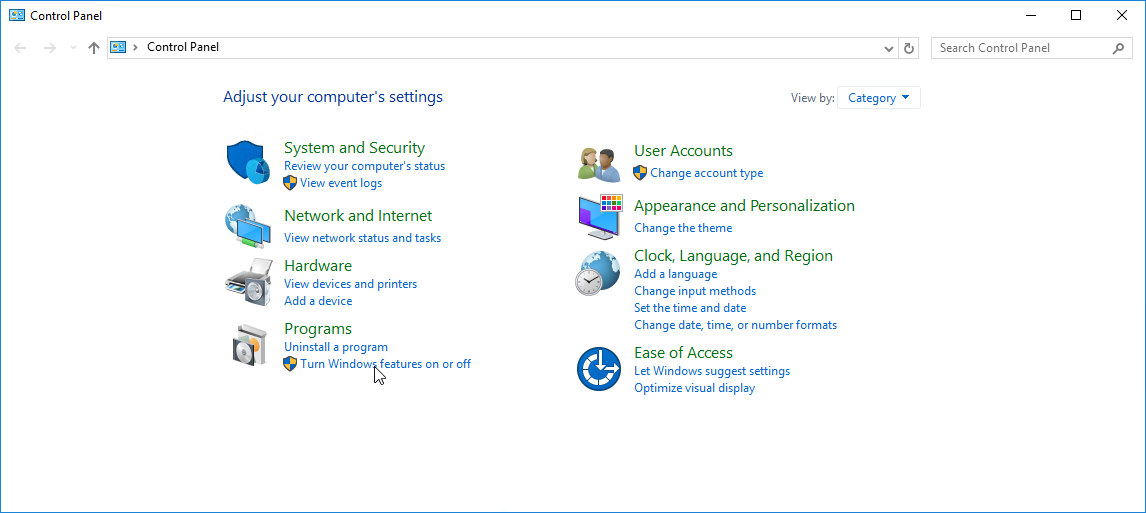
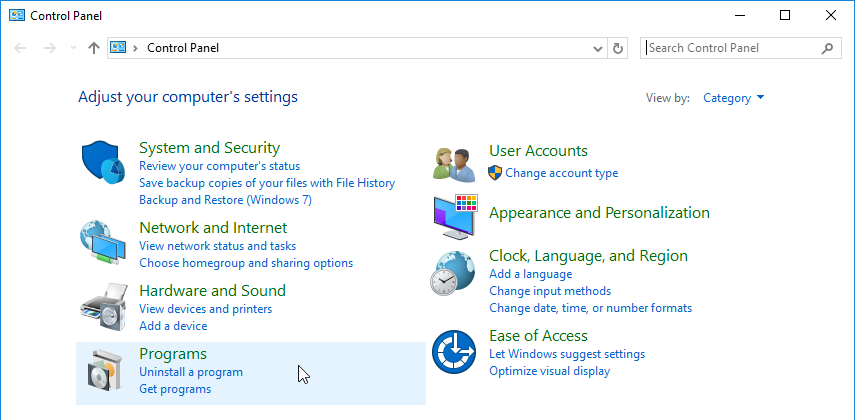
2.From the [Control Panel], select the [Turn Windows features on or off] option (Fig. 2).
Fig. 2 Selecting the [Turn Windows features on or off] option
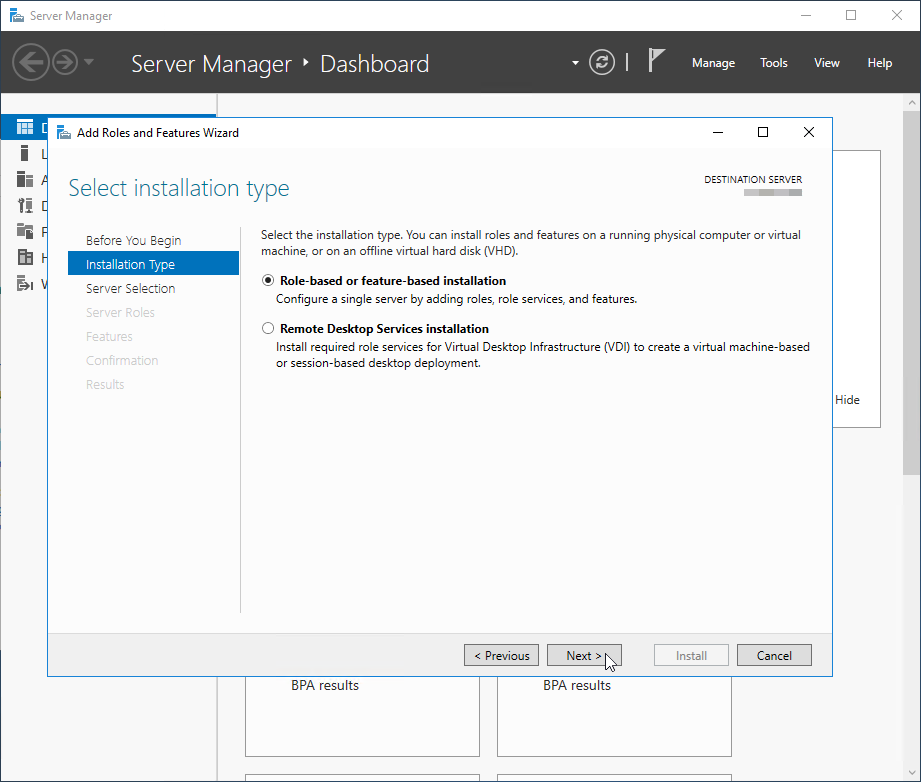
3.In the [Add Roles and Features Wizard], select [Role-based or feature-based installation]–>[Next] (Fig. 3).
Fig. 3 Selecting the role-based installation
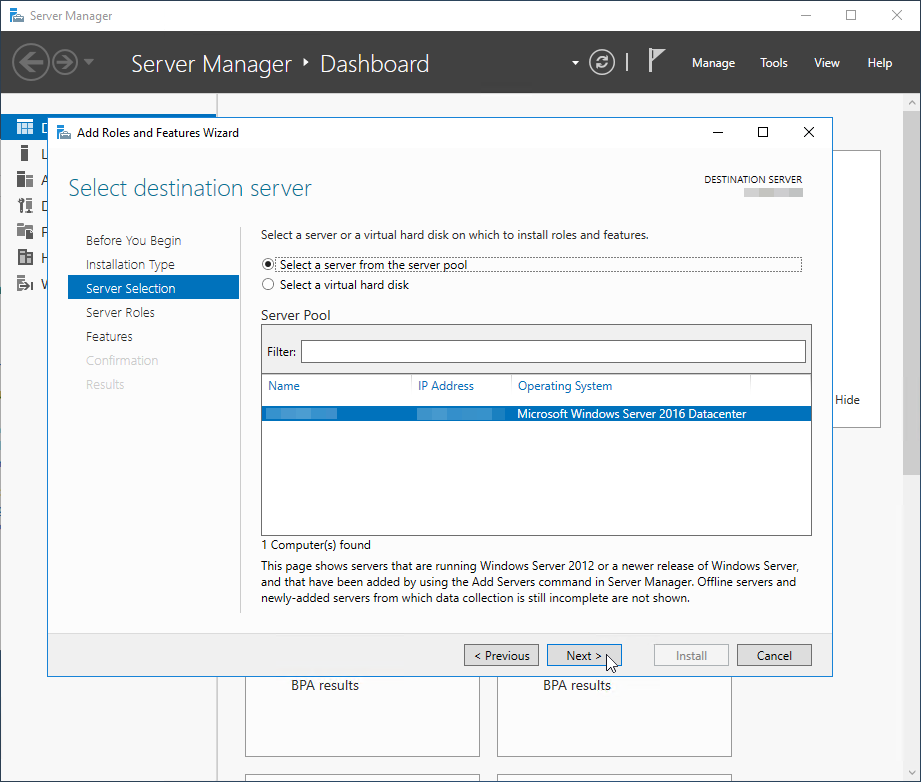
4.Select the destination server from the available server pool and click [Next] (Fig. 4).
Fig. 4 Selecting the destination server
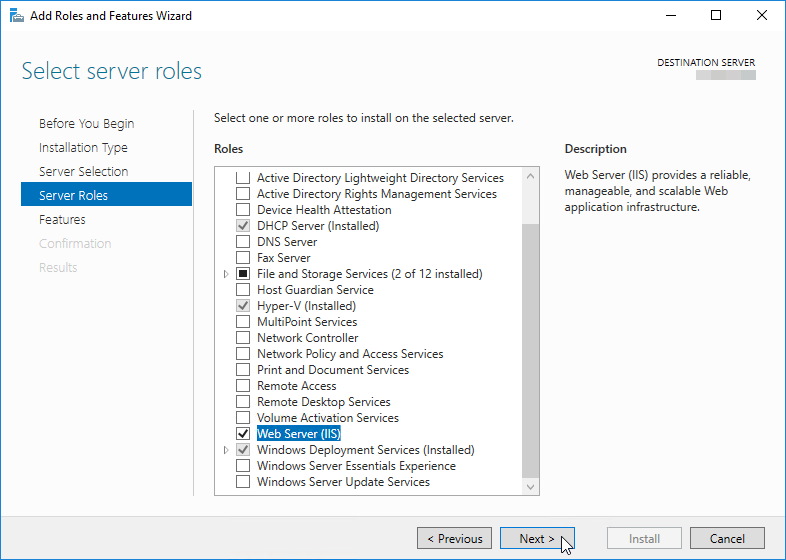
5.Select the Web Server (IIS) role to apply to the selected server. Click [Next] (Fig. 5).
Fig. 5 Selecting the Web Server (IIS) role
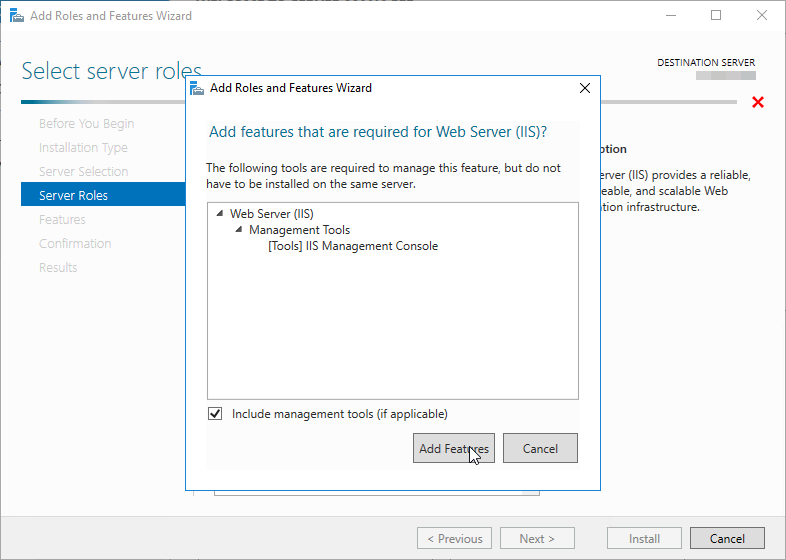
6.Click [Add features] (Fig. 6).
Fig. 6 Confirming selected features
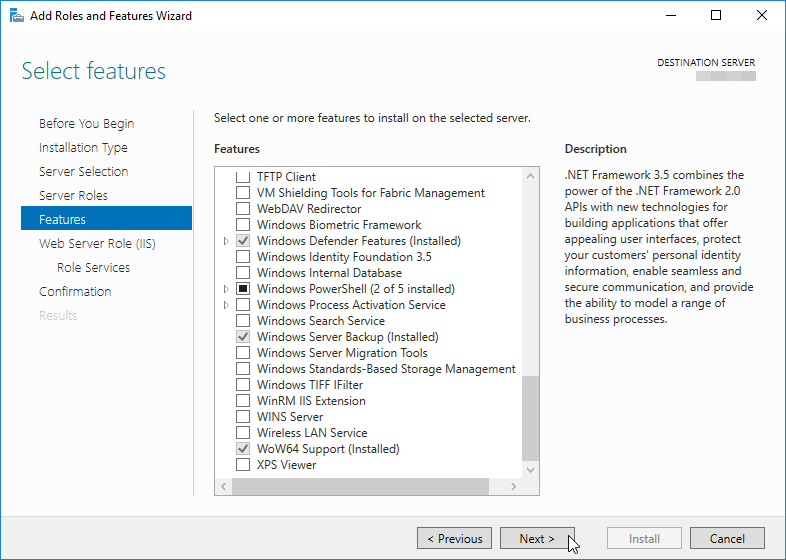
7.Select features and click [Next] (Fig. 7).
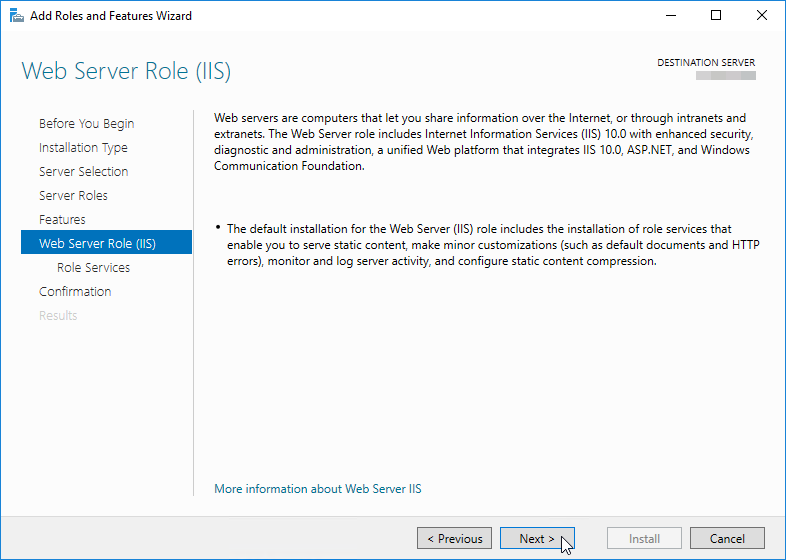
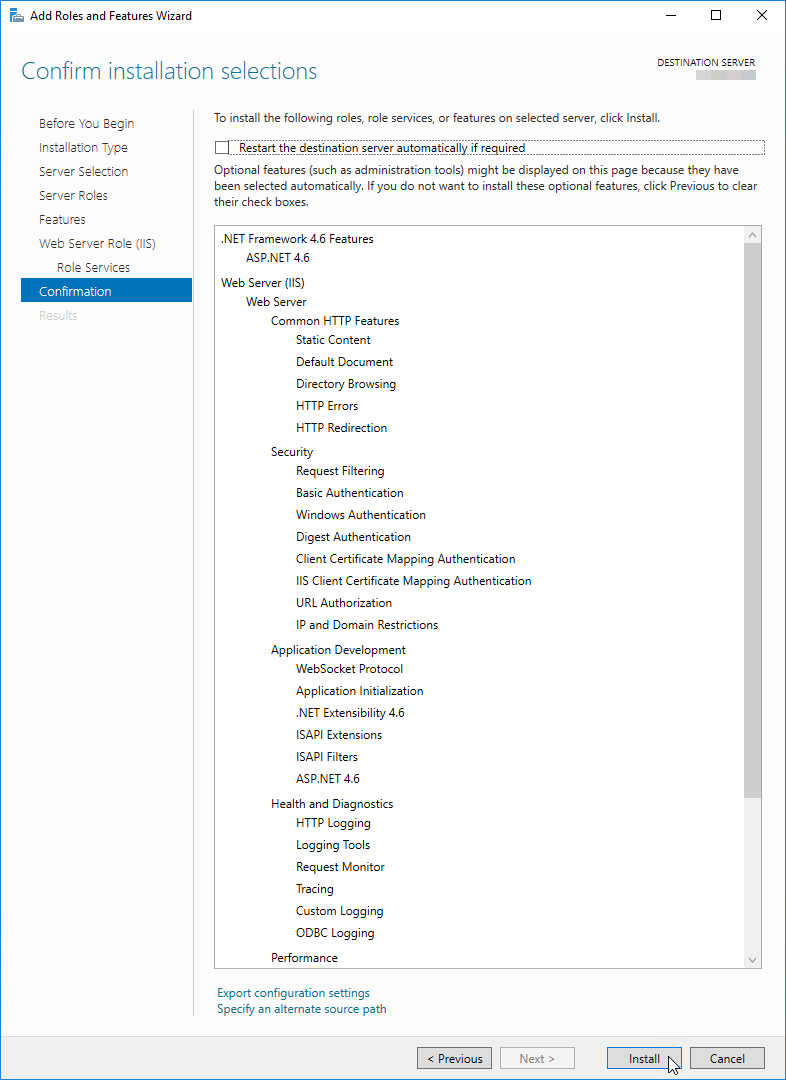
8.Click [Next] to finish proceed to the next step ().
Fig. 8 Confirm the web server role
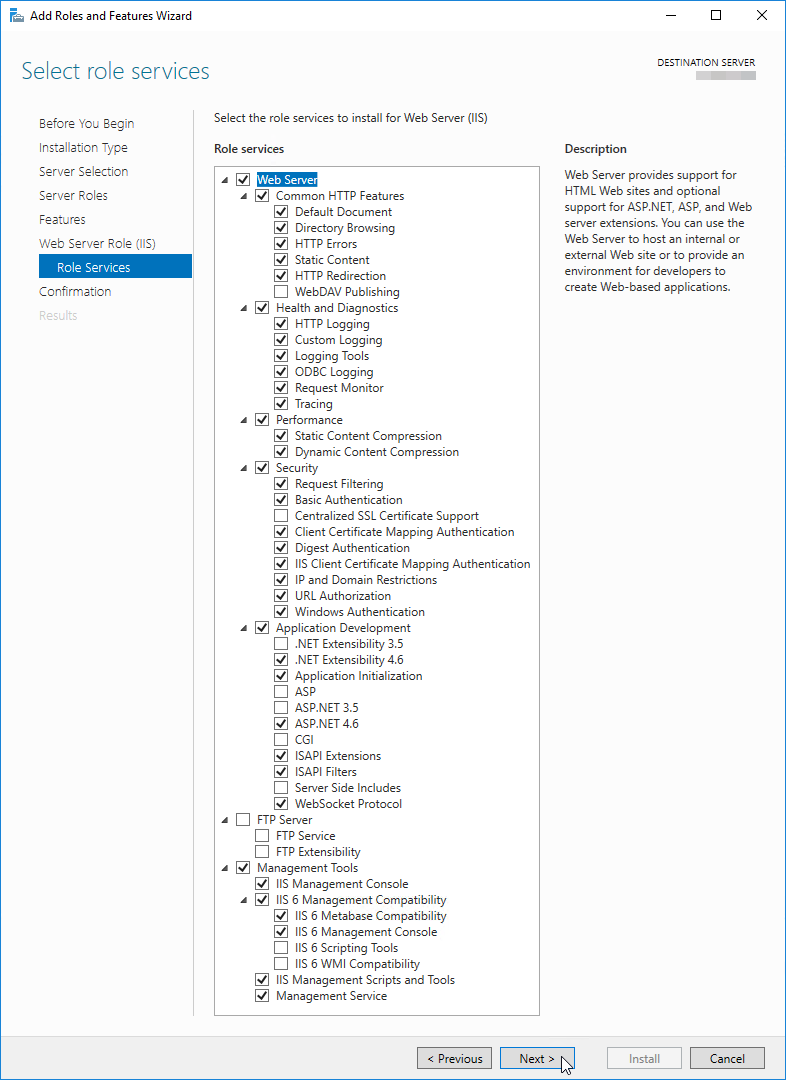
9.Make sure that the you have the same components selected as on the picture (Fig. 9).
10.Click [Install] (Fig. 10).
11.Reboot the server.
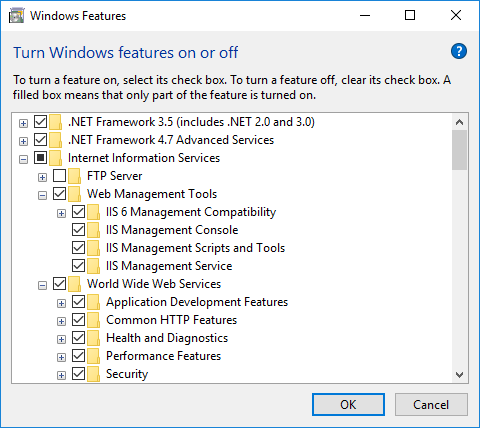
Enable required Windows Components on Windows 10
To check the availability of the needed components:
1.Enter the “control panel” in the [Start] menu and select the [Control Panel] (Fig. 1).
Fig. 11 The [Control Panel] section in the [Start] menu
2.Select the [Programs] option in the opened window (Fig. 12).
3.From the [Programs and Features] menu, select the [Turn Windows features on or off] option (Fig. 2).
Fig. 13 Selecting the [Turn Windows features on or off] option

4.Select all required components in the [Windows Features] window (Fig. 14).
Fig. 14 Selecting Web Server IIS and Windows components
See also