Portal users can use the mobile app in Creatio version 7.18.5 and later.
Portal in the mobile app lets you create cases quickly and interact with support agents on the go. The app sends push notifications when the case status changes or an agent sends a new message.
To get started, install the mobile app. Learn more in a separate article: Install the app.
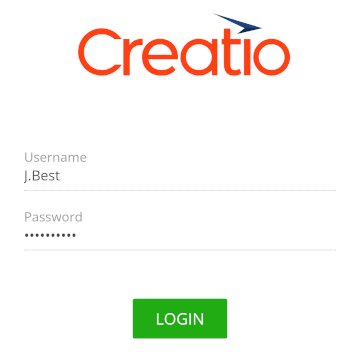
Then, log in to the app with a portal user account.
If you already have the mobile app installed, click ![]() → Settings and specify Portal in the Workplace field to open the portal (Fig. 1).
→ Settings and specify Portal in the Workplace field to open the portal (Fig. 1).
The mobile portal includes the following menu items:
-
Cases. Create cases and interact with support agents on the cases in this app section.
- Settings. Go to the app setup. Learn more in a separate article: Get started with the mobile app setup.
-
Log out. Log out of the app.
The Cases section lets you:
-
Create cases.
-
Add images and files required for troubleshooting to cases.
-
View details of registered cases.
-
Interact with support specialists.
Create a new case
-
Go the Cases section. To do this, tap
 → Cases.
 -
Tap the
 button. This opens the New case box.
 -
Fill out the case profile:
-
Select the case category to accelerate case classification and transfer cases to dedicated experts faster: “Service request” or “Incident.” The field is required.
-
Elaborate on the case in the Description field (optional).
-
Attach files to the case (optional). To do this:
- Tap the
 Attach button.
 - Specify the source of the files to attach.
- Select the relevant files. By default, you can upload files up to 10 Mb. On the Attachments tab of the case record, you can view any attachments added when creating the case or as part of a conversation with support agent.
- Tap the
-
-
Tap the
 button.
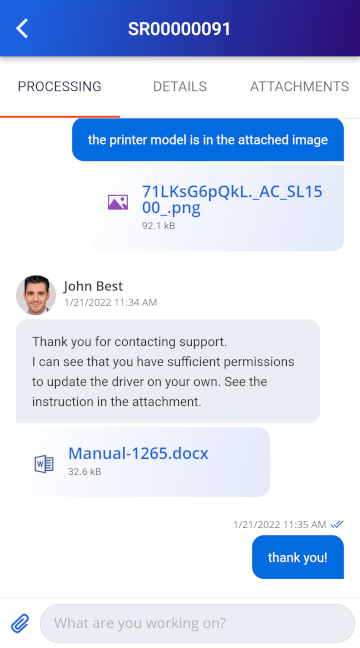
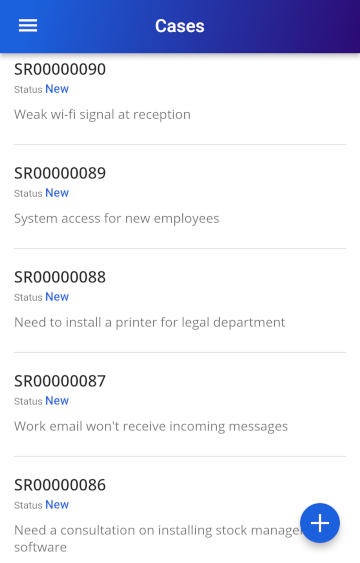
As a result, a new case will be created and added to support processing queue immediately (Fig. 2).
Reply to messages from support agents
You receive a push notification when a support specialist sends you a new message. To reply to the message:
-
Go the Cases section. To do this, tap
→ Cases. -
Open the case on which you need to reply.
-
Go to the Processing tab. Enter the message, attach files if necessary, and tap the
 button.
The app displays conversations with support agents as chats (Fig. 3).