Create Web-to-Case landing page
Steps to create Web-to-Case landing
1. Create new landing record in the Creatio
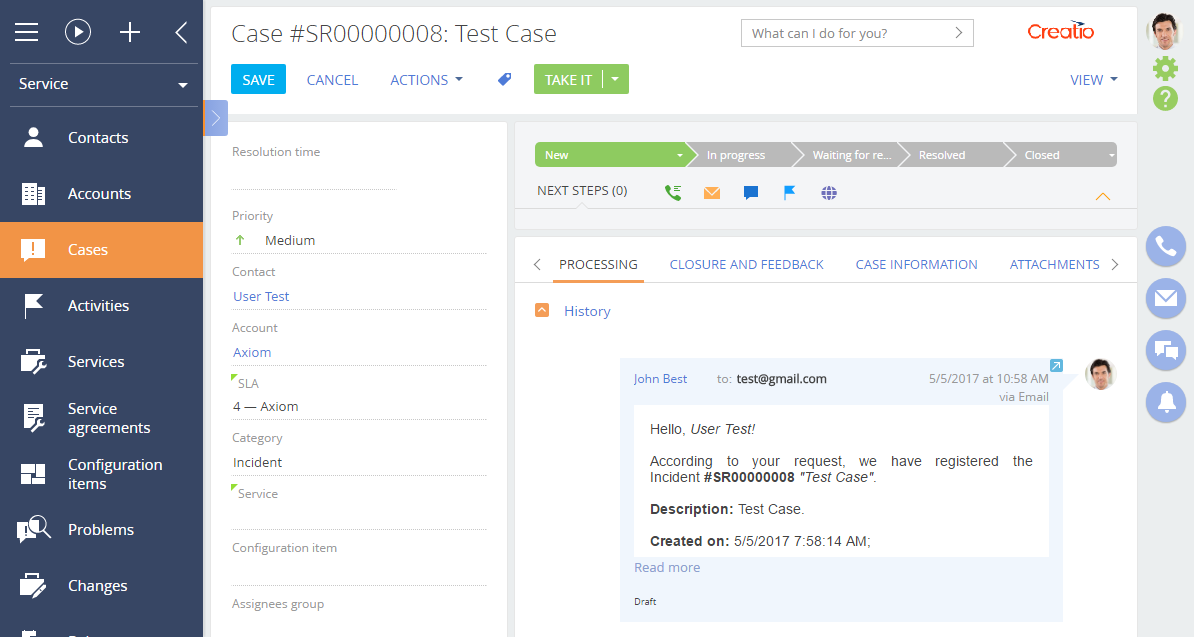
To create a new landing record, execute the Add action in the Landing pages and web forms section. Fill in the following fields on the opened page (Fig. 1):
- Name – landing page name in Creatio.
- Website domains – your landing page URL.
- Status – landing status.
- Redirection URL – the URL that is opened after the landing page form is completed.

When creating a case, you can receive only four fields ("Subject, "Email", "Name" and "Phone") from the landing page. Therefore, you must set the default values for the new landing record(Fig. 2).
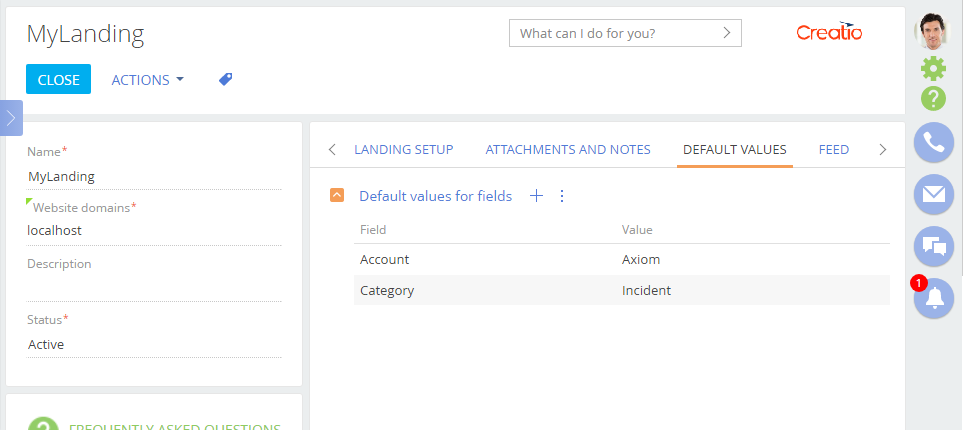
Save the page to apply the changes.
2. Create a landing page
To create landing page, you need to create a standard HTML page containing a Web form in any text editor using HTML markup.
To register the data sent via the web-form, add four fields to the form (using input element) that define the case:
- Case subject
- Contact email
- Contact name
- Contact phone
Specify the name and id attributes for each field.
To send a form data to Creatio when creating a new Case object, you need to add a JavaScript script to the HTML page. Copy the script source code from the STEP 2. Copy the code and configure and map the fields field of the landing edit page (Fig. 1).
The script must be copied from the already saved landing.
The script contains the config configuration object that has following properties:
fields– contains the object with "Subject, "Email", "Name" and "Phone” values that must match theidattribute selectors of the corresponding web form fields.landingId– contains the landing Id in the database.serviceUrl– contains URL of the service to which the form data will be sent.redirectUrl– contains redirection URL specified in the [Redirection URL] field of the landing.onSuccess– contains a function that handles the successful creation of a case. Optional property.onError– contains a function that handles the error of the case creation. Optional property.
The config configuration object is passed as an argument of the createObject() function that must be executed when the form is submitted.
To call the createObject() function when sending a form, add the onSubmit = "createObject(); return false" attribute to the
tag of the HTML page of the Landing page (see STEP 3, Fig. 1).
<!DOCTYPE html>
<html>
<head>
    <meta charset="UTF-8">
    <!--STEP 2-->
    <!--This part needs to be copied from the STEP 2 field of the lending edit page-->
    <script src="http://ajax.googleapis.com/ajax/libs/jquery/1.11.2/jquery.min.js"></script>
    <script src="https://webtracking-v01.creatio.com/JS/track-cookies.js"></script>
    <script src="https://webtracking-v01.creatio.com/JS/create-object.js"></script>
    <script>
        /**
         * Replace the "css-selector" placeholders in the code below with the element selectors on your landing page.
         * You can use #id or any other CSS selector that will define the input field explicitly.
         * Example: "Email": "#MyEmailField".
         * If you don't have a field from the list below placed on your landing, leave the placeholder or remove the line.
         */
        var config = {
            fields: {
                "Subject": "#subject-field", // Case subject
                "Email": "#email-field", // Visitor's email
                "Name": "#name-field", // Visitor's name code
                "Phone": "#phone-field", // Visitor's phone number
            },
            landingId: "8ab71187-0428-4372-b81c-fd05b141a2e7",
            serviceUrl: "http://localhost/creatioservice710/0/ServiceModel/GeneratedObjectWebFormService.svc/SaveWebFormObjectData",
            redirectUrl: "http://creatio.com",
            onSuccess: function(response) {
                window.alert(response.resultMessage);
            },
            onError: function(response) {
                window.alert(response.resultMessage);
            }

        };
        /**
         * The function below creates a object from the submitted data.
         * Bind this function call to the "onSubmit" event of the form or any other elements events.
         * Example: <form class="mainForm" name="landingForm" onSubmit="createObject(); return false">
         */
        function createObject() {
            landing.createObjectFromLanding(config)
        }
    </script>
    <!--STEP 2-->
</head>
<body>
<h1>Landing web-page</h1>
<div>
    <h2>Case form</h2>
    <form class="mainForm" name="landingForm" onSubmit="createObject(); return false">
        Subject:<br>
        <input type="text" name="subject" id="subject-field"><br>
        Email:<br>
        <input type="text" name="Email" id="email-field"><br>
        Name:<br>
        <input type="text" name="Name" id="name-field"><br>
        Phone:<br>
        <input type="text" name="Phone" id="phone-field"><br><br>
        <input type="submit" value="Submit">
        </font>
    </form>
</div>
</body>
</html>
3. Add the page to the website
A case from the landing page will be added to the Creatio only if the page is hosted on the site whose name is listed in the Website domains field of the landing page record in Creatio. If you open the page in the browser locally, then an empty message will be displayed when the case is created.
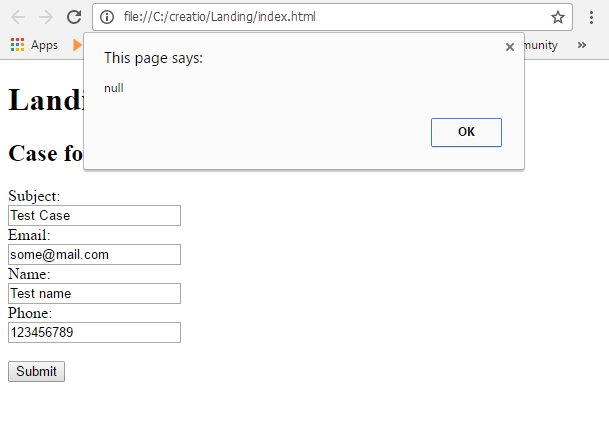
The output of an empty message is configured in the onError() method of the configuration object.
If you place the page on the local server of the computer that serves as the reserved domain name localhost (as specified in the landing setting , Fig. 1), then the script that adds the address from the web page of the landing will work correctly (Fig. 4)
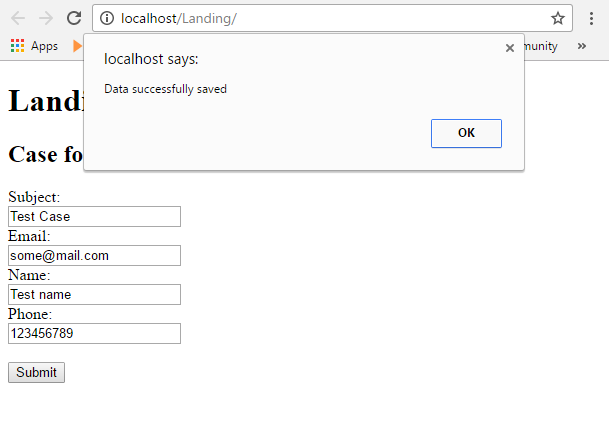
As a result, a case with specified parameters will be automatically created.