


You can quickly add multiple users to Creatio by importing them from Excel. Learn more in the “Excel data import” article.
You need to import data into the “System administration object” that corresponds to the “SysAdminUnit” table in the database. This object contains the company's organizational structure: users, organizational and functional roles.
To import users from Excel:
1.Prepare the file for import and populate all the needed columns. Read more below – “Prepare an Excel file for importing users”.
2.Download the file and import users to the system. Read more below – “Run the import process”.
3.Set up user records: assign roles, specify passwords and available licenses. Read more below – “Post-import procedures”.
Prepare an Excel file for importing users
Create an *.xlsx document. The document should contain the “Name” and “Type” fields, where you specify the login and type values. You can optionally populate the rest of the columns.
| Column name | Column value in the imported Excel file |
|---|---|
| Name | User’s login name. This column is required. |
| Type | Specify “4” to import records as users. This column determines the type of administration unit that is imported – either a role or a user. These types are stored in the “Object Permission Types (SysAdminUnitType)” object. You can find the possible values of this table below. This column is required. |
| Contact | Specify the name of the user’s contact. The names that you specify in the “Contact” column of your user import file must match the names of corresponding contacts in Creatio, otherwise Creatio will create new contacts. This column is optional. If you do not populate it, Creatio create new contacts using username as the contact’s name. |
| Active | The following values can be used:
This column is optional. By default, all users are active. |
| Culture | Specify the user language code (e.g., the “en-US” for English UI). Learn more about Creatio cultures in the “Localization” article. This column is optional. By default, the users will use English localization. |
| Connection type | The connection type determines the access permissions inherited by the user.
This column is optional. By default, all users are imported as employees. |
Different values of “Object Permission Types (SysAdminUnitType)” are available in the table below.
| System administration unit type | The actual value in the Type column |
|---|---|
| Organization | 0. |
| Organizational unit | 1. |
| Manager | 2. |
| User | 4. |
| Portal user | 5. |
| Functional role | 6. |
Learn more about general requirements for the imported Excel file in the “How to prepare an Excel file for import” article.
To import users from Excel:
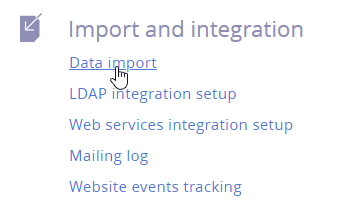
1.Click  System Designer -> [Data import] (Fig. 1).
Fig. 1 Link to the [Data import] functionality of the “Import and integration” block
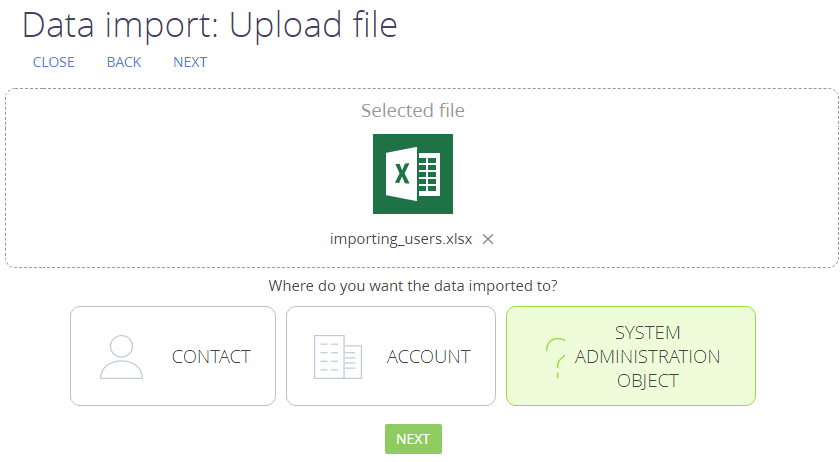
2.Add your user import Excel file: drag and drop it on the Data Import page that opens, or click [Select file] and locate your Excel file.
3.Click [Other] and select “System administration object” as the object for importing file records (Fig. 2). Click [Next].
Fig. 2 Selecting an object for the import on the Data Import page
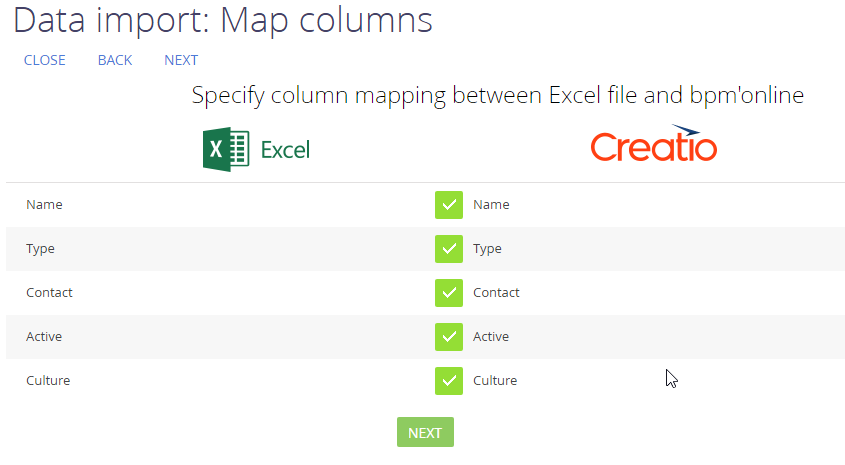
4.Specify the column mapping by connecting the columns from the Excel file to the fields in the Creatio import object (Fig. 3). Click [Next].
5.Specify the conditions for identifying duplicate records. The data of these columns must be unique for each of the imported records (Fig. 4).
If the value of a column in the imported file coincides with the database value, Creatio will update the existing record. If the value is not available in the database, Creatio will create a new record.
For example, when importing users, use the “Contact” column to determine whether the imported record already exists. If contact with such a name does not exist, Creatio creates a new record.
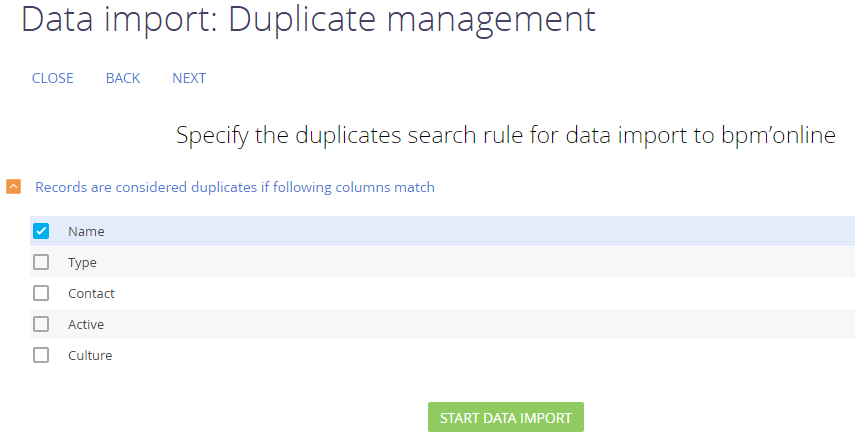
6.Click [Start data import].
NOTE
The process of setting up columns and duplicate parameters is covered in more detail in the “How to import customer database” article.
When the import process completes, Creatio will inform you accordingly.
As a result, the imported records will be displayed in Creatio user record list. Note that the imported users will not have roles, licenses or passwords. You will need to assign those manually.
After you complete the import, you need to perform the following steps manually for each imported user:
1.On the [General information] tab of the user page, set a password to enable the user to log in to Creatio.
NOTE
Users can change their password when logging in to Creatio for the first time. Read more in the “Add a regular employee user” article.
2.Select the necessary role (e.g., “All employees”) on the [Roles] tab. Learn more in the “Assign a user role” article.
3.Distribute licenses on the [Licenses] tab. Learn more in the “License a user” article.
See also