Create a schema of the replacing section view model
- Go to the Configuration section and select a custom package to add the schema.
-
Click Add → Replacing view model on the section list toolbar.
/scr_add_replacing_module.png)
-
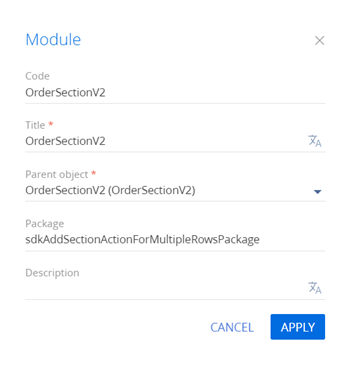
Fill out the schema properties.
- Set Code to "OrderSectionV2".
- Set Title to "Order section".
- Set Parent object to "OrderSectionV2".
-
Add a localizable string that contains the menu item caption.
- Click the
/scr_add_button.png) button in the context menu of the Localizable strings node.
button in the context menu of the Localizable strings node. -
Fill out the localizable string properties.
- Set Code to "AccountsSectionAction".
- Set Value to "Accounts for the selected orders".
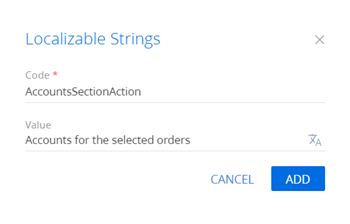
- Click Add to add a localizable string.
- Click the
-
Implement the menu item behavior. To do this, implement the following methods in the methods property:
- isCustomActionEnabled(). Determines whether the menu item is available.
- showOrderInfo(). The action handler method that displays the index of accounts for the selected orders in the message box.
- getSectionActions(). The overloaded parent schema method that retrieves the section's action collection.
The primary column values of the selected records are stored in the SelectedRows property of the section view model. You can use these values to get the values uploaded to the field list of the selected objects. For example, from a regular list's data collection stored in the GridData view model property of the list.
View the source code of the replacing view model schema of the section below.
- Click Save on the Designer's toolbar.
The outcome of the example
To view the outcome of the example:
- Clear the browser cache.
- Refresh the Orders section page.
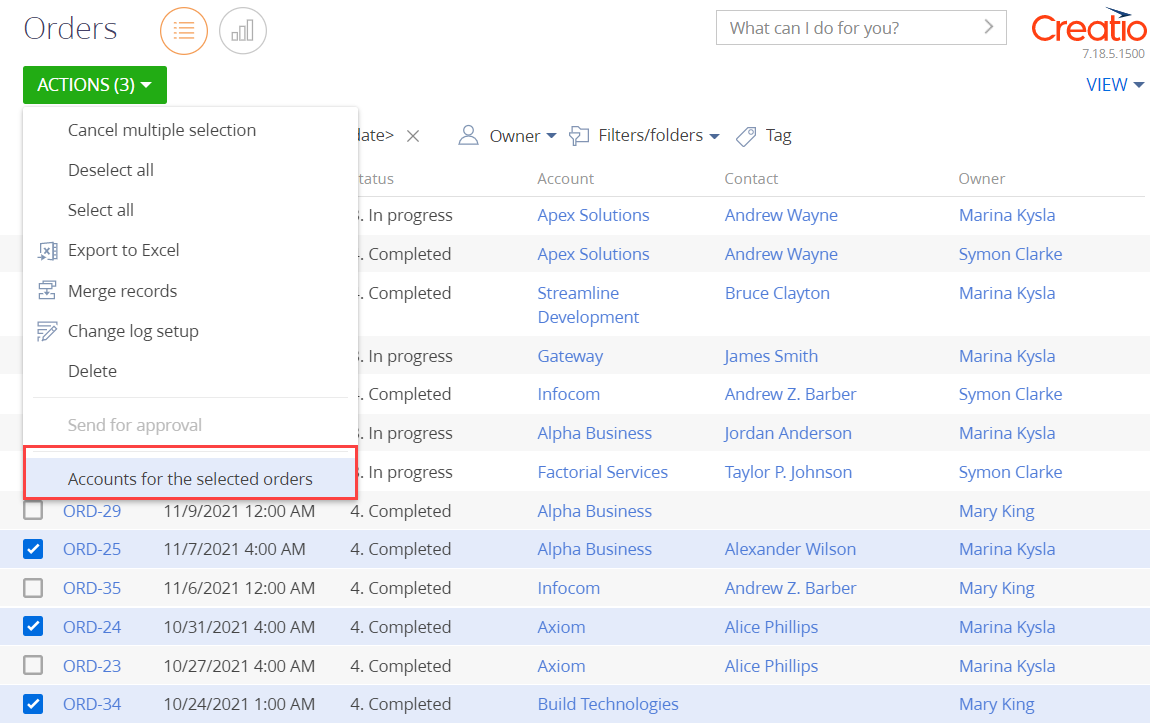
The section single record mode is used by default. To select multiple list records, click Select multiple records in the menu of the Actions button. This changes the visual view of the list. You will see record selection elements appear.
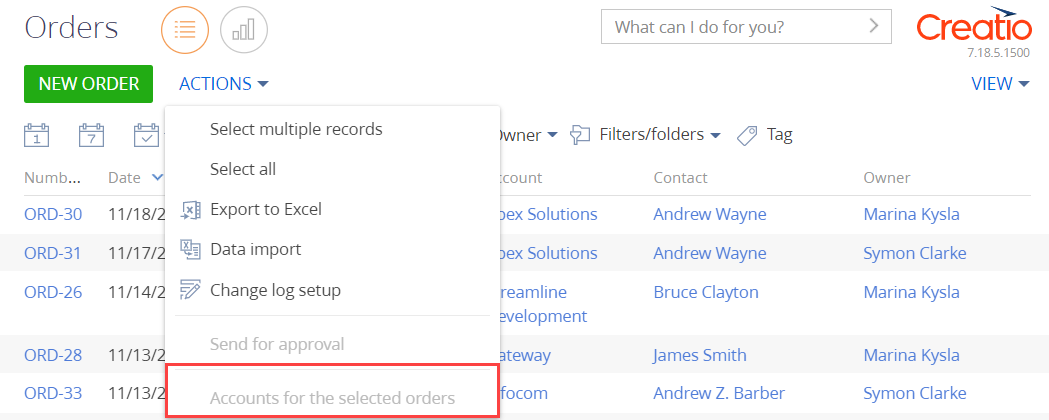
As a result, Creatio will add the Accounts for the selected orders action to the order page.
Run the Accounts for the selected orders action to bring up the message box that displays the account list for the selected orders.
To cancel the multiple selection mode, click Cancel multiple selection in the menu of the Actions button.
If you do not select any records in the Orders section list, the Accounts for the selected orders action will be inactive.