Creatio provides various functionality delivery tools.
The delivery management tools are as follows:
- Creatio IDE
- WorkspaceConsole utility
This article covers the feature delivery using Creatio IDE.
The functionality transfer options in Creatio IDE depend on the stage of the delivery process.
In general, the ways to transfer solutions using Creatio IDE are as follows:
- Transfer packages as archives if you need to transfer complete functionality between the environments.
- Transfer packages using the SVN version control system if you need to transfer functionality that is incomplete or under development.
- Transfer configuration element schemas if you need to transfer functionality that is incomplete or being refined.
Transfer the package
To transfer a custom package, export the functionality as a package from a development environment and import the package into another development environment. You can also transfer the package between development environments in multi-user development mode.
Export packages in the Configuration section of the System Designer. The package is downloaded as a *.zip archive that contains the *.gz package archive.
Import packages in the Installed applications section of the System Designer. The import procedure is similar to installing Transfer your first application.
You can also download the *.gz package archive from the database or SVN repository using the WorkspaceConsole utility.
Do not create packages in a production environment, then create a development environment based on the production environment, refine the functionality of the packages in the new environment, and transfer them back to the production environment.
Transfer a package using SVN
The version control system is an optional Creatio component. Use a version control system if you need to develop custom configuration in parallel with running Creatio normally. Version control system is required for multi-user development.
Creatio IDE supports the SVN version control system. SVN lets you transfer changes between development environments.
The special aspects of using SVN to transfer changes are as follows:
- You can transfer both packages and configuration element schemas between development environments.
- You can transfer the bound package data. For example, the lookup content, new system settings, demo section records, etc.
- You do not need to install the dependent packages manually. Creatio will install them automatically from SVN.
- You do not need to contact support when transferring changes in Creatio on-site.
Back up the database before updating Creatio from SVN. If you use Creatio in the cloud, contact support and ask them to back up the database for you.
Transfer the configuration element schema
To transfer schemas, export a schema from a development environment and import it into a pre-production environment. You can also transfer schemas between development environments in multi-user development mode.
You can transfer configuration element schemas:
- To pass an incomplete schema from between developers since committing unfinished functionality to the version control system is not practical.
- To save intermediate development results when a version control system is not used or has a malfunction.
- To transfer the schema between development environments quickly.
The special aspects of transferring configuration element schemas are as follows:
- You can replace the contents of a single schema.
- You can only export and import schemas. Follow this procedure to transfer packages: Transfer packages.
- You must have Creatio administrator permissions.
- You can only upload one schema at a time.
Export a package
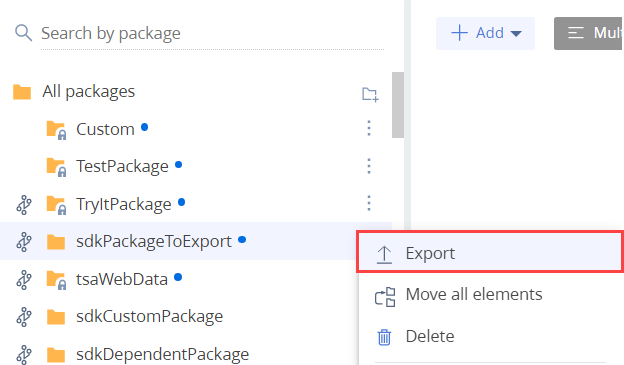
- Go to the Configuration section and select a custom package to export.
- Select Export in the package properties menu.
Depending on the browser settings, the browser will either save the *.zip archive that contains the *.gz package archive to the default downloads folder or ask you to select a folder to save the archive.
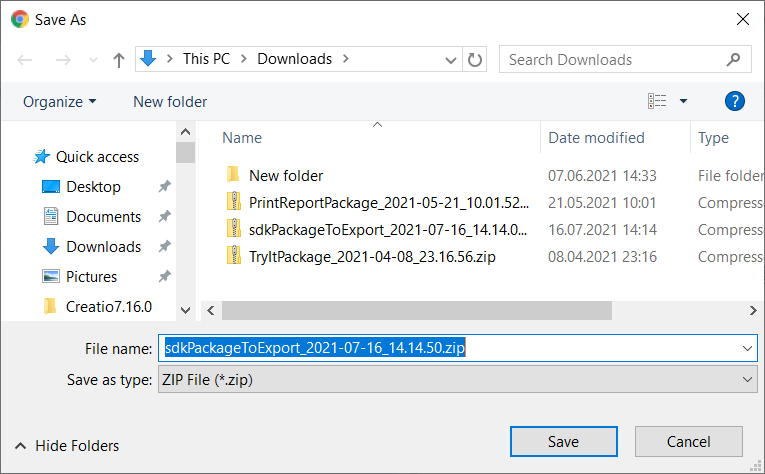
You will be able to import the downloaded package into another development environment afterwards.
Import a package
- Click the
 button to open the System Designer.
 - Go to the Applications block → Installed applications. This will open the Install Wizard for Marketplace applications.
- Click Add application → Install from file.
- Click Select file and specify the path to the *.zip archive that contains the *.gz package archive.
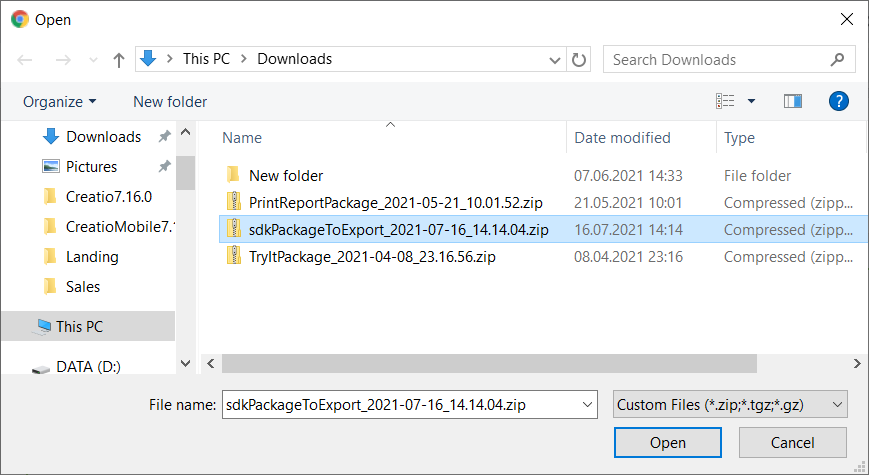
Creatio will back up the database afterwards. The process may take several minutes.
If the installation succeeds, Creatio will display the corresponding message.
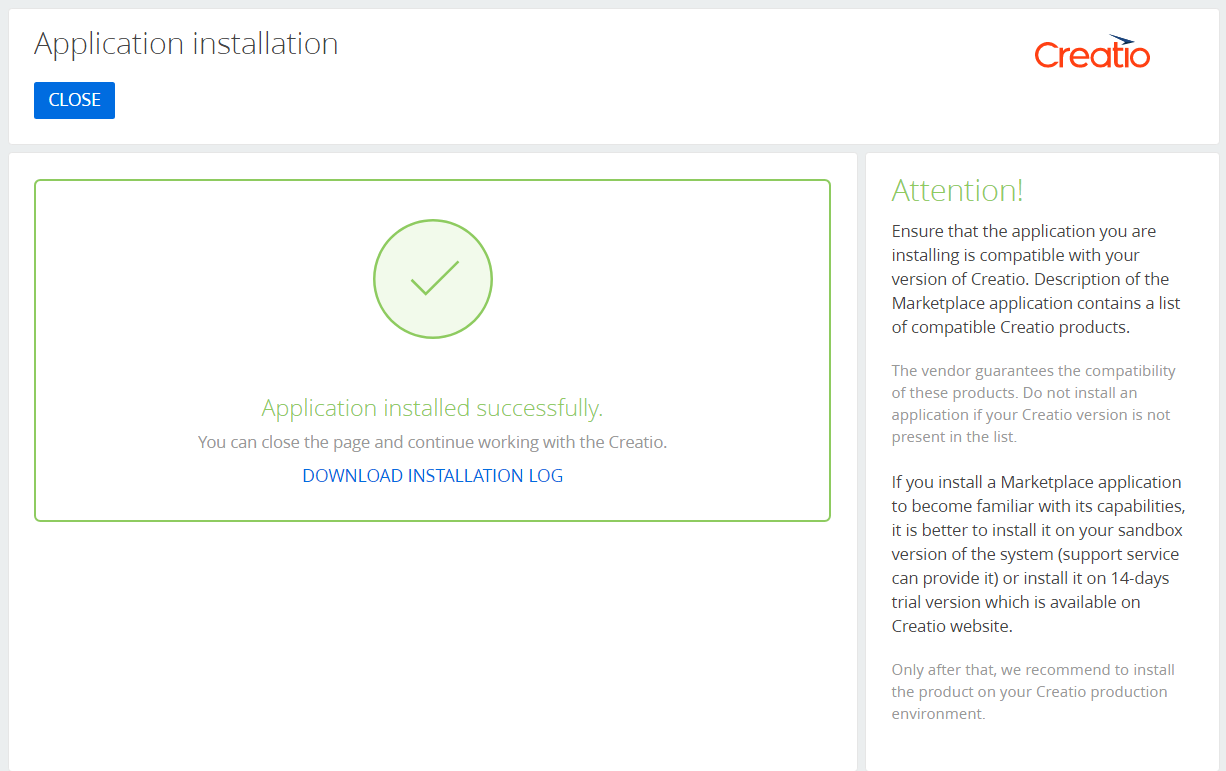
If the installation fails, Creatio will display the corresponding message as well.
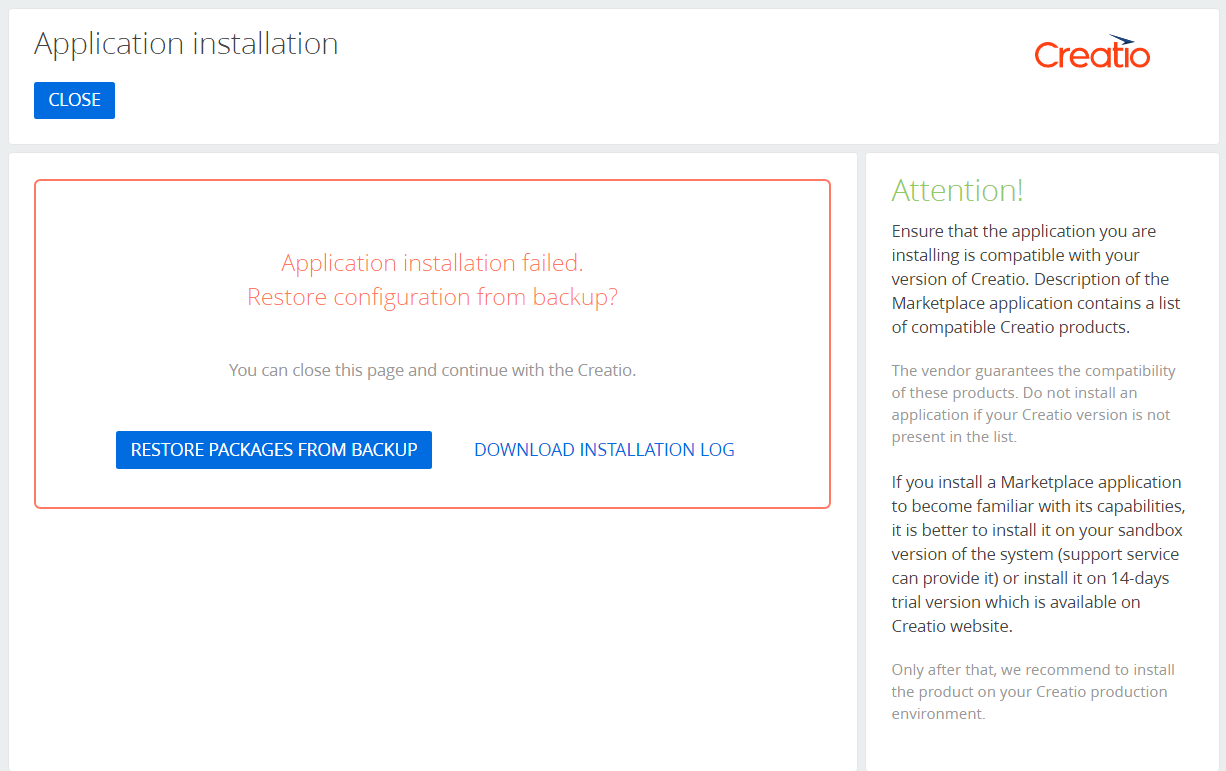
Click Download installation log to view the reason for failure.
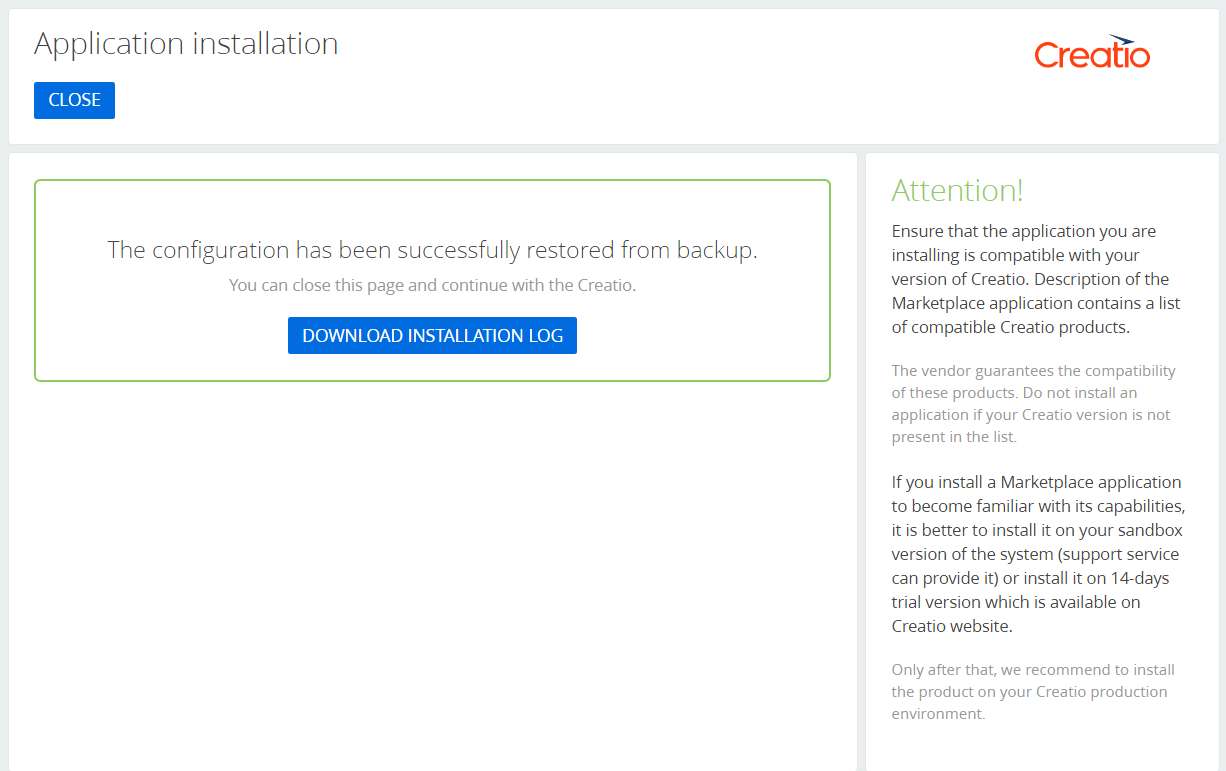
Click Restore packages from backup to roll the configuration back to its previous state. After the configuration is restored, Creatio will display the corresponding message.
1. Connect the repository of the SVN version control system
If you have already connected the repository of the SVN version control system to Creatio, proceed to step 2. Ensure Creatio applies changes automatically.
To connect the repository of the SVN version control system to Creatio:
- Go to the Configuration section.
- Select Open list of repositories in the SVN repositories group of the action menu.
- Click Add and fill out the repository properties:
- Name is the repository name. Required.
- SVN storage address is the SVN repository address. Required.
- Login is the login of the SVN repository user.
- Password is the password of the SVN repository user.
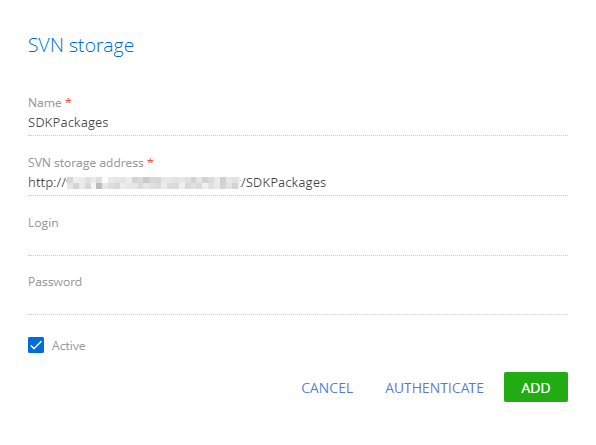
- Click Authenticate and authorize in the SVN repository.
This will connect the repository of the SVN version control system to Creatio. Learn more about how to manage SVN using the built-in Creatio tools in a separate article: Version control in Creatio IDE.
2. Ensure Creatio applies changes automatically
Creatio can apply changes automatically after the transfer.
To ensure Creatio applies changes automatically, set the <appSettings> element keys to true in the ..\Terrasoft.WebApp\Web.config file:
- AutoUpdateOnCommit key enables the package update from the SVN repository on package commitment. If you set the key to false and modify the package schemas, then try to commit the package to the repository, Creatio will warn you that an update is required.
- AutoUpdateDBStructure key enables the database structure update.
- AutoInstallSqlScript key enables the SQL scenario installation.
- AutoInstallPackageData key enables the installation of bound data.
3. Check the data binding
Before you transfer the package, make sure you bound data that must be transferred to the package. If you create a section in the Section Wizard, Creatio will bind data the section requires to get registered and operate correctly to the package automatically.
Learn more about how to bind data to a package in a separate article: Packages basics.
4. Check if you can transfer the package dependencies
You can add the dependencies on other packages to a custom package. If the package dependencies were developed by third parties, make sure you have already installed them to the Creatio instance to which to transfer the custom package. If you store the package dependencies in an available SVN repository, Creatio will install them automatically.
Learn more about the package dependencies in a separate article: Packages basics.
5. Install a package from the SVN repository
Learn more about how to install a package from the SVN repository in a separate article: Version control in Creatio IDE.
Export configuration element schemas
- Go to the Configuration section and select a configuration element schema to export in the custom package.
- Click
 → Export in the configuration element properties menu.

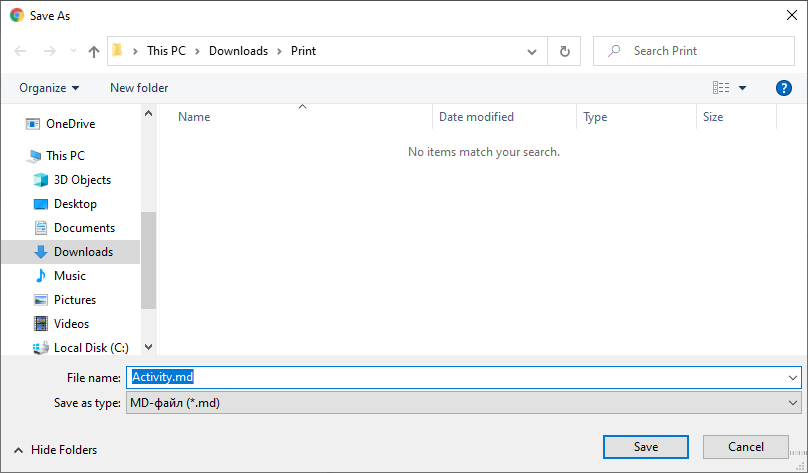
Depending on the browser settings, the browser will either save the *.md file of the configuration element schema to the default downloads folder or ask you to select a folder to save the file.
Import configuration element schemas
- Go to the Configuration section and select a custom package to import the configuration element schema.
- Click Add → Import in the section list toolbar.
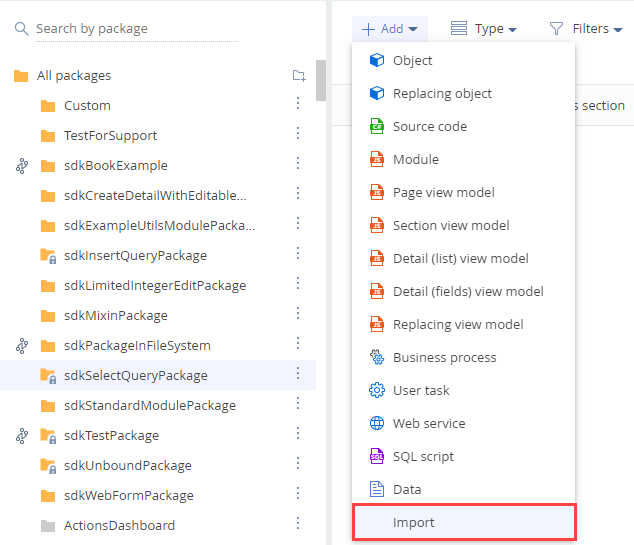
- Select the *.md file of the configuration element schema that you exported.
- Click Compile → Compile all in the toolbar to compile the configuration.
