Set up automatic lead registration from social networks
Facebook forms support only English and Russian language.
You can set up automatic lead registration in Creatio when a customer fills in a form on Facebook or Instagram.
The setting is available for users with a preconfigured Facebook Ads Manager account.
Before you start setting up lead generation from social networks, make sure that the values of the following Creatio system settings are populated:
- "Identity server Url" ("IdentityServerUrl" code)
- "Identity server client id" ("IdentityServerClientId" code)
- "Identity server client secret" ("IdentityServerClientSecret" code)
If the values of these settings are empty, contact Creatio support.
If you use Safari, make sure to allow pop-up windows for your Creatio instance.
To set up lead registration from social networks:
-
Open the Landing pages and web forms section.
-
Click New → Lead registration form.
-
Populate the fields on the opened page:
- Name – the record title that will display in the section list and the connected records;
- Website domains – facebook.com.
-
Save the record.
-
Open the created record and activate the Facebook Lead Generation switcher.
Enabling Facebook lead generation 
-
Click the Creatio URL setting link.
-
Specify your application URL in the Creatio URL field and click Next.
Specifying Creatio URL 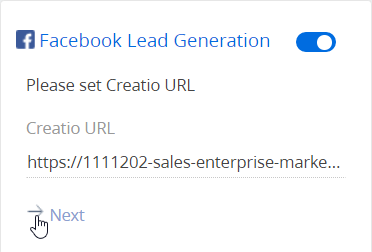
-
Click Select a source.
-
If synchronization with social networks is already configured in Creatio, proceed with step 10 of the current guide.
If you are setting up lead registration from social networks for the first time and Creatio is not synchronized with any Facebook account yet, click Manage pages.-
Log in to Facebook. To ensure the correct setup, log in to your user account with administrator permissions to your Facebook public page and the "Ads manager" role.
ImportantAfter you set up the integration, do not degrade the administrator user permissions. This may cause issues with the functionality operation.
-
Select one or several pages for setting up synchronization with Creatio. Click Next.
Selecting a Facebook page to synchronize with Creatio 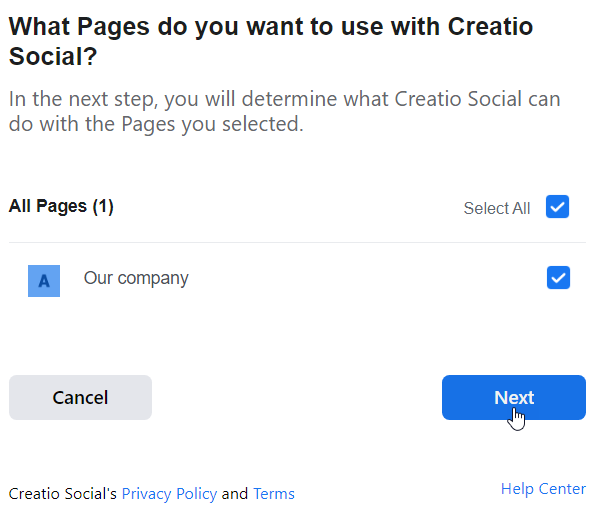
- Permit Creatio to manage your public page. This will enable passing the data from social networks to Creatio. If you restrict Creatio from managing the page, lead registration may not work properly.
Setting up access to managing the page 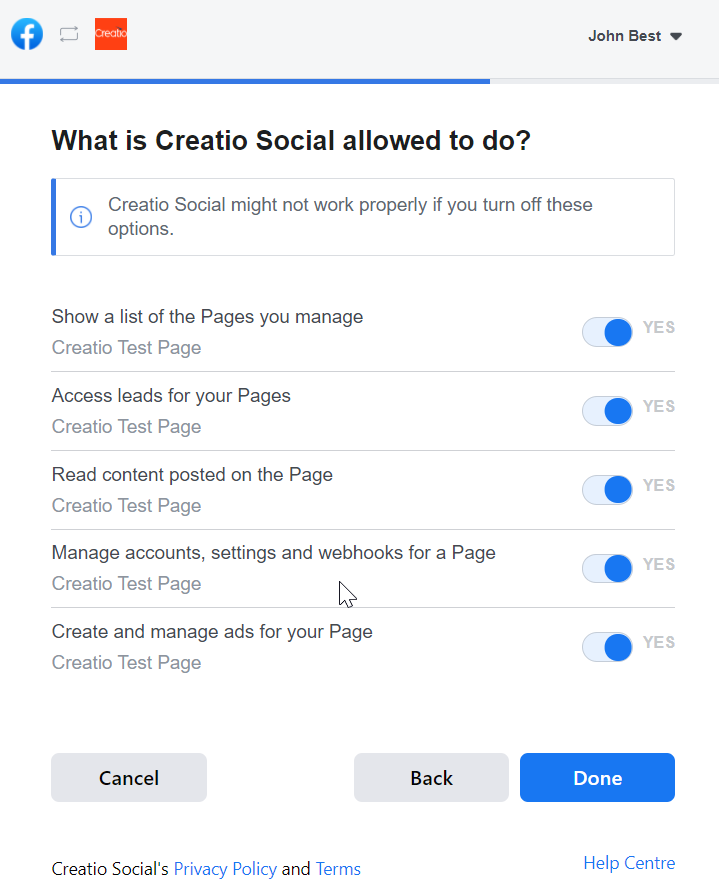
-
-
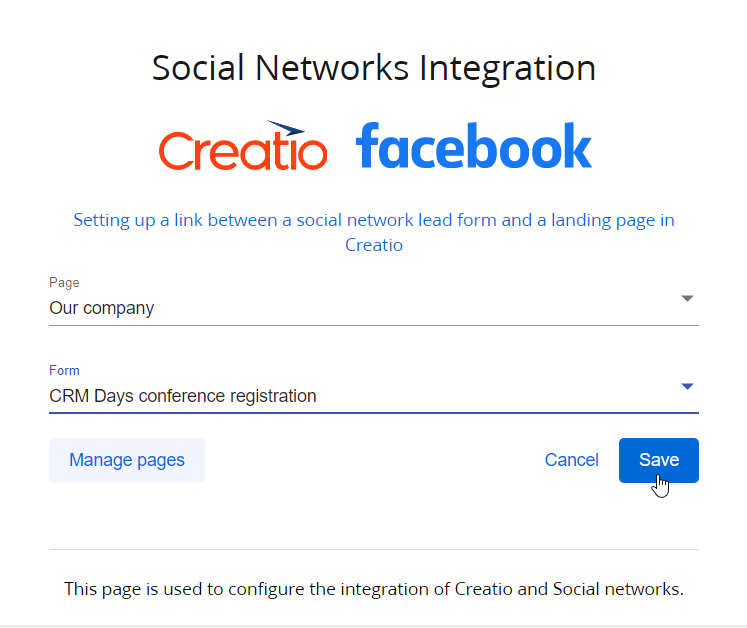
On the page of selecting a form, specify:
-
The Facebook page with a configured campaign;
-
Lead registration form that has been created for this page in Ads Manager.
-
Click Save.
-
Close the setup window and return to the landing page in Creatio.
-
Refresh the page. As a result, the Facebook Lead Generation block will be populated with data from the synchronized Facebook page.
-
Save the landing record.
As a result, after the campaign is triggered in Facebook and Instagram, the ad record available for users will be connected to the form. Each time a form is submitted, a new lead will be added in Creatio.Displaying an ad record with a lead registration form in the Facebook feed 
The following values can be passed to the leads added via social networks: email, phone number, address, city, region, country, postal code, full name, position, work phone, work email, account name. If you add other fields to the Facebook form, their values will be stored in the Notes detail. You can only pass text field values to Creatio due to restrictions on the Facebook side.
If you change the default captions of the Facebook Ads Manager fields in the form, the field values may not be passed to Creatio properly.