
On the previous step, we added a check for the current daily class number matching the group gym number to the page.
Now, implement the population of the group class timetable. Add a page action that inserts 4 new records into the timetable.
To do this, create a business process that populates the database table with relevant data and returns a message to the page schema that the records were added successfully.
Create a business process
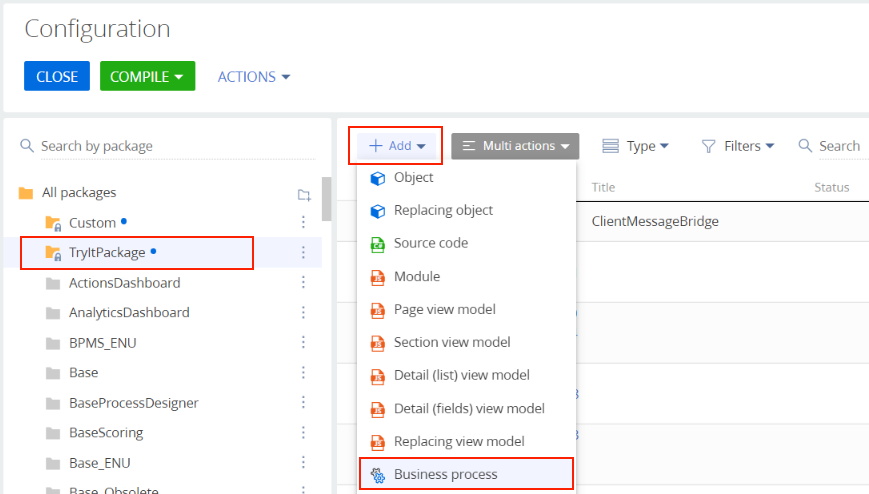
- Go to the Configuration section.
- Select the "TryItPackage" package from the package list.
- Click Add on the workspace toolbar and select the Business process configuration element type.
- Fill out the property fields as follows:
- Set Name to "UsrAddTrainingsProcess."
- Set Code to "UsrAddTrainingsProcess."

- Add the incoming parameters and parameters the process requires to the Parameters tab:
Title Code Data type Direction Value Process Schema Periodicity Process Schema Periodicity Text (500 characters) Input NewDate NewDate Date/Time Bidirectional Number Number Integer Bidirectional 4 Process Schema Id Process Schema Id Unique identifier Input Process Schema Coach Process Schema Coach Unique identifier Input 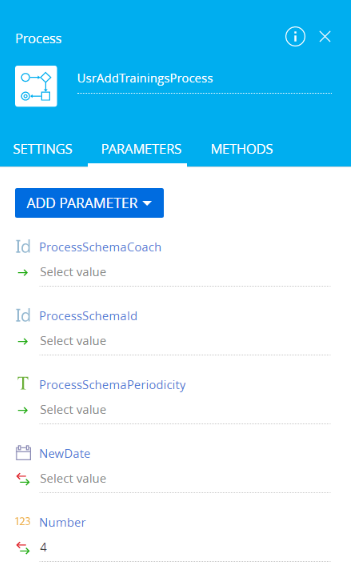
-
Add the following elements to the process working area:
- Exclusive gateway (OR)
- Formula
- Add data
- Script task
Connect the elements as specified in the figure below.
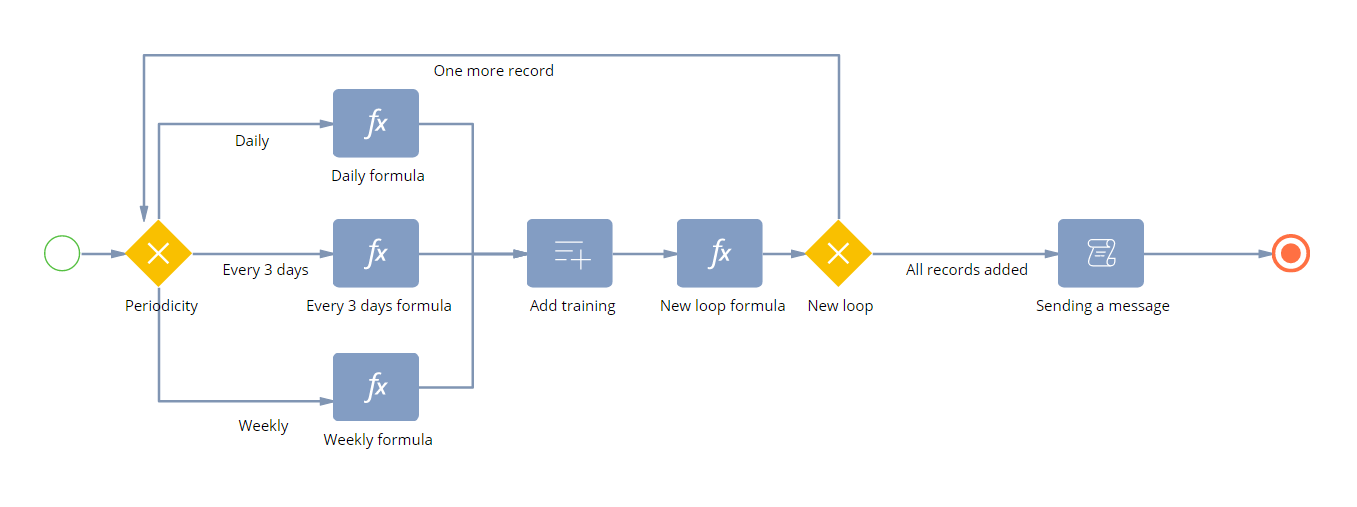
The process must run as follows:
- The "Periodicity" Exclusive gateway (OR) gateway checks the periodicity of the class to add to the timetable and branches the process on the next step depending on the periodicity.
- The Formula elements calculate the class date depending on the periodicity. The process writes the date to the NewDate process parameter.
- The Add data element writes the new group class data to the database table.
- The "New loop formula" Formula element calculates the number of remaining empty records. For this example, the process must populate and write 4 new records. The results must be written to the Number process parameter.
- The "New loop" Exclusive gateway (OR) gateway checks the value of the Number process parameter. If it is more than 0, the process repeats the previous steps. If it equals 0, the process moves to the next step.
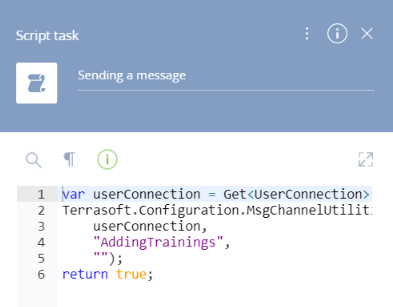
- The Script task element publishes the message that the new group class records were added.
-
Set up the business process elements.
Periodicity Exclusive gateway (OR).
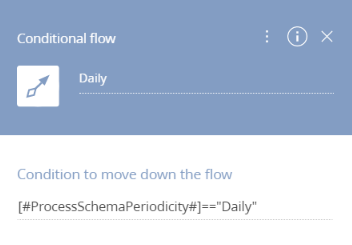
- Daily Conditional flow:
- Set Condition to move down the flow to [#ProcessSchemaPeriodicity#]=="Daily".
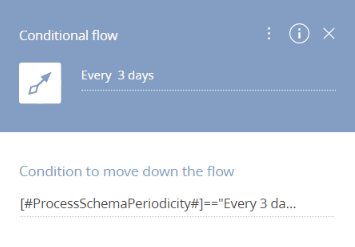
- Every 3 days Conditional flow:
- Set Condition to move down the flow to [#ProcessSchemaPeriodicity#]=="Every 3 days".
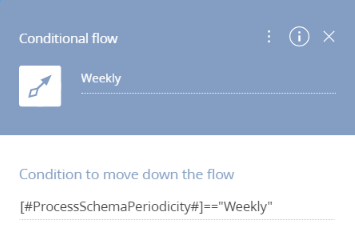
- Weekly Conditional flow:
- Set Condition to move down the flow to [#ProcessSchemaPeriodicity#]=="Weekly".
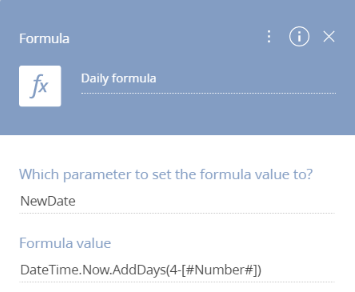
Daily formula Formula:
- Set Which parameter to set the formula value to? to "NewDate".
- Set Formula value to DateTime.Now.AddDays(4-[#Number#]).
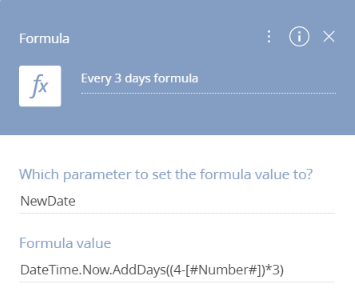
Every 3 days formula Formula:
- Set Which parameter to set the formula value to? to "NewDate".
- Set Formula value to DateTime.Now.AddDays((4-[#Number#])*3).
Weekly formula Formula:
- Set Which parameter to set the formula value to? to "NewDate".
- Set Formula value to DateTime.Now.AddDays((4-[#Number#])*7).
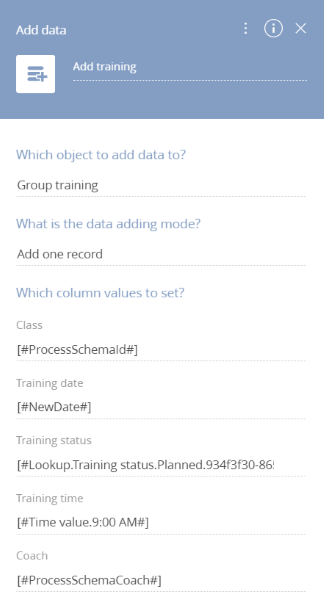
Add training Add data:
- Set Which object to add data to? to "Group training".
- Set What is the data adding mode? to "Add one record".
- Set Which column values to set? as follows:
Object column Type of data to add Value [Class] Process parameter ProcessSchemaId [Training date] Process parameter NewDate [Training status] Lookup value Planned [Training time] Time selection 09:00 AM [Coach] Process parameter ProcessSchemaCoach
New loop formula Formula:
- Set Which parameter to set the formula value to? to "Number".
- Set Formula value to [#Number#]-1.

New loop Exclusive gateway (OR).
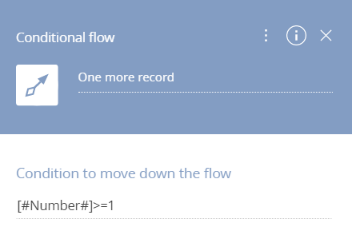
- One more record Conditional flow:
- Set Condition to move down the flow to [#Number#]>=1.
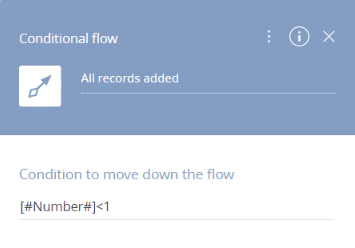
- All records added Conditional flow:
- Set Condition to move down the flow to [#Number#]<1.
Sending a message Script task:
- Daily Conditional flow:
- Save the process.
Create a replacing view model
Create a view model that replaces the ClientMessageBridge base schema to implement message passing between the process and the page module. The base schema implements the broadcasting of WebSocket messages to Creatio subscribers.
- Go to the Configuration section.
- Select the "TryItPackage" package from the package list.
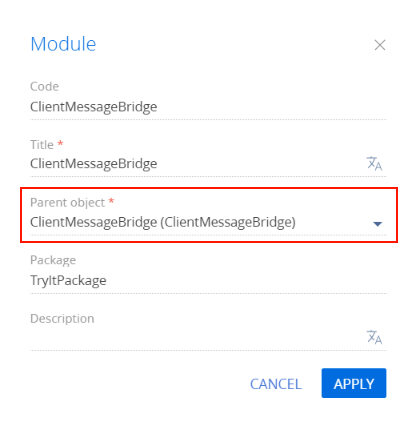
- Click Add on the workspace toolbar and select the Replacing view model configuration type.
- Set the Parent object field to "ClientMessageBridge" ("ClientMessageBridge"). Creatio will populate the other fields.
- Add the source code in the Schema Designer.
ClientMessageBridge.js
- Click the Save button to save the schema.
Modify the page source code
Add the class page action that adds new group classes to the "Group trainings" detail.
- Go to the Configuration section.
- Select the "TryItPackage" package from the package list.
- The Wizards added schemas of various types to the package. Filter schemas by the Client module type.
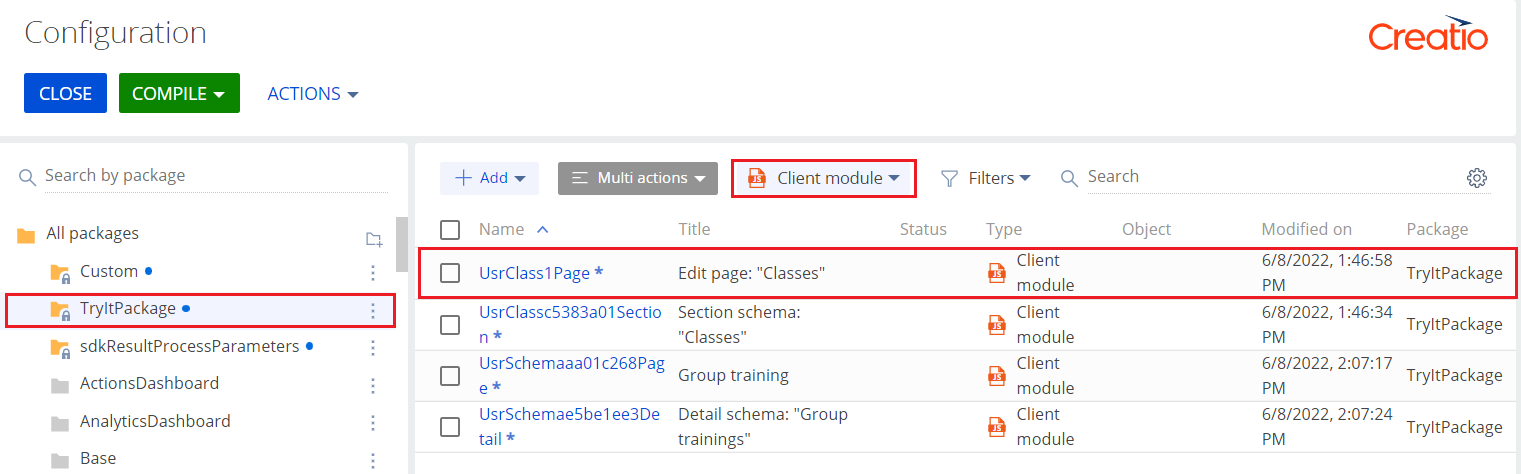
- Double-click the UsrClass1Page schema to open it.
-
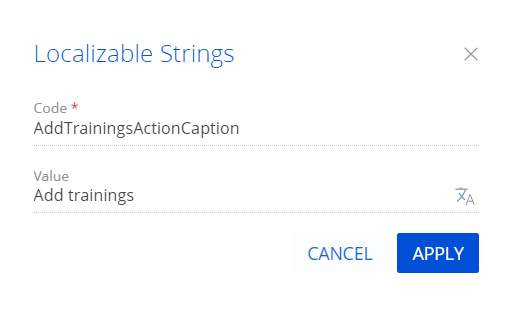
Add a new localizable string for the action name to the schema.
Click the
/scr_add_button.png) button in the Localizable strings block of the properties panel and fill out the localizable string properties:
button in the Localizable strings block of the properties panel and fill out the localizable string properties:- Set Code to "AddTrainingsActionCaption".
- Set Value to "Add trainings".
- Modify schema source code:
- Click Save to save the schema.
As a result, we implemented the population of the group class timetable. On the next step, implement the web service that provides the information about the number of classes in the timetable.