Web-to-Case functionality implements the ability to create cases in the Creatio by filling the required form fields embedded in a third-party site - landing.
The ProductCore package depends on the WebForms package, that contains Web-to-Case functionality. This means that landings can be used in all products. Pre-configured base functionality is implemented in the service enterprise, customer center, marketing products and all bundles that these products are part of.
More information about landings can be found in the Landings section articles of the corresponding products (such as Marketing Creatio).
Web-to-Case configuration can be done in the system interface. To implement generated JavaScript to a third-party site, you need the basic Web development skills.
The Web-to-Case base functionality allows to configure the following features without programming (using minor improvements on a third-party site):
- The form interface and styles.
- List of the additionally passed fields.
- List of default values for the fields that are not displayed in the form.
- The list of domains from which the case registration for each landing will be possible.
- The address to which the user will be redirected after submitting the form.
- JavaScript event handlers of successful/unsuccessful case registration.
- Additional landings, that can be configured in different way. That makes it possible to distinguish cases created from different sites.
You can modify the project to set up a preliminary handler of case registration through the Web-to-Case with the data validation, correction, creation of related entities and etc. The automatic creation of contact for the registered case is configured in the Creatio base configuration in the handler of case registration through the Web form.
The logic of the automatic filling of case fields.
In the process of case registration through the Web form, the following fields are recommended for filling: Name, Email, Phone, Case subject. The Case subject value will be passed to the new case.
The Creatio will identify the contact by Name, Email and Phone fields. The search is performed in a following way:
- If contact fields matches the [Name], [Email] and [Phone] fields from the filled form, they will be added to the created case.
- If contact fields matches only the [Name] and [Email] fields from the filled form, they will be added to the created case.
- If contact fields matches only the [Email] field from the filled form, it will be added to the created case.
- Otherwise, a new contact is created and the [Name], [Email] and [Phone] fields will be filled in. The created contact is added to the registered case.
If more than one contact are found, then the first contact will be used as contact of the case. Also the case registration date (RegisteredOn column) will be automatically filled with the current date and time.
Recommendations for the execution of project solutions
If you need to customize the Web-to-Case, use its base functionality as an example.
To execute the project solution:
- Create a page schema that is inherited from the CaseGeneratedWebFormPageV2. The page should not be a replacement page.
- Add a record of the new type of landing to the LandingType table and localization to the SysLandingTypeLcz table.
- Register the typed page created in the first step (the value of the type is new).
- If you need preliminary processing of the form data before saving the record in the database, you need to create a class that implements the IGeneratedWebFormPreProcessHandler interface. This class is a preliminary handler for case registration. Implement the Execute() method. This method is the entry point to the handler. Additional actions are implemented in this method. You can take the WebFormCasePreProcessHandler schema as an example.
- If you need to perform actions after saving the record in the database, you need to create a class that implements the IGeneratedWebFormPreProcessHandler interface. This class is a preliminary handler for case registration. Implement the Execute() method and perform necessary actions.
- If you created the registration handlers of the case, register them in the WebFormProcessHandlers table. Use an existing record as an example of registration.
- Edit the script template that forms the configuration JavaScript object of the landing, and place it in the ScriptTemplate localized string of the created page. Specify the similar script for all localizations used. You can find an example of the script in the CaseGeneratedWebFormPageV2 schema.
- Bind all created data to the package.
Steps to create Web-to-Case landing
1. Create new landing record in the Creatio
To create a new landing record, execute the Add action in the Landing pages and web forms section. Fill in the following fields on the opened page (Fig. 1):
- [Name] – landing page name in Creatio.
- [Website domains] – your landing page URL.
- [Status] – landing status.
- [Redirection URL] – the URL that is opened after the landing page form is completed.

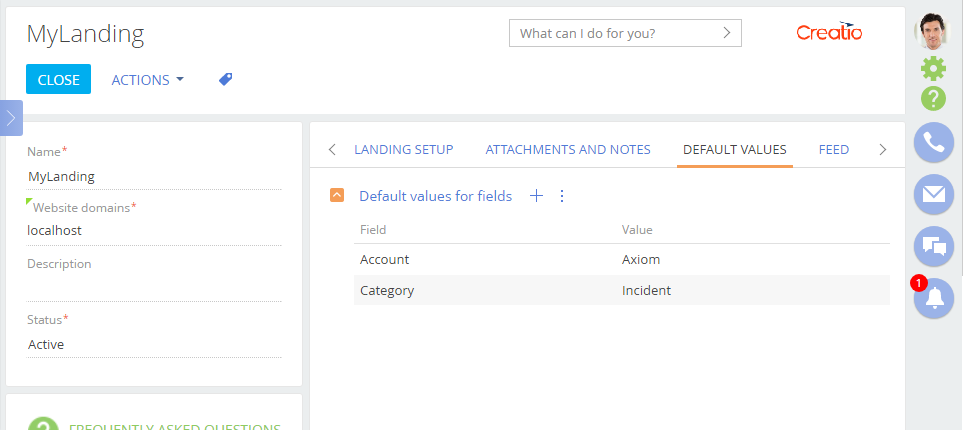
Save the page to apply the changes.
2. Create a landing page
To create landing page, you need to create a standard HTML page containing a Web form in any text editor using HTML markup.
To register the data sent via the web-form, add four fields to the form (using <input> element) that define the case:
- Case subject
- Contact email
- Contact name
- Contact phone
Specify the name and id attributes for each field.
To send a form data to Creatio when creating a new Case object, you need to add a JavaScript script to the HTML page. Copy the script source code from the STEP 2. Copy the code and configure and map the fields field of the landing edit page (Fig. 1).
The script contains the config configuration object that has following properties:
- fields – contains the object with "Subject, "Email", "Name" and "Phone” values that must match the id attribute selectors of the corresponding web form fields.
- landingId – contains the landing Id in the database.
- serviceUrl – contains URL of the service to which the form data will be sent.
- redirectUrl – contains redirection URL specified in the [Redirection URL] field of the landing.
- onSuccess – contains a function that handles the successful creation of a case. Optional property.
- onError – contains a function that handles the error of the case creation. Optional property.
The config configuration object is passed as an argument of the createObject() function that must be executed when the form is submitted.
To call the createObject() function when sending a form, add the onSubmit = "createObject(); return false" attribute to the
tag of the HTML page of the Landing page (see STEP 3, Fig. 1).
An example of the complete landing page source code for the case registration:
3. Add the page to the website.
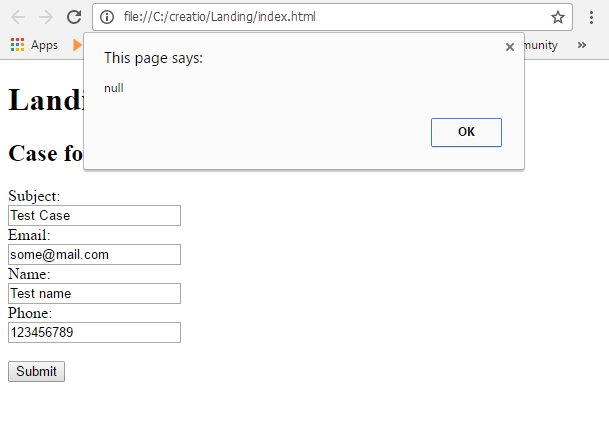
A case from the landing page will be added to the Creatio only if the page is hosted on the site whose name is listed in the Website domains field of the landing page record in Creatio. If you open the page in the browser locally, then an empty message will be displayed when the case is created.
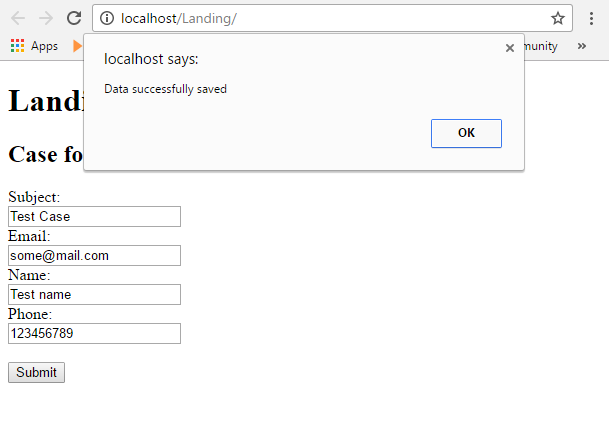
If you place the page on the local server of the computer that serves as the reserved domain name localhost (as specified in the landing setting , Fig. 1), then the script that adds the address from the web page of the landing will work correctly (Fig. 4)
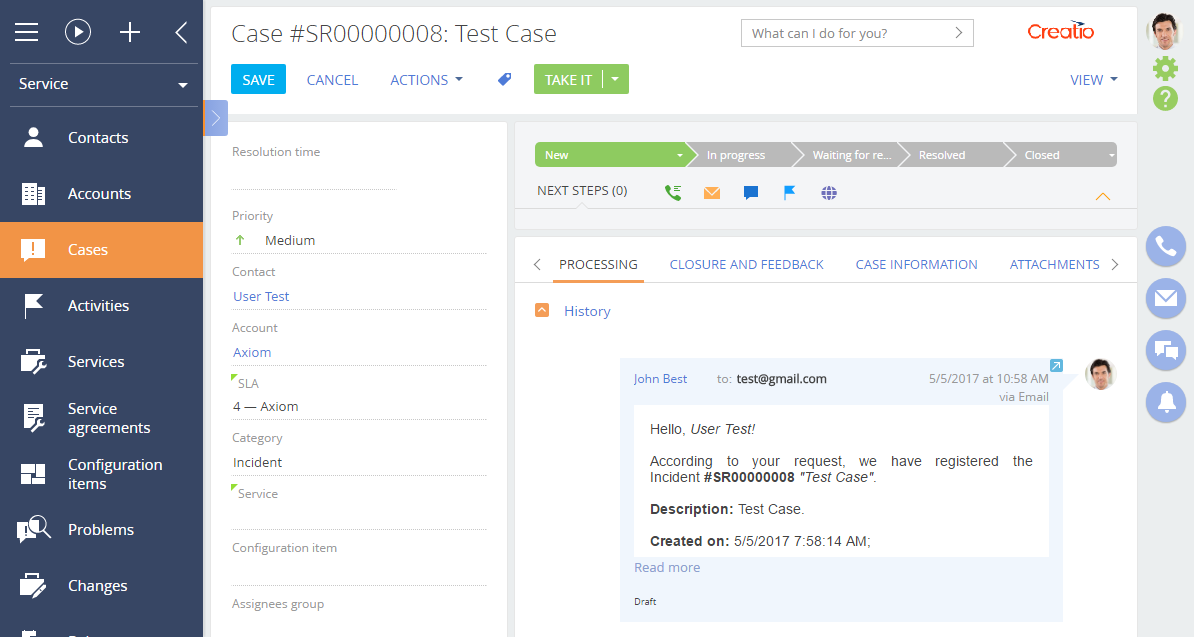
As a result, a case with specified parameters will be automatically created.