Set up the app properties
App properties are details stored within the app itself regardless of an environment.
App properties include the following data:
- icon
- icon color
- name
- description
- code
- default app page
- version
- developer
- required Creatio version
- dependencies
- packages
Set up the parameter values in the Application Hub. You can fill out the parameters only when you create an app, but you can change them at any moment.
The App properties window includes the following tabs:
- General. App icon, color, name, default app page, description, creation date, and developer.
- Dependencies. Required Creatio version, as well as apps and packages that the app depends on.
- Version. App version.
The code is generated on app creation and cannot be changed later.
Fill out the app properties
Fill out the corresponding app properties when you create an app. Learn more in a separate article: Create a custom app.
The app name can contain between 3 and 100 characters. You can use any alphanumeric and special characters.
The app code is used as the app ID. Also, the code is used in app schema names.
Creatio generates the code based on the app name. Code generation has the following special features:
- Use at least one Latin word in the title since the code can contain only digits and Latin characters.
- To generate the code, at least 3 characters from the app name suitable for code generation are required. If the app name contains multiple spaces, Creatio removes them from the code and formats the code in camelcase. For example, the code of the Financial benefits app is "UsrFinancialBenefits."
- If the app name contains fewer than 3 characters suitable for code generation, Creatio generates the code in the format of "AppUsr_gfgvd08j."
- If you change the app name, Creatio updates the code accordingly. You can edit the code manually when you create an app. In this case, Creatio does not update the code on further name changes. After you create an app, it is not possible to change its code.
If the code and unique ID of the app to install matches the code and unique ID of an existing app, Creatio updates the existing app. If the code of the app to install matches the code of an existing app but the unique ID differs, the app installation ends with an error. For example, if you have the Test ("UsrTest" code) app created on your Creatio instance, the Test ("UsrTest" code) app created on another Creatio instance will not be installed to your instance.
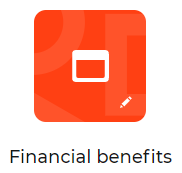
Creatio displays the specified parameter values both in the development environment and any other environment where you install the app (Fig. 1).
Change the app properties
You can change the app properties only in the development environment. To do this:
- Open the Application Hub. To do this, click
 in the top right → Application Hub.
- Open the app. For example, the Financial benefits app.
- Open the app properties. To do this, click
 .
- Edit the app properties. For example, name and icon color.
- Save the changes.
As a result, the app will display the changed parameter values in the development environment. The Developer parameter is non-editable. If you need to change it, edit the Maintainer parameter in the "app-descriptor.json" file of the app.
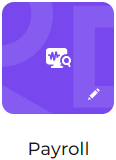
When you install the app into or update it in any environment, Creatio updates the app properties (Fig. 2).
Change the app start page
This functionality is available for Creatio 8.1.2 and later.
Creatio lets you change the start page to open in a self-developed app when you click the Run app button in the Application Designer. You can use a list page or homepage as the start page. You can use schemas only from the current app when configuring the start page.
If you configure the app start page, Creatio opens it when you click the Run app button. Otherwise, Creatio uses the following priority to open pages:
- homepage
- section list page
- Classic UI page or desktop page
To change the app start page:
- Open the Application Hub. To do this, click in the top right → Application Hub.
- Open the app. For example, the Financial benefits app that includes Financial benefits and Payroll sections.
- Open the app properties. To do this, click .
- Change the app start page in the Default app page field. For example, "Payroll (Freedom UI)."
- Save the changes.
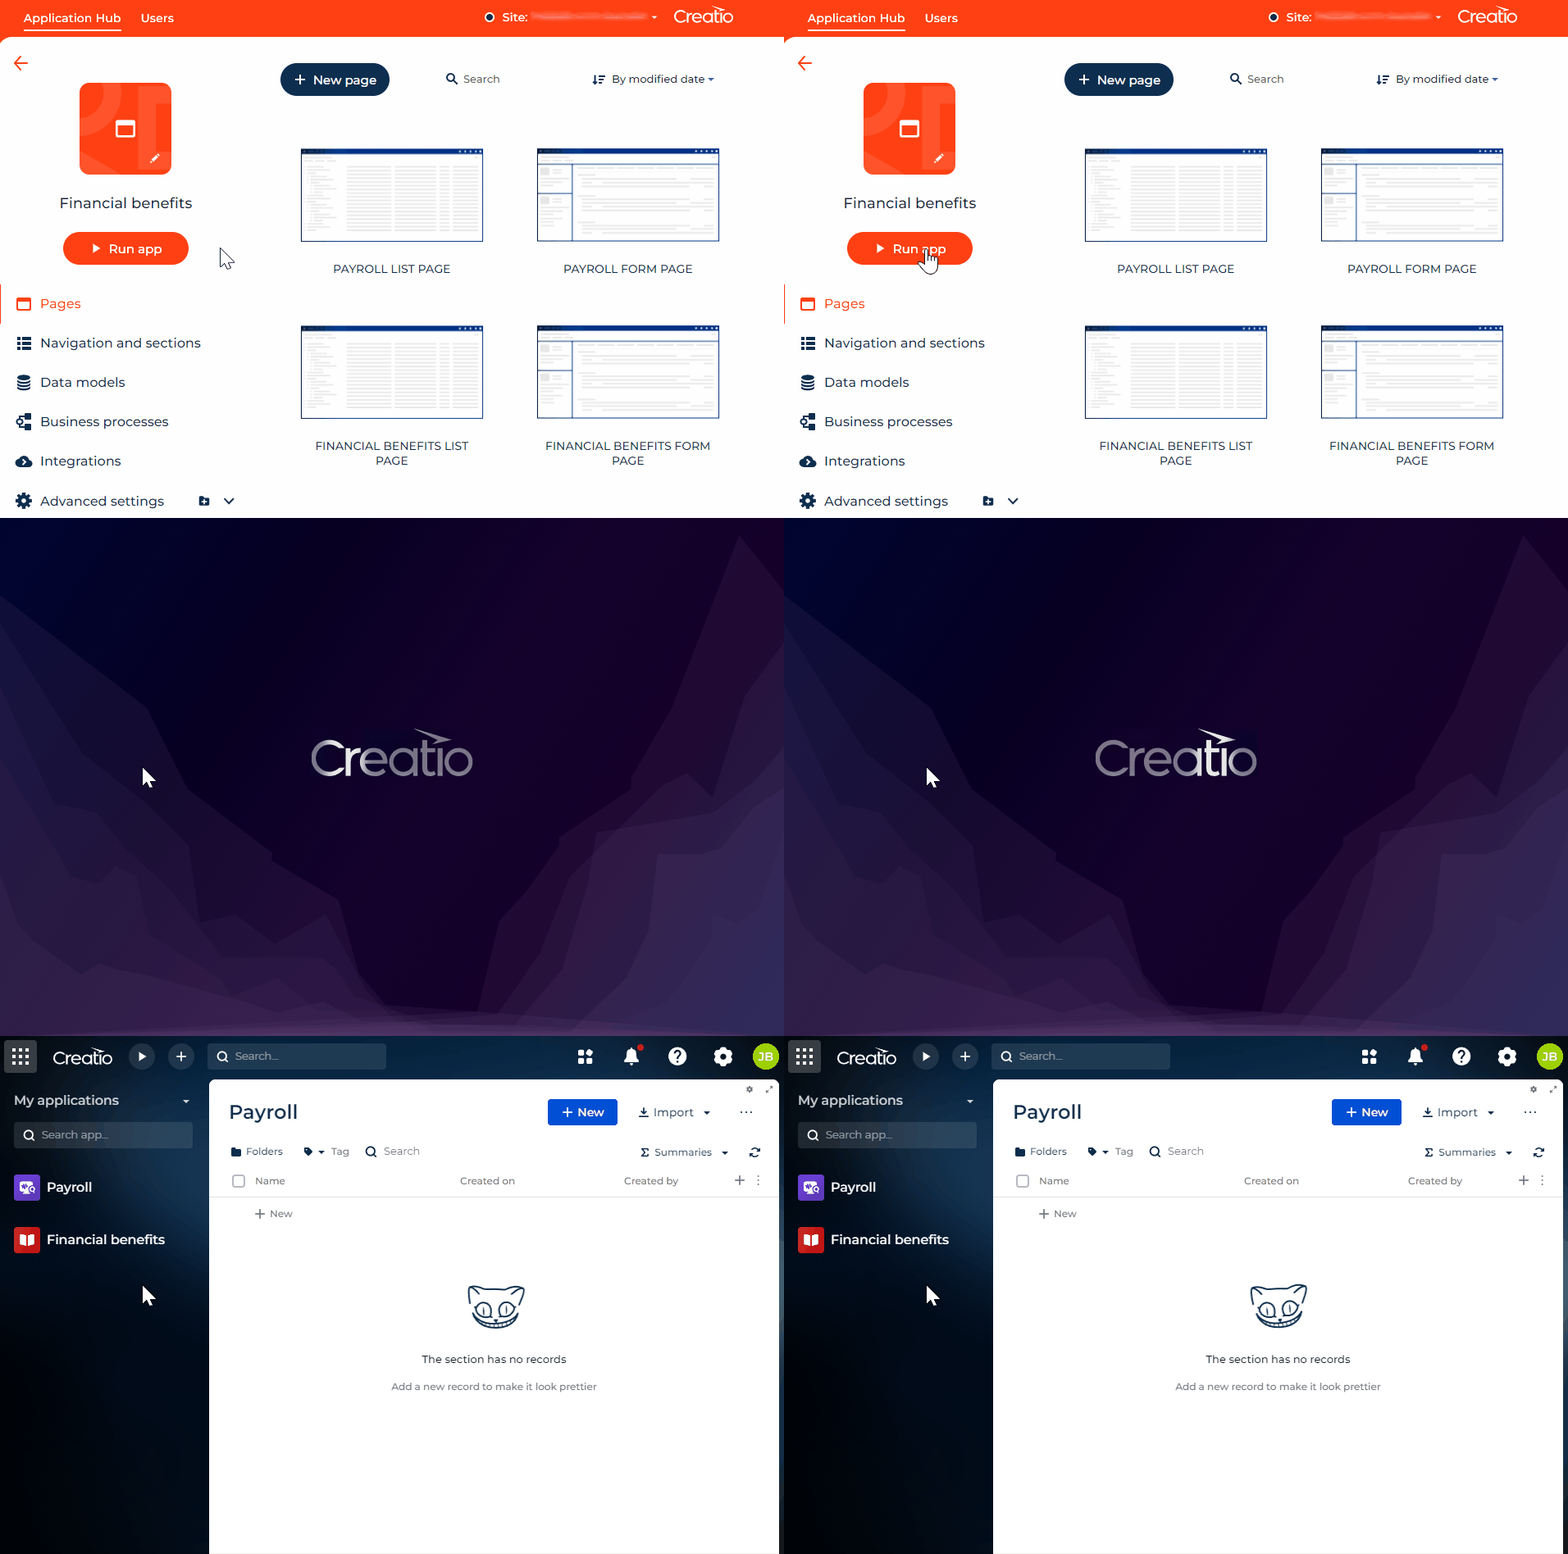
As a result, when you click the Run app button in the Application Designer for the Financial benefits app, Creatio will open the Payroll section list page (Fig. 3).
Specify the required Creatio version
You can specify the required Creatio version or version range into which the app can be installed. If the version of the target environment does not match, Creatio does not install the app.
To specify the required Creatio version:
- Open the Application Hub. To do this, click in the top right → Application Hub.
- Open the app. For example, the Financial benefits app.
- Open the app properties. To do this, click .
- Go to the Dependencies tab.
- Fill out the Required Creatio version field. If you specify only one required version, the application can be installed on that version and later versions of Creatio. You can also specify a compatible version range using a hyphen, for example, "8.3.0 - 8.4.3."
- Save the changes.
As a result, the app will be able to be installed only into Creatio instances that have the same or later version or are within the specified version range.
Set dependencies
Dependencies are other apps or packages that are not part of the app itself but whose content the app requires. Specify dependencies to add their contents to the app. To do this:
-
Open the Application Hub. To do this, click
in the top right → Application Hub. -
Open the app. For example, the Financial benefits app that includes Financial benefits and Payroll sections.
-
Open the app properties. To do this, click
. -
Go to the Dependencies tab.
-
Click Add → App or Package. For example, App. This adds a record to the dependency list.
-
Specify the app name in the Name field. For example, Customer 360.
For an app dependency, you can also specify the Required version of that app. If you specify a single version, your app can be installed only if the environment has the dependency app of that version or later. To specify a version range, use a hyphen, for example, "1.0 - 2.0" or "1.0.0 - 2.0.0." You cannot specify the required version for a package dependency.
-
Save the changes.
As a result, you will be able to use the contents of the dependency app in your app. Learn more: Manage app elements in the Application Designer.
If the app you add as a dependency already depends on the current app directly or through other apps, Creatio does not save the dependency and displays the cyclic connection chain. Learn more: Cyclic connection chains in package hierarchy.
To extend elements of the dependency in your app, turn on the Show inherited elements toggle in the Application Designer. Creatio displays the inherited pages, sections, data models, business processes, and Creatio.ai agents on the corresponding tabs of the Application Designer. The Integrations tab does not display inherited elements. Open the inherited element, make the changes, and save them. Creatio stores the extension in the current app, even if you extend elements inherited from multiple apps. This keeps all customizations of the app together.
Creatio checks for dependencies before you install an app from the file into a different Creatio instance. If you want to transfer the app, make sure the target environment has the dependencies as well. If the environment lacks dependencies, move them there manually before installation.
See also
Environment overview (developer documentation)