Add custom HTML code to an email template
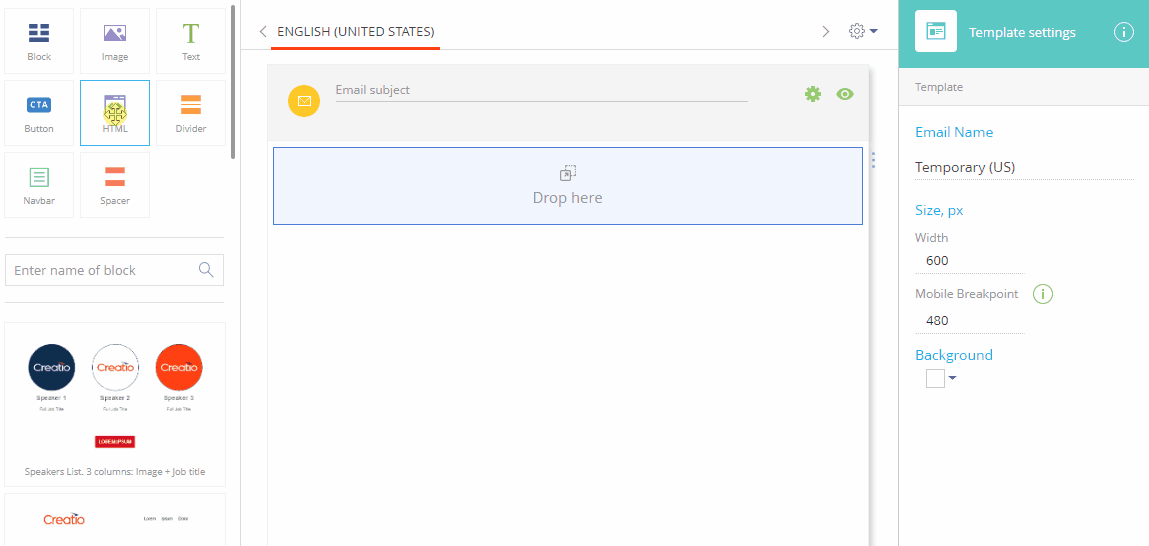
The HTML, aka "Smart block", element (Fig. 1) enables implementing custom HTML code into your template and enriching it with reusable user-defined macros.
Use the HTML element to set custom styles such as elliptical rounding of corners, non-uniform borders, multiple background images, etc. You can also use this element to import templates designed in third-party software. To do this, add all the HTML code of such a template to the HTML element.
The HTML element is intended for use by HTML-savvy users who are familiar with web design and can code their custom designs in HTML.
Creatio will check your custom code for errors before adding it to the template. You can review the errors and warnings in the validation panel. Warnings do not affect the validation while saving. To save the HTML element to the template, fix all detected errors.
Adding a macro
You can add custom macros to the HTML code of the HTML element. When sending an email, Creatio replaces the user-defined macros with the corresponding values specified in the HTML setup area. The HTML element enables marking variables (text, font color or images) in the element code and set up custom macros for editing.
When the user creates a macro, the Content Designer generates a corresponding field and maps the value of the field to the macro. If the macro is reused in the same HTML element, the value of the field will be mapped to every instance of the macro.
The following types of macros are available:
-
New String – a single-line macro. Read more >>>
-
New Text – a multiline macro. Read more >>>
-
New Picture – an image source macro. Read more >>>
-
New Color – a color picker macro. Read more >>>
-
The setup procedure is as follows:
-
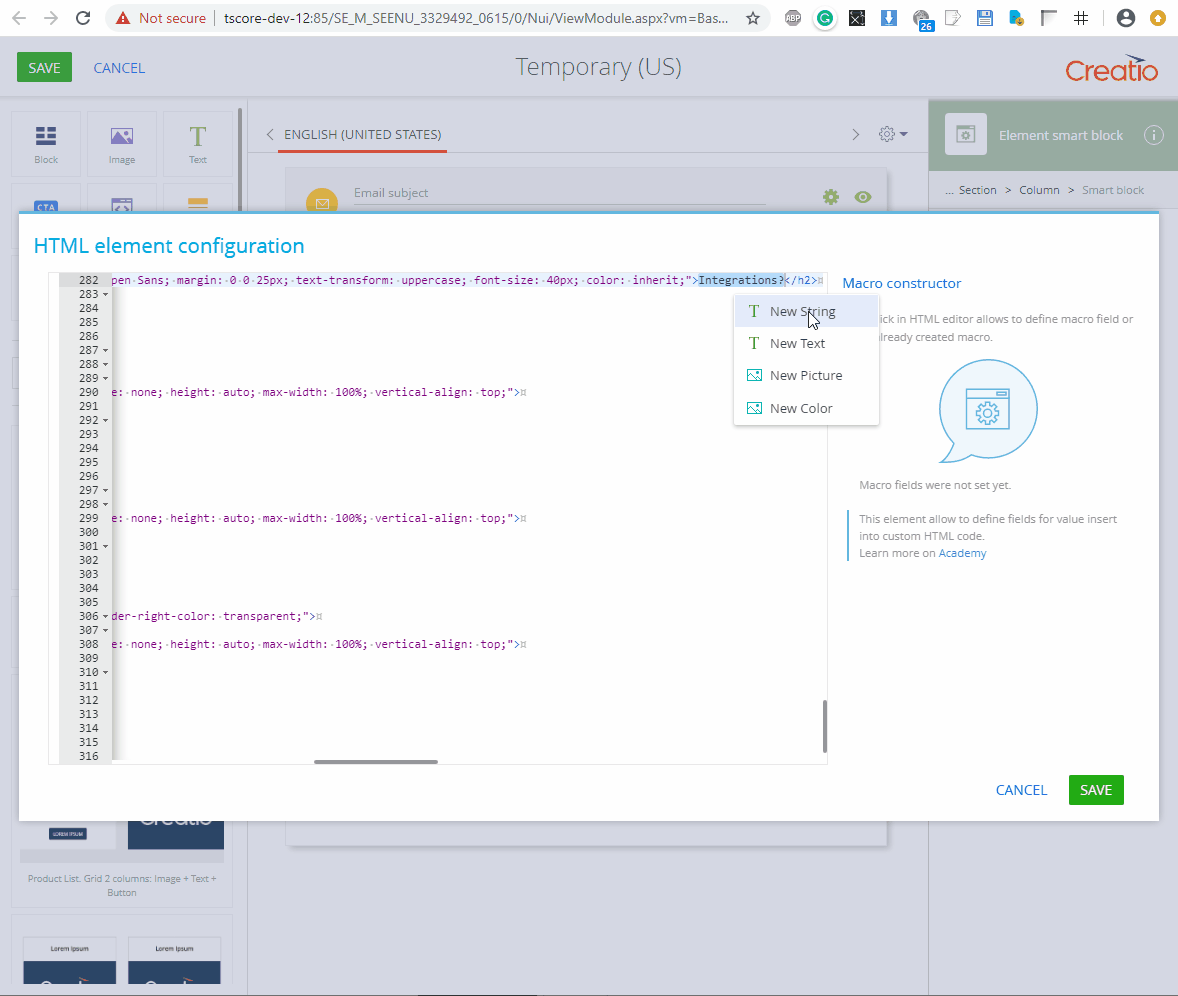
Select an HTML element on the template and click Edit HTML.
-
Select the part of the code that you want to replace with a macro.
-
Right-click the selected code. A macro context menu will appear.
noteRight-clicking when nothing is selected in the editor does not produce a macro context menu.
-
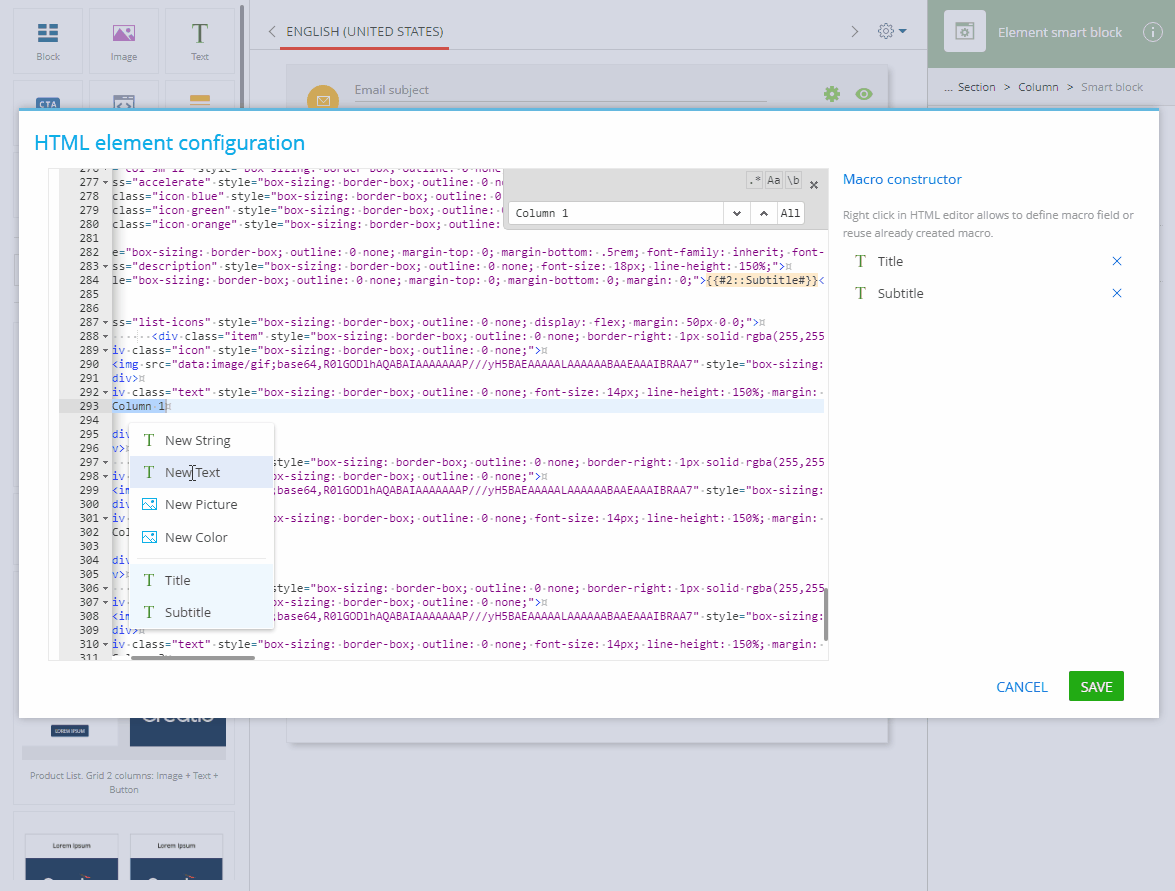
Select the type of macro in the menu. You can create a new macro or add another instance of a previously created macro to the code. If macros have already been added to the HTML element, they will also be displayed in the context menu.
-
Specify the title of the currently selected macro in the Macro constructor area on the right (Fig. 2), so that you can identify this macro later.
Fig. 2 Editing the title of a macro 
-
Click Save to apply changes.
As a result, a new field will be available in the HTML setup area on the right (Fig. 3). Changing the value of the field will immediately update all macro instances throughout your HTML element.
Fig. 3 New macro field 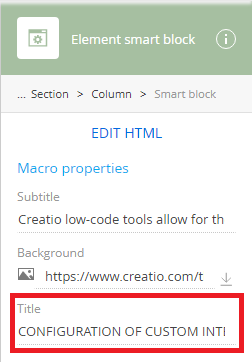
Deleting a macro
-
Select an HTML element where you need to delete a macro and click Edit HTML.
-
In the Macro constructor area on the right, click
 next to the macro that you want to delete (Fig. 4).
Fig. 4 Deleting a macro field 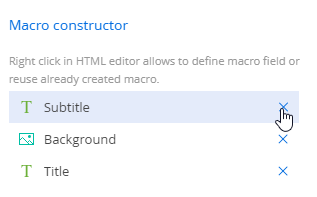
-
Click Save to apply changes.
As a result, all instances of the macro will be replaced with the current value of the macro. The macro will be no longer available in the setup area of the HTML element.
Macro types
String macros
Use this macro type to insert a short single-line text that is not white space pre-formatted (Fig. 5).
Any white space characters in the macro value will be inserted as-is. This means that some breakable white space characters (particularly, character tabulations and new lines) or a sequence of such characters will display as a single space character. Additionally, pressing the Enter key when editing the field does not produce a new character.
As a result, the text will display as a single line unless user-defined CSS rules forbid such behavior.
Text macros
Use this macro type to insert long multiline white space pre-formatted texts (Fig. 6).
When the user populates a "New Text" macro field with a string, new lines will be converted to line breaks, multiple space characters will be replaced with unbreakable space characters, and character tabulations will be replaced with a sequence of four unbreakable space characters. Additionally, pressing the Enter key when editing the field will produce a new line character.
As a result, the displayed text preserves white space pre-formatting of the source text in the source macro field.
Picture macros
Use this macro type to replace or provide the value of the "src" attribute of an container or the value of a "url" CSS property.
When the macro is created, the Content Designer generates an image source field ( ) mapped to the macro. Use this field to add image to the template. You can upload a local image or specify an image URL (Fig. 7).
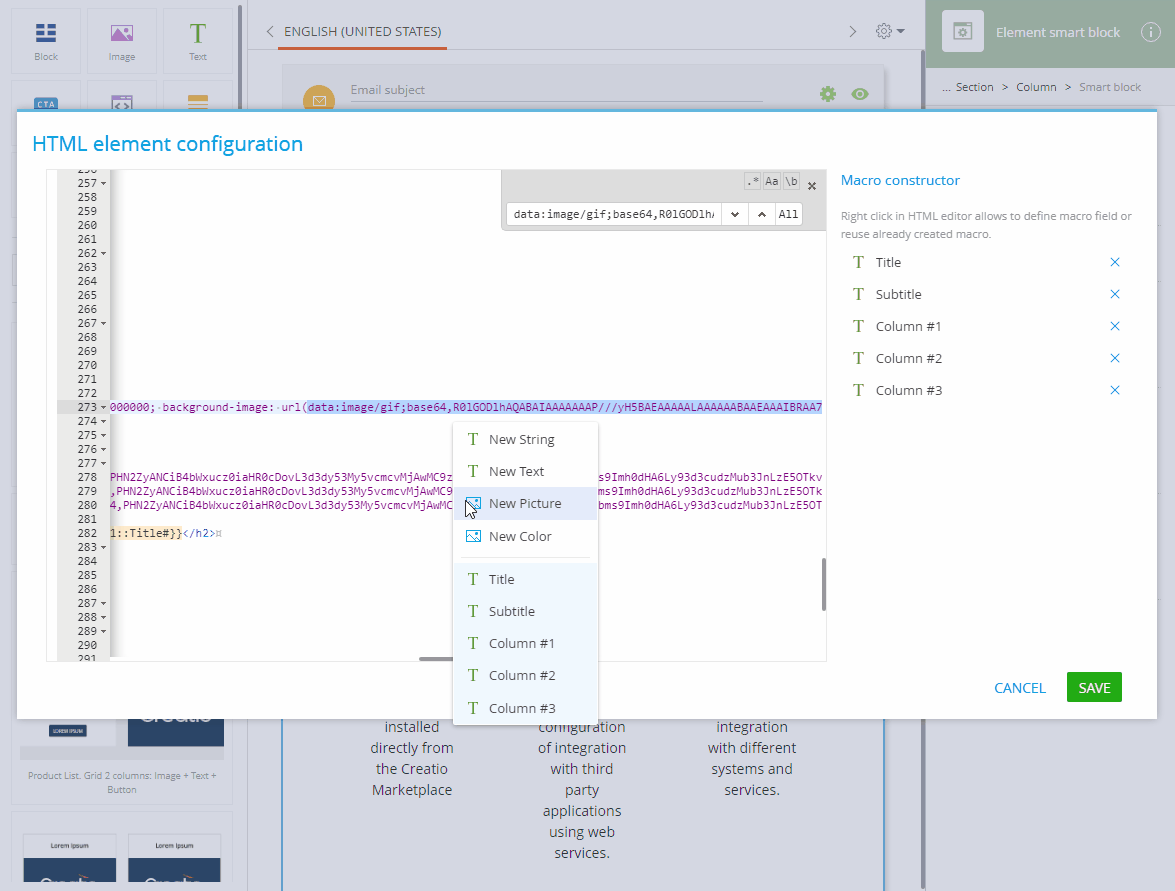
The  field supports Data URIs. You can insert a base64-encoded image instead of a URL.
Base64-encoded images are part of the HTML code of the message and are not normally filtered by email clients that prevent external images from loading by default.
Color macros
Use this macro type to replace or provide color definitions for embedded style sheets and in-line element styles (Fig. 8).
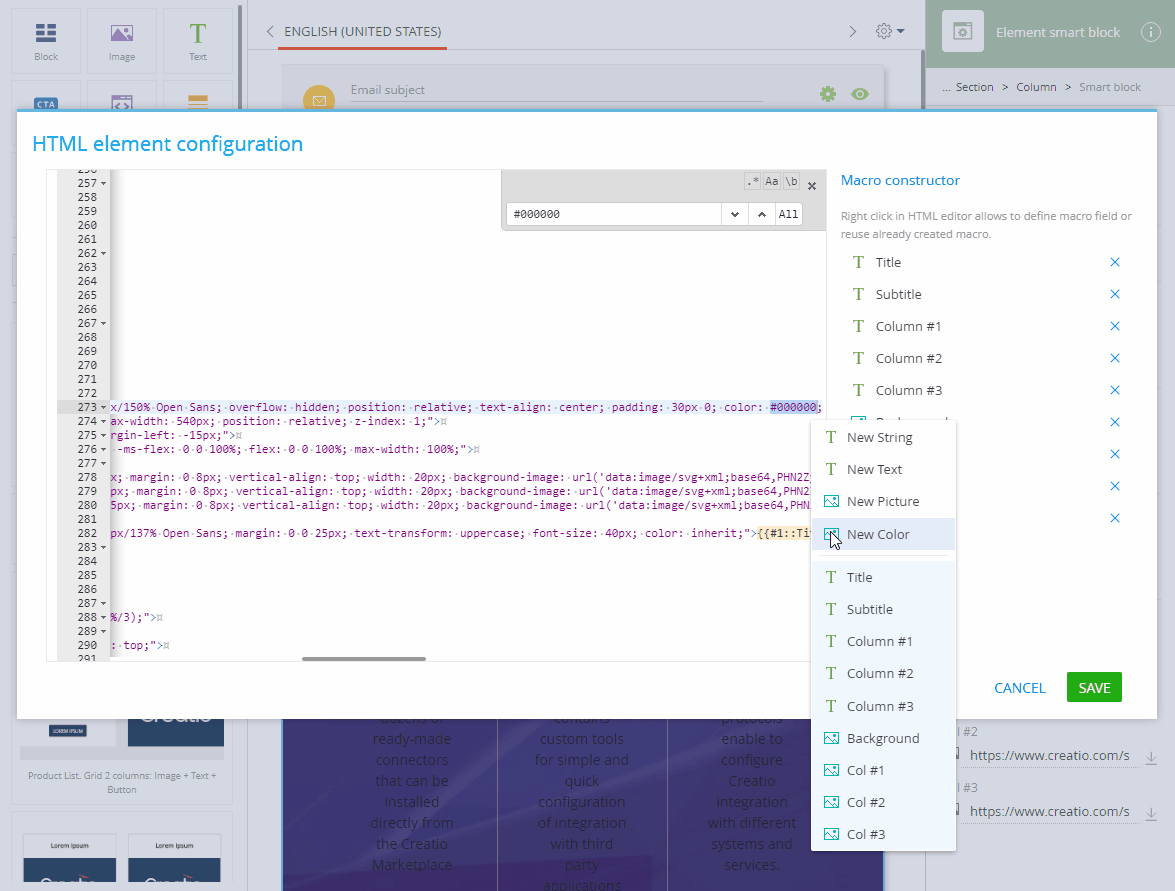
When a new "Color" macro is created, the Content Designer generates a color picker field mapped to the macro. Use the field to pick a color for your macro. The macro will generate a hexadecimal RGB color code, preceded with the "#" sign, e.g. "#0d2e4e".