Use the Periods and Period types lookups to manage forecast periods.
To add a new period:
-
Click
 to open the System Designer.
 -
Open the Lookups section and find the Period types lookup.
-
Click New.
-
Enter the name of a new period type, e.g., “Half-year”.
-
Click
 and save the changes.
 -
Open the Lookups section again and find the Periods lookup.
-
Click View → Set up fields to display and add the “Period type” column to the section list. Click Save.
-
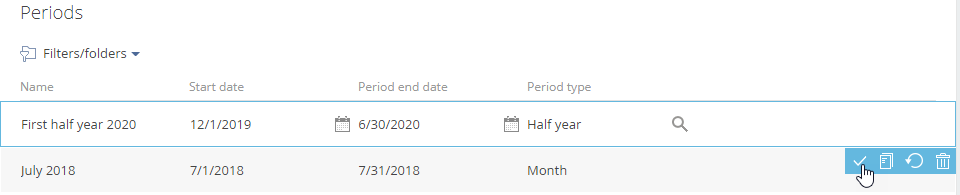
In the lookup list, click New and populate the name, period type, the start and end dates for the new period (Fig. 1).
-
Add the missing periods up to the end of the current year. For example, with a period that is six months long, you will only need two periods.
As a result, new periods become available for your forecasts.