Instantiate the replacing class using the replacing class object factory. Creatio requests the replaced type instance from the factory. The factory returns the instance of the corresponding replacing type, which the factory computes using the dependency tree in source code schemas.
To create a replacing configuration element of the appropriate type, follow the procedure covered in a separate article: Develop configuration elements.
[Override] attribute
The [Override] attribute type belongs to the Terrasoft.Core.Factories namespace and directly inherits the System.Attribute base type. Learn more about the Terrasoft.Core.Factories namespace in the .NET class library. Learn more about the System.Attribute base type in the official Microsoft documentation.
The [Override] attribute only applies to classes. The purpose of the [Override] attribute is to define classes to take into account when building a dependency tree of replacing and replaced factory types.
View how to apply the [Override] attribute to the MySubstituteClass replacing class below. SubstitutableClass is the replaced class.
ClassFactory class
The purpose of the ClassFactory class is to implement the factory of replacing Creatio objects. The factory uses the Ninject open-source framework to inject dependencies. Learn more about the ClassFactory static class in the .NET class library.
Creatio initializes the factory during the first call to it, i. e. at the first attempt to retrieve the replacing type instance. The factory collects data about the replaced configuration types as part of the initialization.
The operating procedure of the factory:
- Search for replacing types. The factory analyzes the configuration build types. The factory interprets the class marked with the [Override] attribute as a replacing class and its parent class as a replaced class.
- Build the type dependency tree as a list of Replaced type → Replacing type value pairs. The replacement hierarchy tree does not take transitional types into account.
- Replace the source class with the last inheritor in the replacement hierarchy.
- Bind replacement types based on the type dependency tree. The factory uses the Ninject framework.
View the factory workflow based on the class hierarchy example below.
The factory will use the class hierarchy to build a dependency tree you can view below.
The factory will not take the transitional types into account when building the dependency tree.
Here, the ClassC type, and not the transitional ClassB type, replaces ClassA. This is because ClassC is the last inheritor in the replacement hierarchy. As such, the factory will return the ClassC instance if you request the ClassA or ClassB type instance.
Replaced type instance
To retrieve a replaced type instance, use the Get<T> public static parameterized method. The ClassFactory factory provides this method. The replaced type serves as a generic method parameter. Learn more about the Get<T> method in the .NET class library.
As a result, Creatio will create the MySubstituteClass class instance. You do not have to state the type of the new instance explicitly. The preliminary initialization lets the factory determine the type to replace the requested type and create the corresponding instance.
The Get<T> method can accept an array of ConstructorArgument objects as parameters. Each of the objects in the array is a class constructor argument the factory created. As such, the factory lets you instantiate replacing objects with parameterized constructors. The factory core resolves the dependencies required for the creation or operation of the object independently.
We recommend ensuring the signature of the replaced class constructors matches the signature of the replacing class. If the replacing class implementation logic must declare the constructor that has a custom signature, make sure to follow the rules listed below.
Rules for creating and calling replaced and replacing class constructors:
- If the replaced class lacks an explicitly parameterized constructor (the class only has a default constructor), you can implement an explicitly parameterized independent constructor in the replacing class without any restrictions. Follow the standard order of calls to the parent (replaced) and child (replacing) class constructors. When instantiating the replaced class via the factory, make sure to pass the correct parameters to initialize the replacing class properties to the factory.
- If the replaced class has a parameterized constructor, implement the constructor in the replacing class. The replacing class constructor must call the parameterized constructor of the parent (replaced) class explicitly and pass the parameters for the correct initialization of the parent properties to the parent class. Other than that, the replacing class constructor may initialize its properties or remain empty.
Failure to comply with the rules will result in a runtime error. The developer is responsible for the correct initialization of replacing and replaced class properties.
Example 1
The SubstitutableClass replaced class has one default constructor.
Declare two constructors in the SubstituteClass replacing class: the default constructor and the parameterized constructor. Redefine the GetMultipliedValue() parent method using the replacing class.
See the examples of retrieving the SubstituteClass replacing class instance using the factory below.
Example 2
The SubstitutableClass replaced class has 1 parameterized constructor.
The SubstituteClass replacing class has 1 parameterized constructor as well.
See the example of creating and using an instance of the SubstituteClass replacing class using the factory below.
Example 3
The SubstitutableClass replaced class has 1 parameterized constructor.
The SubstituteClass replacing class redefines the GetMultipliedValue() method that will return a fixed value. You do not have to initialize the SubstituteClass class properties. However, the class requires an explicit declaration of the constructor that calls the parameterized parent constructor to initialize the parent properties correctly.
1. Implement the replaced class
- Go to the Configuration section and select a custom package to which to add the schema.
-
Click Add → Source code on the section list toolbar.
/scr_add_schema.png)
-
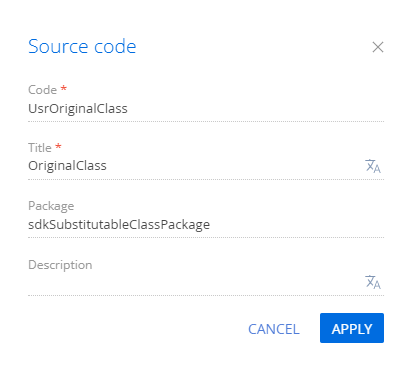
Fill out the schema properties in the Schema Designer:
- Code – "UsrOriginalClass".
- Title – "OriginalClass".

-
Create a replaced UsrOriginalClass class that contains the GetAmount(int, int) virtual method. The method adds two values passed as parameters.
- Click Save then Publish on the Designer's toolbar.
2. Implement a replacing class
- Go to the Configuration section and select a custom package to which to add the schema. Select a package other than the package in which you implemented the UsrOriginalClass replaced class.
- Add the custom package that contains the UsrOriginalClass replaced class as a dependency for the custom package that contains the replacing class.
-
Click Add → Source code on the section list toolbar.
/scr_add_schema.png)
-
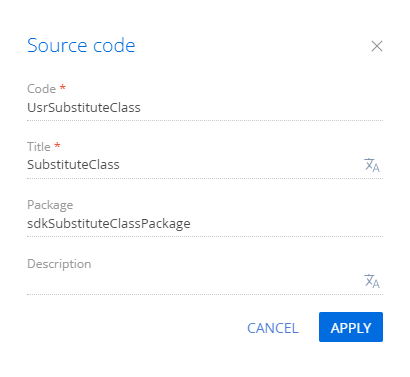
Fill out the schema properties in the Schema Designer:
- Code – "UsrSubstituteClass".
- Title – "SubstituteClass".

-
Create a SubstituteClass replacing class that contains the GetAmount(int, int) method. The method summarizes two values passed as parameters and multiplies the sum by the value passed in the Rate property. Creatio will initialize the Rate property in the replacing class constructor.
- Click Save then Publish on the Designer's toolbar.
3. Implement a custom web service
- Go to the Configuration section and select a custom package to which to add the schema. Use the package in which you implemented the UsrOriginalClass replaced class for the custom web service.
-
Click Add → Source code on the section list toolbar.
/scr_add_schema.png)
-
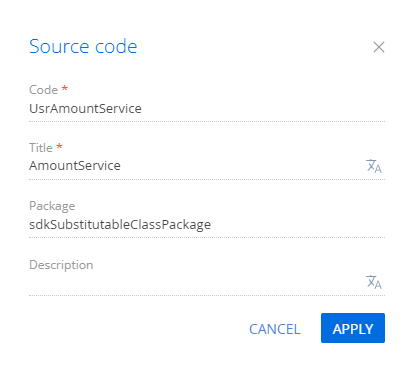
Fill out the schema properties in the Schema Designer:
- Code – "UsrAmountService".
- Title – "AmountService".

-
Create a service class.
- Add the Terrasoft.Configuration namespace in the Schema Designer.
- Add the namespaces the data types of which to utilize in the class using the using directive.
- Add the name of the UsrAmountService class that matches the schema name (the Code property).
- Specify the Terrasoft.Nui.ServiceModel.WebService.BaseService class as a parent class.
- Add the [ServiceContract] and [AspNetCompatibilityRequirements(RequirementsMode = AspNetCompatibilityRequirementsMode.Required)] attributes to the class.
-
Implement a class method.
Add the public string GetAmount(int value1, int value2) method that implements the endpoint of the custom web service to the class in the Schema Designer. The GetAmount(int, int) method adds two values passed as parameters.
View the source code of the UsrAmountService custom web service below.
The code provides examples of creating a replacing class both using the replaced objects factory and using the new() operator.
- Click Save then Publish on the Designer's toolbar.
As a result, Creatio will add the custom UsrAmountService REST web service that has the GetAmount endpoint.
Outcome of the example
To call the custom web service, access the GetAmount endpoint of the UsrAmountService web service in the browser and pass 2 arbitrary numbers as value1 and value2 parameters.
The GetAmountResult property will return the custom web service results executed both using and not using the class replacement.

