Customize the Freedom UI
Starting with Creatio version 8.3.2, support for the Classic UI shell is officially discontinued. All environments still using the Classic UI shell are automatically switched to the Freedom UI shell during the upgrade to version 8.3.2. This change affects only panels, navigation, communication areas, and related elements. All existing functionality, including Classic UI sections, remains unaffected and continues to operate as before. Administrators can enable the Freedom UI shell in advance for selected users, roles, or the entire organization to prepare for the transition. Learn more: Get started with Creatio Freedom UI, Turn on Freedom UI. If you encounter any issues, contact Creatio support.
Freedom UI is the revamped UI used by default in Creatio since the 8.0 Atlas release. To explore Classic UI customization options refer to the Creatio 8.0 documentation.
You can customize the following elements in Freedom UI:
- Desktop background. Read more >>>
- Desktops. Read more >>>
- Greeting macro. Read more >>>
- Upper panel logo. Read more >>>
- Color coded section. Read more >>>
To apply changes to workplaces and sections, you no longer need to log out and log back in to Creatio. For example, to add a section to a workplace, change the section icon.
Freedom UI customization is available only for Enterprise and Unlimited pricing plans. Learn more: Creatio Composable Pricing.
Change the desktop background
The desktop background is displayed on the Creatio homepage and any Freedom UI page in the Freedom UI.
You can use the following desktop backgrounds:
- out-of-the-box picture
- custom picture. Available in Creatio 8.0.7 Atlas and later.
- color background. Available in Creatio 8.0.7 Atlas and later.
Change the desktop background to out-of-the-box picture
- Click
 in the top right → "Set up view" → "Appearance setup."
 - Click
 in the Background setup block and select a picture in the Choose your picture field.
 - Click Save.
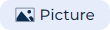
As a result, the desktop background will be changed to out-of-the-box picture (Fig. 1).
Change the desktop background to custom picture
-
Click
in the top right → "Set up view" → "Appearance setup." -
Click
→ Add picture in the Background setup block and upload a picture. Recommendations for the picture are as follows:- Size: 1920x1080 pixels or larger.
- Format: *.png.
- File size: 3 MB or smaller.
-
Click
 in the uploaded picture menu → Set background.
 -
Click Save.
As a result, the desktop background will be changed to custom picture (Fig. 2).
Change the desktop background to solid color
- Click in the top right → "Set up view" → "Appearance setup."
- Click
 in the Background setup block and select a color in the Choose your color field.
 - Click Save.
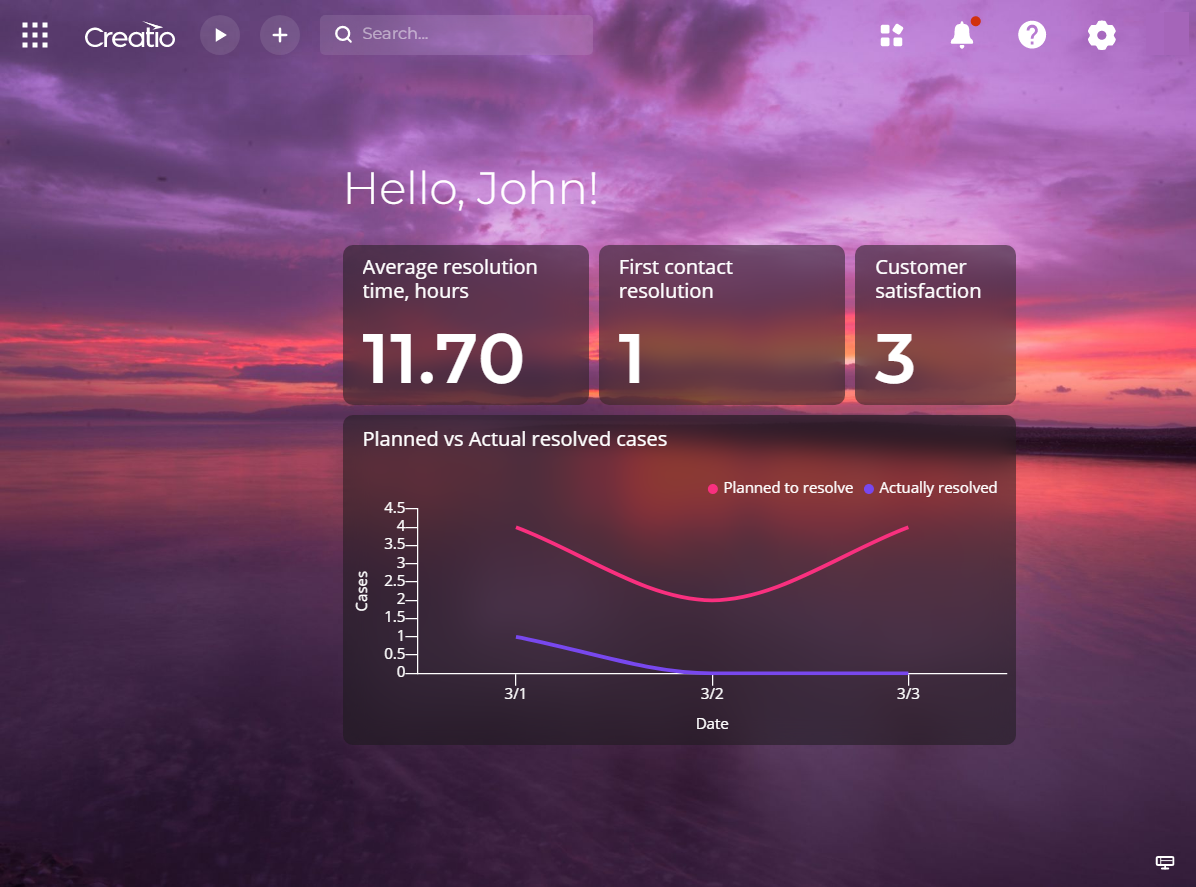
As a result, the desktop background will be changed to solid color (Fig. 3).
To delete out-of-the-box or custom picture, click in the picture menu → Delete. Keep in mind that you can only delete an unused background.
Customize the desktops
You can modify an existing desktop or add a new one (Fig. 4).

Modify an existing desktop
Modifying an existing desktop is performed by the system administrator.
To modify an existing desktop:
-
Click the upper panel logo to move to a desktop from any Freedom UI page.
-
Open a desktop.
- Click
 in the bottom right.
 - Click
 in the required desktop.
- Click
-
Modify an existing desktop using Freedom UI Designer. You can do it similarly to any Freedom UI page.
-
Click Save.
As a result, the desktop will be modified.
Add a custom desktop
- Click in the top right → "Set up view" → "Appearance setup."
- Click Add desktop in the Desktops block.
- Set up a desktop page using Freedom UI Designer. You can do it similarly to any Freedom UI page.
- Click Save.
As a result, a custom desktop will be added.
Set up the access permissions to desktop
Out-of-the-box and custom desktops have default access rights. Set up the access permissions to enable only some user/role to access the desktop. To do this:
-
Click
in the top right → "Set up view" → "Appearance setup." -
Click
→ "Setup access rights" on a desktop in the Desktops block. For example, Sales desktop (Fig. 5). This opens the access rights page for the desktop.Fig. 5 Desktop menu 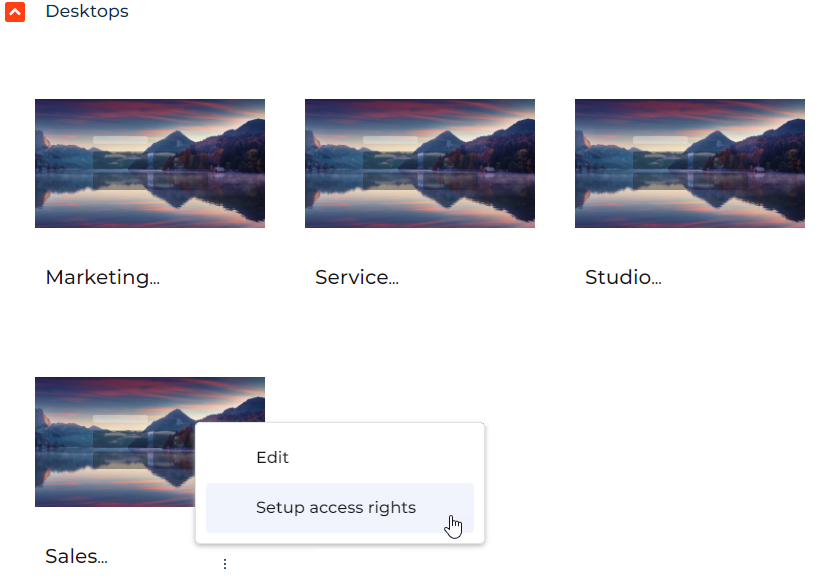
-
Set up access rights. You can do it similarly to any record. Learn more in a separate article: Share records.
-
Click Save.
As a result, a dedicated user/role will be able to view, edit, or delete the Sales desktop.
Change a greeting macro
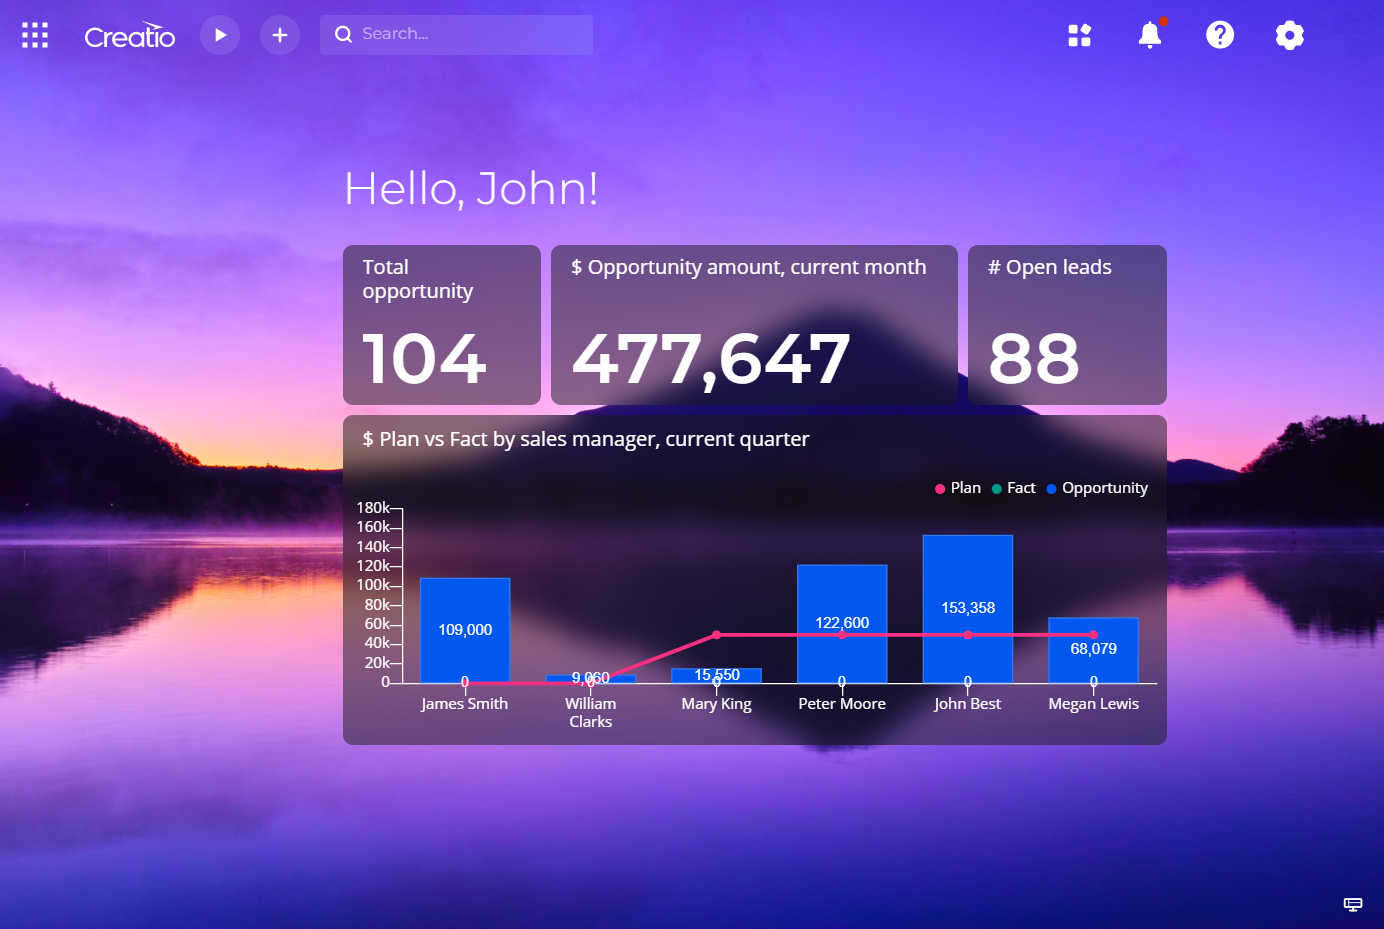
You can personalize greetings on a desktop using the greeting macro (Fig. 6).
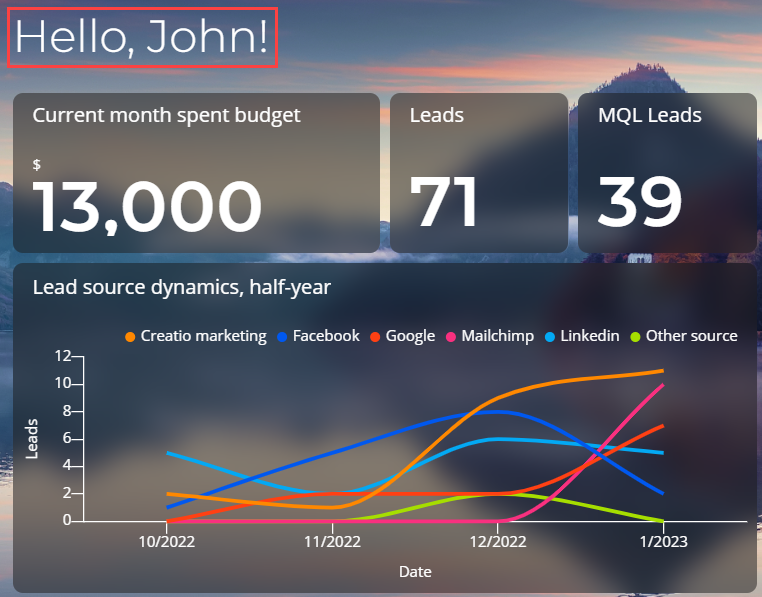
By default, a desktop displays the user's first name corresponding to the [#Current user.Recipient Name#] macro. Creatio takes the macro value from the "GivenName (First Name)" column. If the column is empty, the value from the "Name (Full name)" column is taken instead.
To change a greeting macro on a desktop:
-
Click on the upper panel logo from any Freedom UI page to move to a desktop.
-
Open a desktop and click
in the bottom right of the desktop. -
Select the label of greeting macro and enter a new value to the Text property.
noteYou can find list of available macro in email templates. Learn more in a separate article: Personalize email content with macros.
We recommend using any field value from the contact page that identifies a user. For example,
[#Current user.Salutation#],[#Current user.Contact name#], etc. You can use multiple comma-separated greeting macro. -
Click Save.
As a result, a greeting macro on a desktop will be changed. If required, set up different macro on different desktops.
Change the title of the browser tab
You can customize the "Creatio" part in the title of the browser tab. To do this, set the new value in the "Product name" ("ProductName" code) system setting. Learn more: Manage system settings.
Change an upper panel logo
The upper panel logo is displayed on the Creatio toolbar (Fig. 7). Click a logo to move to a desktop from any Freedom UI page.

An upper panel logo changes in a different way in the Freedom UI. The upper panel logo has a default logo and logo background. Changing the logo is performed by the system administrator.
We have already migrated upper panel logos of existing users to the new system settings, and set the background of these logos to white.
Change a default logo
-
Make sure you have the permission to run the "Can show the system designer icon" (CanOpenSystemDesigner code) system operation.
-
Click
in the top right → "System setup" → "System settings." -
Open the "Logo in new UI" (CrtAppToolbarLogo code) system setting.
-
Click Select file to upload an image. Recommendations for the image are as follows:
- Width: 32 pixels or larger.
- Format: *.svg.
- Image background: transparent or solid. Transparent image background is used by default. To set up a solid image background, follow the instructions in a different section: Change a logo background.
For example, upload a logo with a transparent background (Fig. 8).
Fig. 8 Logo with a transparent background 
-
Click Save.
-
Reload the page to apply changes.
As a result, the default logo will be changed.
To delete the logo, click Clear value. In this case, Creatio will use its own logo as default.
Change a logo background
You can change the logo background based on your corporate colors.
To change a logo background:
-
Click
in the top right → "System setup" → "System settings." -
Open the "Background color for the logo in new UI" (CrtAppToolbarLogoUnderlayColor code) system setting.
-
Set the background color to the Default value field. Recommendations for the background are as follows:
- Format: hex, RGB, RGBA, HSL, HWB codes, or named colors.
- Use light background for a dark-colored logo.
For example, change a logo background to #FFFFFF (Fig. 9).
Fig. 9 Logo with a background 
-
Click Save.
-
Reload the page to apply changes.
As a result, the logo background will be changed. The background-size matches the size of the default logo.
Customize the section color code
You can change the color code of existing and custom sections displayed in the Freedom UI navigation panel. This setup differs based on UI.
Change a color code of the Freedom UI section
- Click in the top right → "Application management" → "Application Hub."
- Open an app that has a Freedom UI section. For example, Customer 360.
- Open the Navigation and sections tab.
- Open a Freedom UI section to change a color code. For example, Contacts.
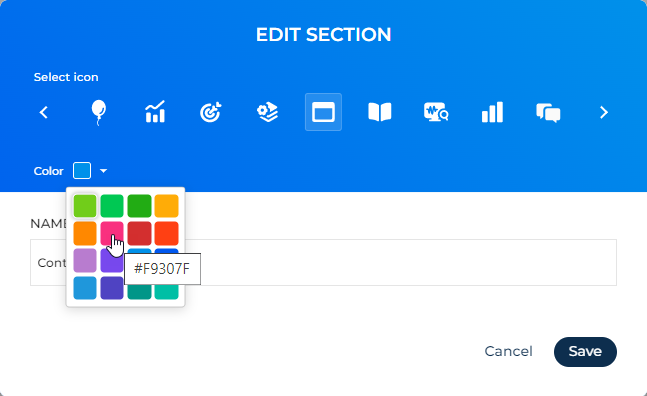
- Select a color in the Color field (Fig. 10).
- Click Save.
As a result, the color code of a dedicated Freedom UI section will be changed and displayed in the Freedom UI navigation panel.
Change a color code of the Classic UI section
- Open a Classic UI section using Section Wizard section to change a color code. For example, Documents.
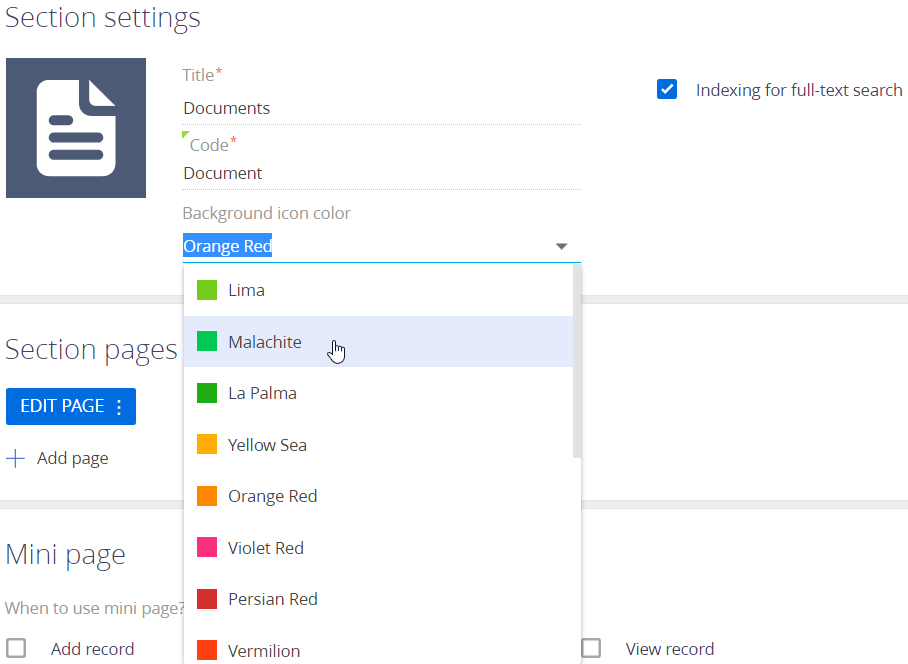
- Select a color in the Background icon color field (Fig. 11).
- Click Save.
As a result, the color code of a dedicated Classic UI section will be changed and displayed in the Freedom UI navigation panel.
See also
Get started with Creatio Freedom UI