Use the mobile app as an external user
Out of the box, mobile app enables external users to create cases quickly and send messages to support agents on the go using the Cases section. The app sends push notifications when the case status changes. You can use the app even if you have no internet access. After the connection is restored, the app uploads the changes to Creatio. Learn more: Get started with the mobile app setup.
You can add more sections visible to external users via the Portal workplace of the Mobile App Wizard.
To get started, install the mobile app. Learn more in a separate article: Install the app.
Launch the app on your device. Then, enter your website URL, tap Next, and log in to the site as an external user (Fig. 1).
The Cases section lets you:
-
Create cases.
-
Add images and files required for troubleshooting to cases.
-
View details of registered cases.
-
Send messages to support specialists.
Create a new case
-
Tap the
 button. This opens the New case window.
 -
Fill out the case profile:
-
Select the case category to accelerate case classification and transfer cases to dedicated experts faster: “Service request” or “Incident.” The field is required.
-
Elaborate on the case in the Description field (optional).
-
Attach files to the case (optional). To do this:
- Tap the
 Attach button.
 - Specify the source of the files to attach.
- Select the relevant files. Out of the box, you can upload files up to 10 Mb. The administrator of the main Creatio application can change the maximum attachment file size. On the Attachments tab of the case record, you can view any attachments added when creating the case or as part of a conversation with support agent.
- Tap the
-
-
Tap the
 button.
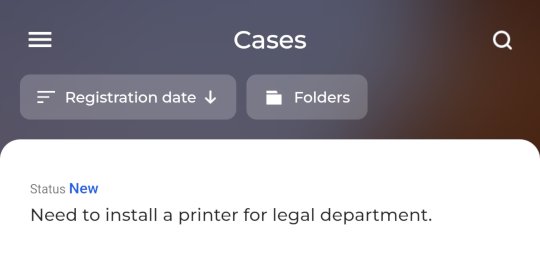
As a result, a new case will be created and added to support processing queue immediately (Fig. 2).
We recommend filling out the Description field when you create a case to ensure support agents receive the information required to solve the case. If you leave the Description field empty when you create a case, Creatio will populate the field with the value of the Category field.
Search for a case
You can search for a case by description or number in the case list. To search for cases:
- Tap the
 button at the top of the screen. This opens the search bar.
 - Enter a part of the case number or description in the search bar.
- The app displays the index of cases that match the search criteria. If the app finds no such cases, it displays the “No data” message.