Set up an unsubscribe link in emails
Adding an unsubscribe link in each email is important to ensure its successful delivery. Emails that do not contain unsubscribe links can be blocked by the marketing email provider.
The unsubscribe link is required in the email template. If you try to save a template without an unsubscribe link, it will be added to the template automatically.
After clicking the unsubscribe link, recipients are forwarded to the URL of the unsubscribe page. You can either generate it on your web site or use the Creatio pre-configured page. If you decide to use your own page, make sure you specify its URL in Creatio. Before the unsubscribe page is displayed, a recipient is automatically forwarded to the Creatio server, where the information about the canceled subscription is stored.
Set up a redirection page for the recipients who unsubscribed
You can use the following options for an unsubscribe page:
-
Auto-generated Creatio unsubscribe page containing text: "You have unsubscribed from further emails. Your email was successfully deleted from our mailing list."
-
any other page configured on your web site. There are no specific requirements for the design of this page. The recipient unsubscribes upon clicking the unsubscribe link. The "Do not use email" checkbox is selected automatically on the contact page.
If you have your own unsubscribe page, you need to specify the address in Creatio. To do this:
-
Open the system designer by clicking the
 button.
 -
Click " System settings " in the "System setup" block.
-
Select the "Email section settings" folder and open the " Website to redirect the unsubscribed " ("RedirectUnsuscribersTo" code)) system setting.
-
Specify the URL of your unsubscribe page in the Default value field, e. g., http://www.mysite.com/act/unsubscribe/ and save the setting.
The value of this system setting is empty by default. To redirect the unsubscribed, Creatio uses the auto-generated unsubscribe page.
If you clear the value in the "Website to redirect the unsubscribed" system setting, the unsubscribed link will open a default auto-generated page without any additional settings.
Add an unsubscribe link to a template
You can add an unsubscribe link to a template in multiple ways:
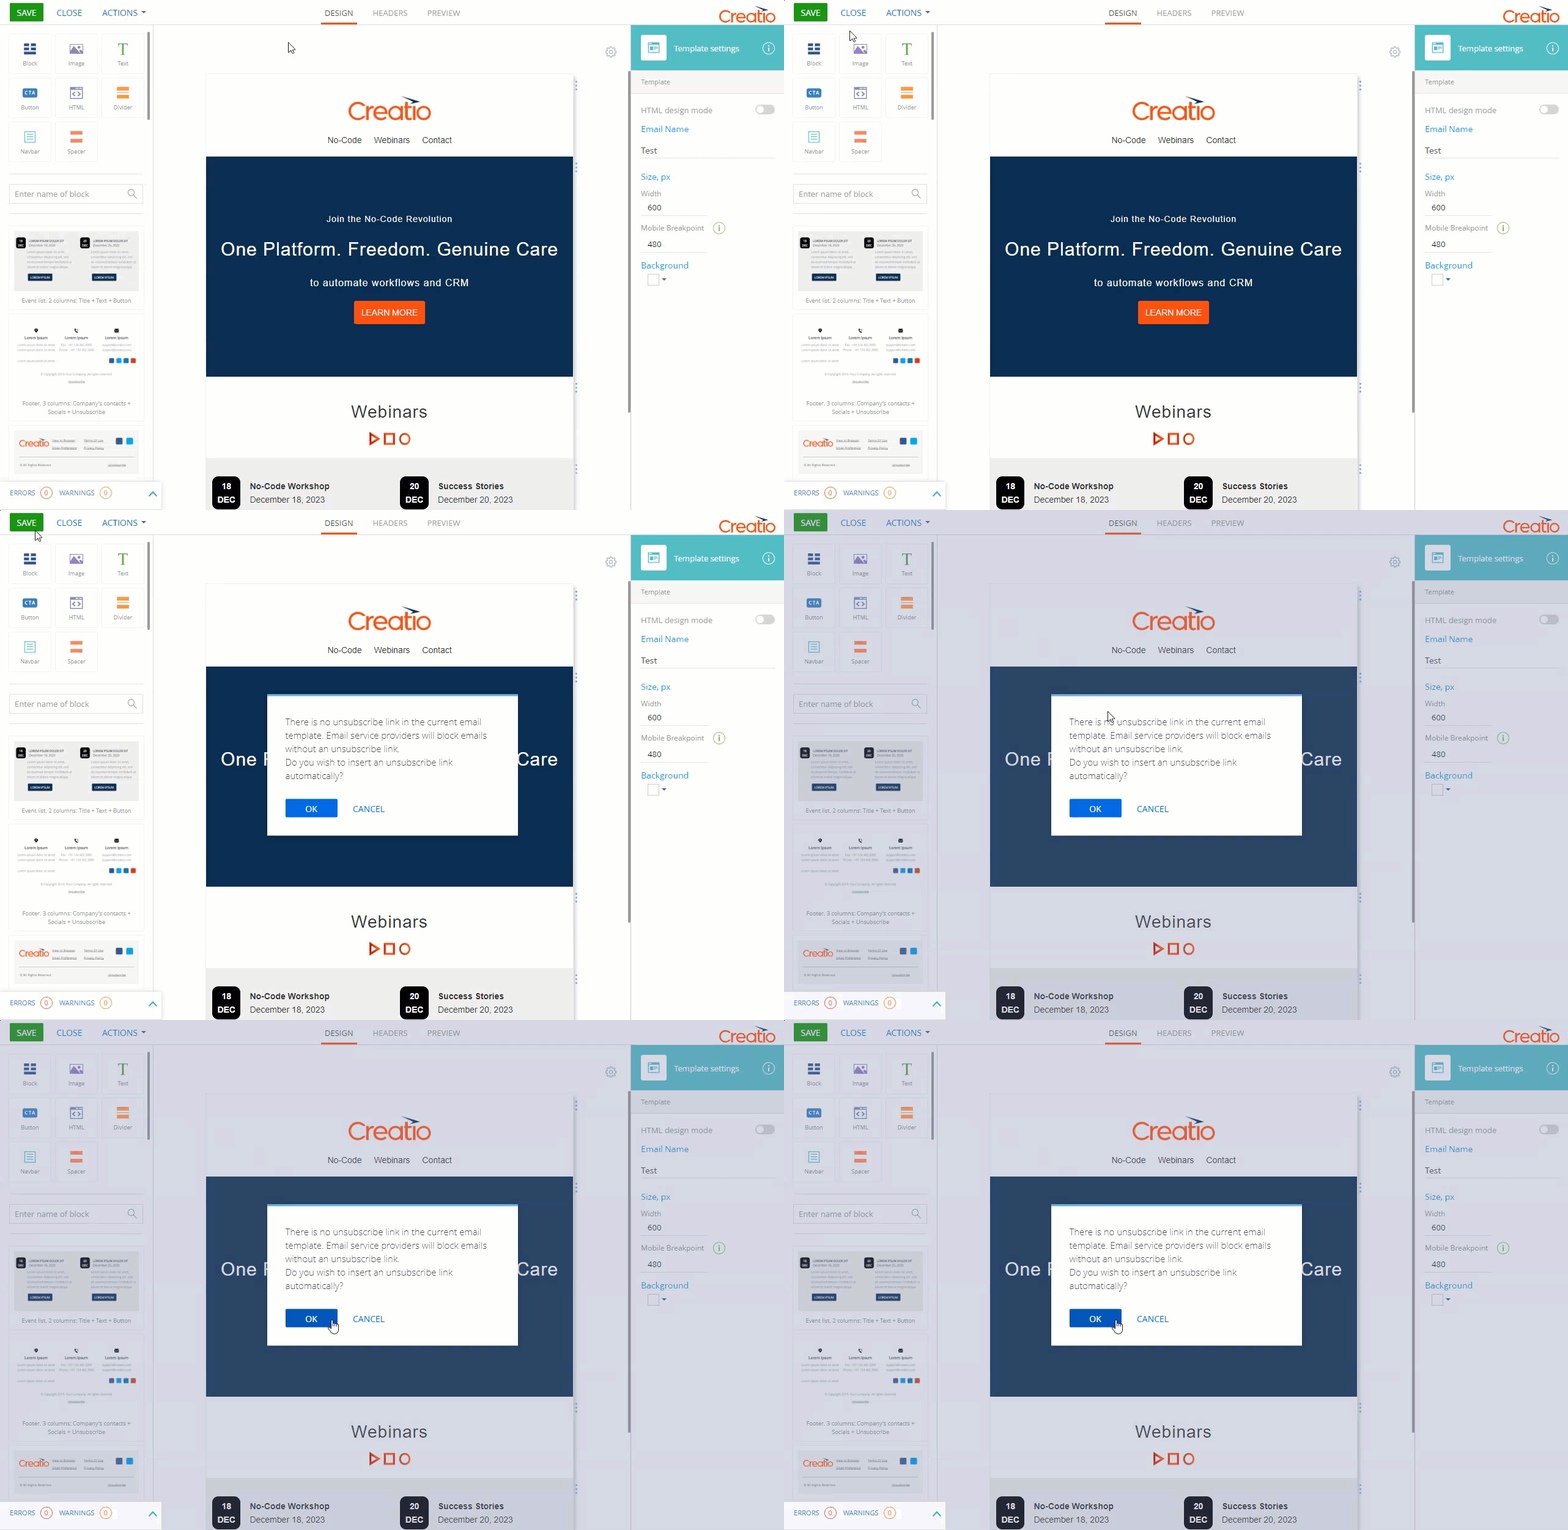
- Use a default unsubscribe link in the template. Creatio asks whether you want to add the link when you save a template that has no unsubscribe link (Fig. 1).
Fig. 1 Saving a template without an unsubscribe link 
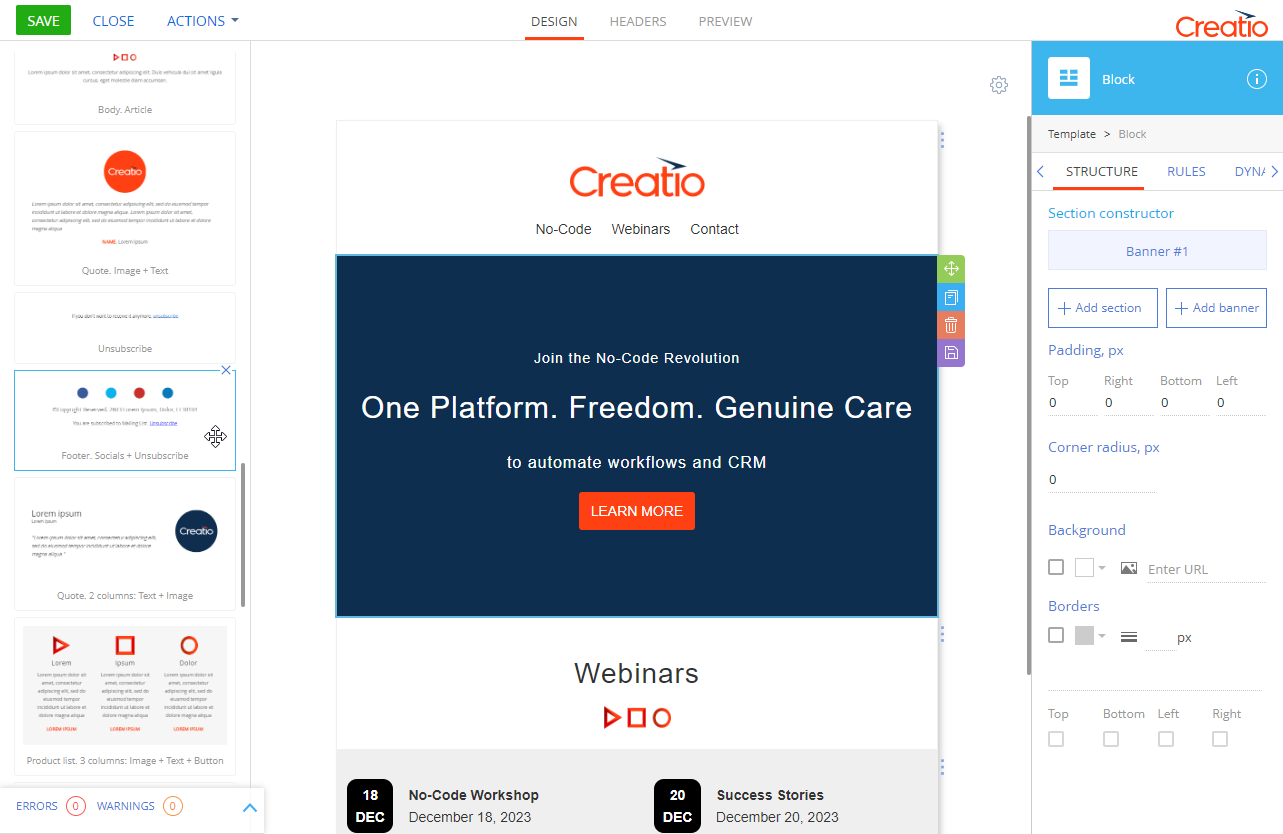
- Add an existing block that has an unsubscribe link to the template (Fig. 2).
Fig. 2 Block that has an unsubscribe link 
- Add a custom unsubscribe macro to a content block.
You can save the content block that has a custom unsubscribe macro for use in other emails. Learn more in a separate article: Save a content block for use in other emails.
Add a custom unsubscribe macro as a URL
-
Open the email template in the Content Designer.
-
Set the cursor where you want to place an unsubscribe link.
-
Click
 and select Basic macro.
 -
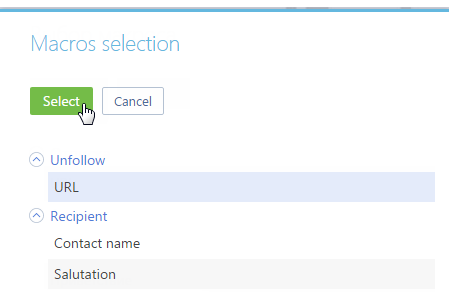
Select the "URL" unsubscribe macro and click the Select button (Fig. 3).
Fig. 3 Add an unsubscribe macro 
-
Save the template.
As a result, the URL unsubscribe macro will be added to the email template. When sending emails, the unsubscribe macro is converted into an unsubscribe link, e.g., http://www.mysite.com/act/unsubscribe/.
Add a custom unsubscribe macro as a hypertext link
-
Open the email template in the Content Designer.
-
Select the text that serves as a hyperlink to the unsubscribe page. This brings up a toolbox.
-
Click the
 button.
 -
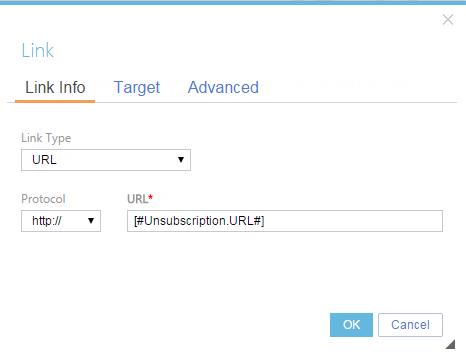
Specify the #Unsubscribe.URL# macros in the Link field and click OK (Fig. 4).
Fig. 4 Add an unsubscribe macro as a hypertext link 
As a result, the selected text will serve as a hyperlink to the unsubscribe page.
You can also import templates as HTML elements into the Content Designer if a complex HTML layout is used. You need to specify the unsubscribe link as a text macro #Unsubscribe.URL#. When sending emails, the unsubscribe macro is converted into an unsubscribe link, e.g., http://www.mysite.com/act/unsubscribe/.
See also
Configure restriction of the number of emails for sending