Homepages aggregate the dashboard information for each workplace. Open the homepage from the side panel.
Out of the box, Creatio includes homepages for all pre-configured workplaces: “Sales,” Marketing,” “Service,” etc. The homepages are displayed in the side panel at the top of the workplace section list. You can edit the content of existing homepages and create new homepages using no-code tools.
Homepage setup is performed by the system administrator or by a user that has the “Can manage configuration elements” (“CanManageSolution” code) operation permission. You can go to the homepage setup in multiple ways depending on whether you need to create a new or edit an existing homepage.
Edit homepage
- Load an existing homepage.
- Click
 → “Edit page” (Fig. 1).
Fig. 1 Opening the homepage editor
This will open the homepage editor. Read more: Set up the homepage content.
 .
.Add a homepage
- Click → “Open system designer.”
- Click “Workplace setup” in the “Set up view” block.
- Open the relevant workplace or create a new workplace.
- Select the relevant homepage in the Home page list or click the
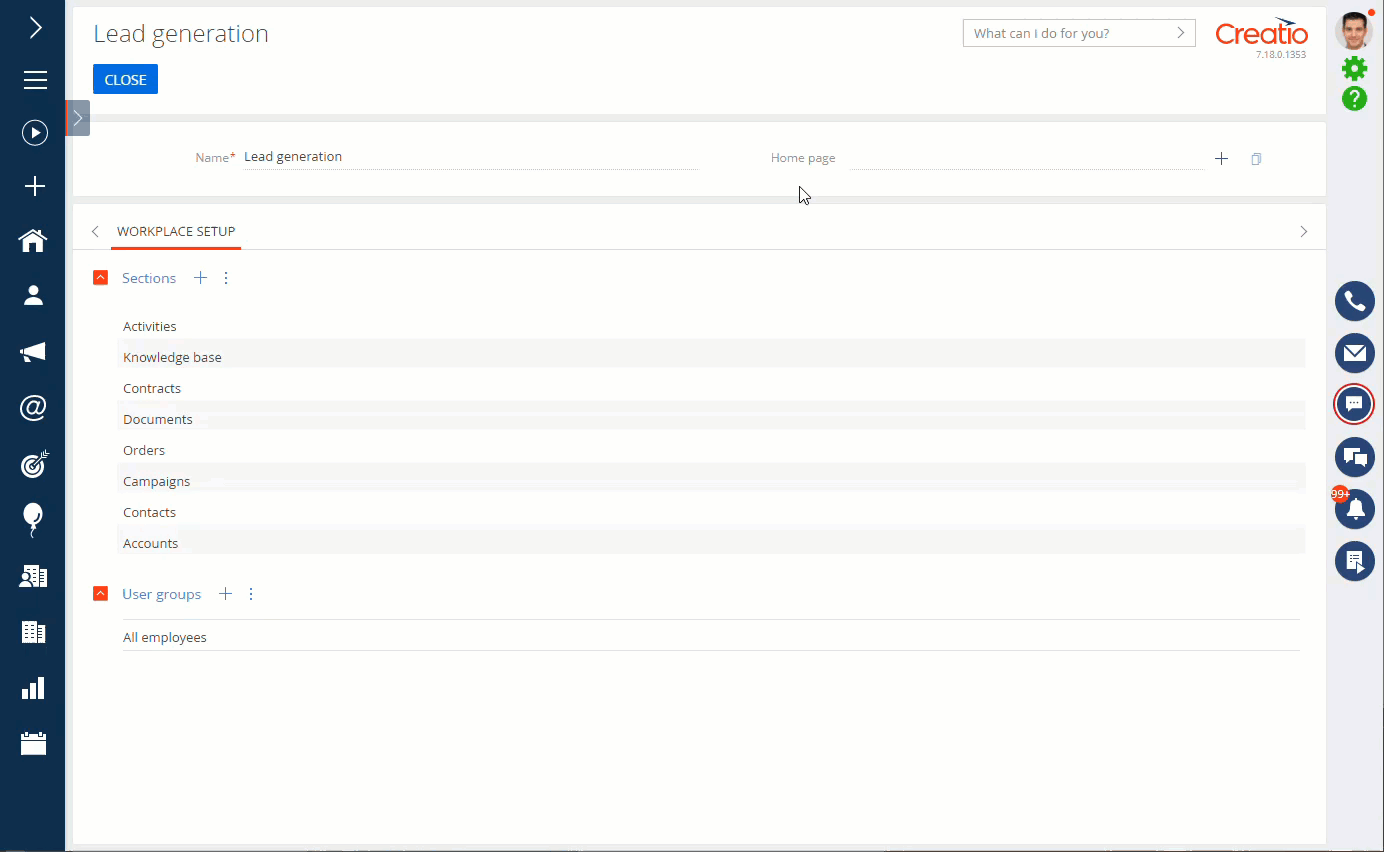
 button to create a new homepage (Fig. 2).
 - Enter the name of the homepage and the unique code that will help you to find the page in the list of configuration elements.
- Click Save.
This will add a homepage to the workplace.
Copy a homepage
- Click → “Open system designer.”
- Click “Workplace setup” in the “Set up view” block.
- Open the relevant workplace or create a new workplace.
- Select the relevant homepage in the Home page list and click
 (Fig. 3).
 - Enter the name of the homepage and the unique code that will help you to find the page in the list of configuration elements.
This will copy the page. You will be able to edit it later. Read more: Set up the homepage content.
Delete the homepage
- Click → “Open system designer.”
- Click “Workplace setup” in the “Set up view” block.
- Open the relevant workplace.
- Clear the Home page field.
- Click Save.
This will hide the homepage from the workplace. You will be able to add this homepage or a different homepage to the workplace in the future. Read more: Add a homepage.
Set up the homepage content
Set up homepages with no-code tools.
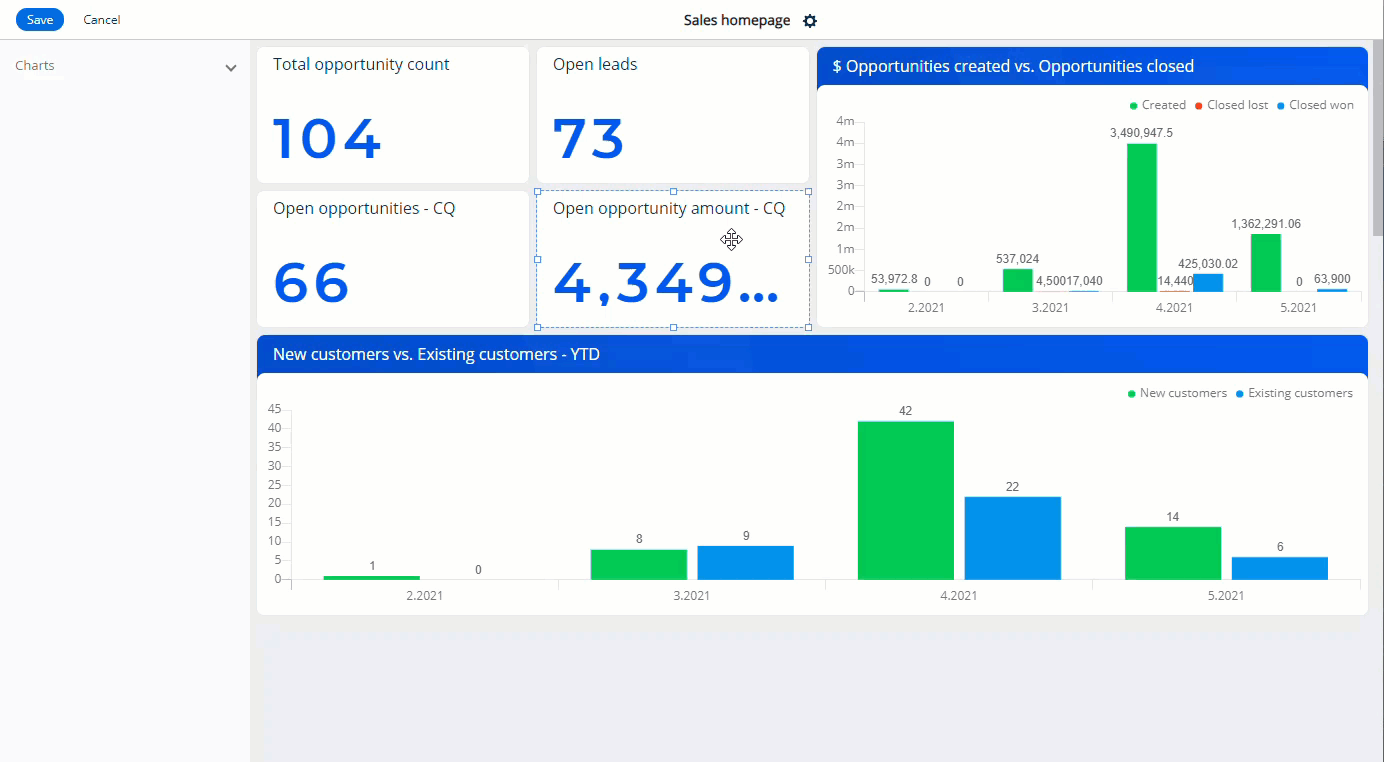
We recommend to structure the homepage layout first with necessary elements and then move on to their setup. You can resize the dashboards and move them. Other elements will shift to the side automatically (Fig. 4).
To edit the homepage name, click  in the top panel, enter the needed value in the Title field and click Save.
To add a new element to the page, drag it from the left panel to the page designer's working area.
To copy an existing element, select it and click  or press the Ctrl+C keyboard shortcut. To paste the element, press the Ctrl+V keyboard shortcut. Creatio will place the copy below the original element.
To set up an element, double-click it or select the element and click .
To apply the changes, click Save.
Set up homepage dashboards similarly to section dashboards. Read more: Set up dashboards.
Unique features of the homepage dashboards
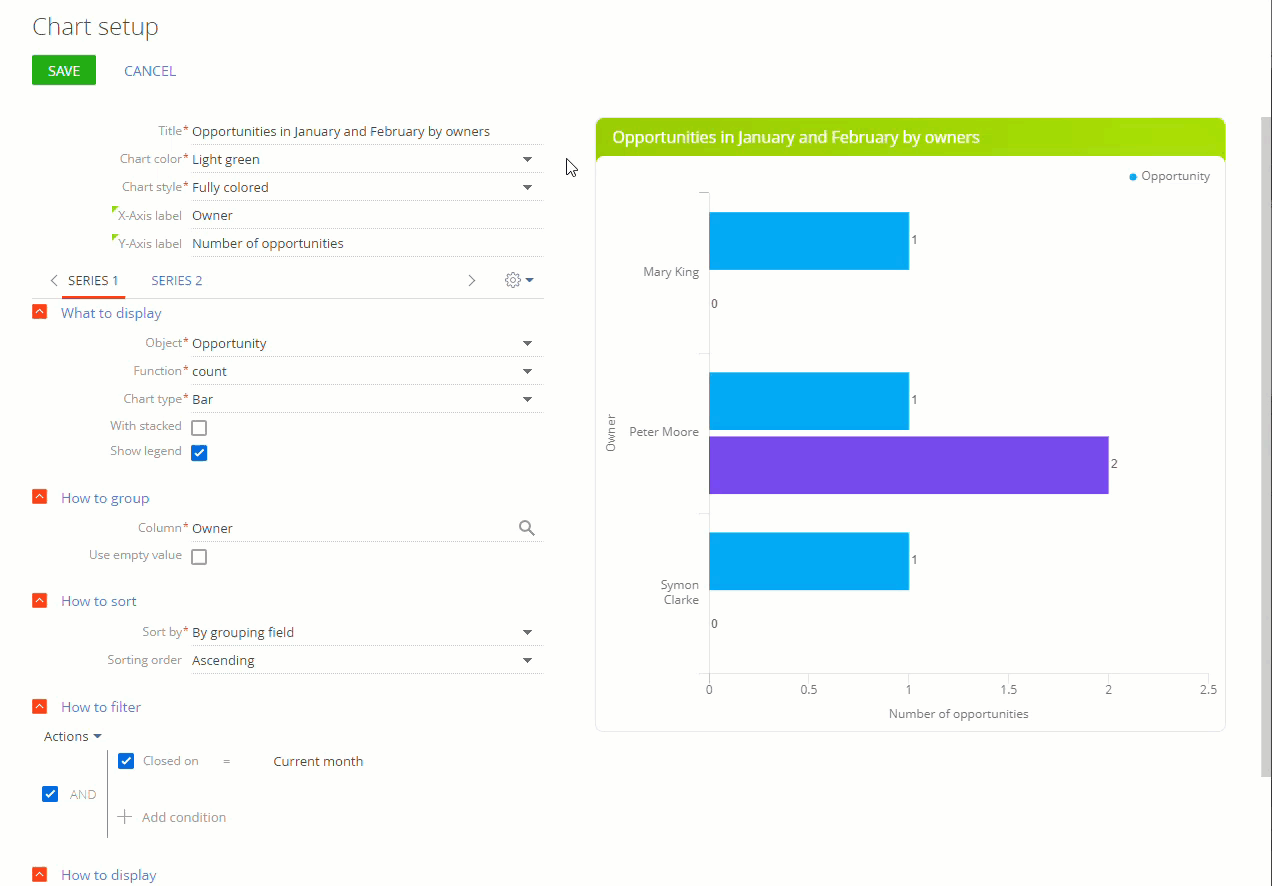
- For charts with multiple series, you can customize the header color and series color separately. Use the Chart color and Style fields to do this, respectively (Fig. 5).
Fig. 5 Setting up a chart with several series
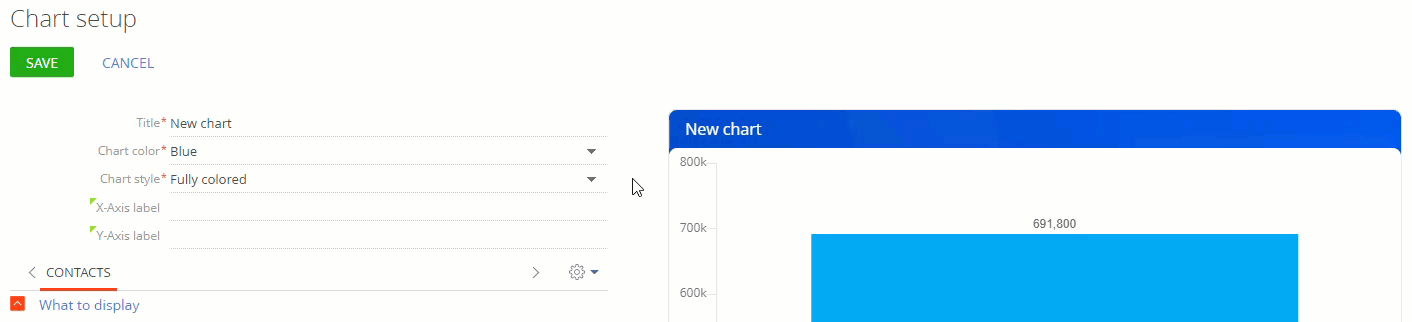
- You can select from several fill options in the Chart style field for “Metric” and “Chart” dashboard heading (Fig. 6).
Fig. 6 Setting up the chart header style
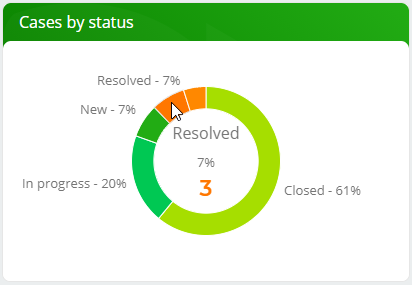
- The “Pie chart” type is replaced with the “Doughnut chart” type. Set up this chart similarly to the pie chart (Fig. 7).
Fig. 7 A doughnut chart