Creatio supports localization into multiple languages. You can manage the list of languages in the system designer of the Languages section.
Creatio interface is translated into following languages:
|
|
|
|
|
|
|
|
|
|
|
|
|
|
|
|
|
|
|
|
|
|
|
|
|
|
|
|
|
|
All localization tools are built-in, there is no need to install or set up additional software in Creatio. Translation of the interface and other elements is performed in the Translation section.
Enable UI language
Only English language is available in the user profile by default. You need to enable the needed languages in the Languages section to add them to the list of languages in the user profile.
-
Go to the Languages section in the system designer.
-
In the list of languages, locate the language you need and click Open.
-
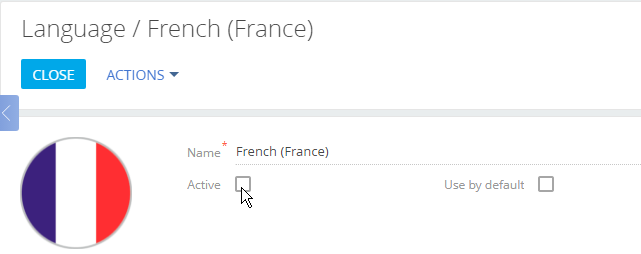
On the language page, select the Active checkbox (Fig. 1).
Fig. 1 Enabling additional language
-
Save the changes.
As a result, Creatio compilation will start and you will see the enabled language appear in your Creatio user profile after the compilation is finished.
Change UI language
You can change the system interface language in the user profile. These settings apply individually to the users who changed their language.
-
Click the profile picture at the top right corner and select Your profile.
-
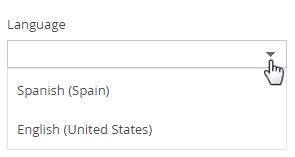
On the profile page, select the needed language from the available list and save the changes (Fig. 2).
Fig. 2 Changing the interface language
After changing language, you will need to log in again.
Creatio interface, including sections, columns, pages and lookups will be displayed in the language specified in the user profile (if the corresponding translation is available). The actual section data, such as account or contact names, notes and knowledge base articles are not localized and will always be displayed in the language they were entered.
Set default UI language
After adding a new user account, system administrator specifies user’s interface language (culture) on the user page of the System users section. You can set default interface language for all users. This will help when adding large numbers of users at once (i.e., by importing users, when using SSO, etc.).
To set the default language:
-
Go to the Languages section in the system designer.
-
Select a language and click Open.
-
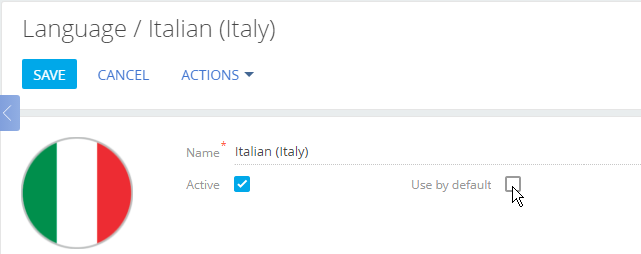
Select the Use by default checkbox on the opened page (Fig. 3).
Fig. 3 Setting the default language
-
Save the changes.
When you create a new user, the default language will be automatically selected in the user’s profile.
Users can change language in their profile after logging in to the system. After changing the language, the interface will be displayed in that language next time the user logs in.
Add new UI language
If you are localizing your Creatio application to one of the languages that are not yet available, you will need to add that language in the Languages section first.
-
Go to the Languages section in the system designer.
-
Click the New language button. A new language page opens.
-
In the Name field, select the language you want to add.
-
Select an image to be used as an icon for that language.
-
Save the changes.
 English (United States)
 Dutch (The Netherlands)
 Portuguese (Brazil)
 Portuguese (Portugal)
 Arabic (Saudi Arabia)
 Romanian (Romania)
 Korean (Korea)
 Russian
 Hebrew (Israel)
 Thai (Thailand)
 Spanish (Spain)
 Ukrainian (Ukraine)
 Italian (Italy)
 French (France)
 German (Germany)
 Czech (Czech Republic)
 Polish (Poland)
 Swedish (Sweden)
 Albanian (Albania)
 Vietnamese (Vietnam)