Case processing occurs either in the [Cases] section or the [Agent desktop] section.
Note
Depending on the queue settings, an agent can take any of the cases in queue, or take only the next case in queue. Read more
Note
Cases are processed according to a predefined business process. Using the BPMS function, you can set up your own business process and use it to process cases from separate queues.
Contents
• Communications with the customer
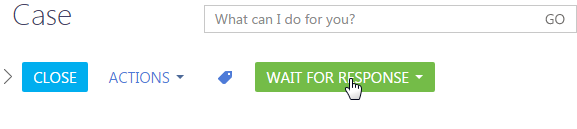
Select a case in the [Agent desktop] section and click the [Open] button to begin processing it. You also can begin processing a case by opening it in the [Cases] section and clicking the [Take it] button (Fig. 125).
The case status will be changed to “Open”, and the current user will be specified in the [Assignee] field. The system will send an email notification to the customer informing them about opening the case and containing information about the resolution deadline.
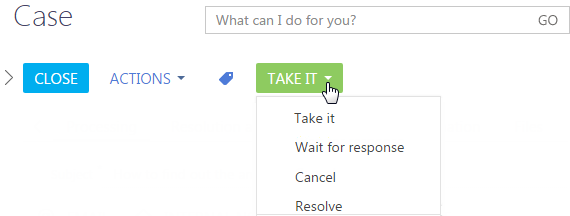
After you finish working on case resolution, change the case status to the next one by clicking the status change button at the top of the page. You can also select the next case stage in the menu of this button (Fig. 126).
Fig. 126 Advancing a case to its next status
If a case was created by error or if the response for this case is no longer required, cancel the case by selecting the [Cancel] option in the menu of the status change button (Fig. 127).
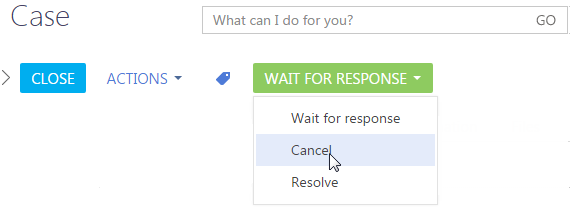
The case status will change to “Canceled”, and the customer will be notified about this by email.
Begin resolving the case by running the [Search for similar cases] action (Fig. 128).
Fig. 128 Searching for similar cases
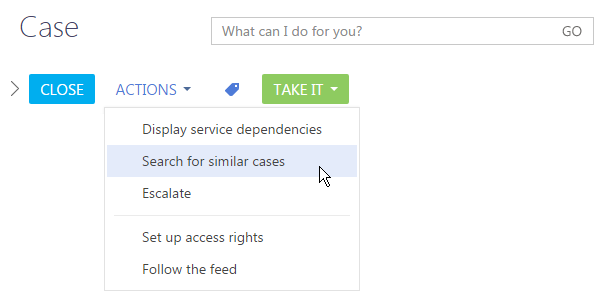
The list will open containing cases connected to the same service, same configuration item, or with the same tags as the current open case.
If the list contains any resolved cases, then the knowledge base articles connected to these cases are likely to contains solution for the current cases. To access these articles, use the [Knowledge base articles] detail in the [Resolution and feedback] tab of the similar resolved cases.
Select a case in the list, then click [Select] to specify this case as the parent case of the current open case.
The selected case will be specified in the [Parent case] field on the [Resolution and feedback] tab.
Use the [Internal note] button in the [Processing] tab to consult other employees regarding the case resolution. To send a message to an employee, enter the “@” character, followed by the employee name in the text of your message.
To escalate a case to a different support level run the [Escalate] action on the case page (Fig. 129).
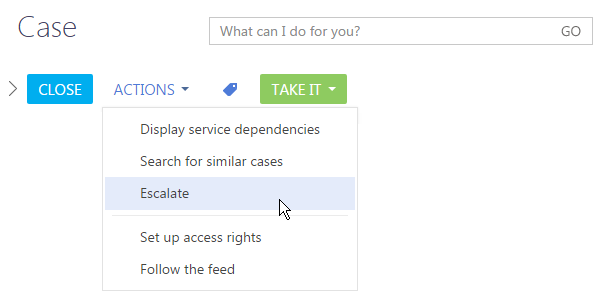
Specify the support line, new Assignee or Assignees group on the opened escalation page.
A new assignee or an employee from the assignees group will continue processing the case.
Communications with the customer
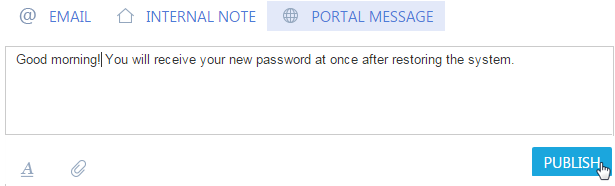
Use the [Email] and [Portal message] buttons in the [Processing] tab to send replies and requests for additional information to the customer (Fig. 130).
Fig. 130 Adding a message to be displayed on the customer portal
Click the  button to attach a file to an email or portal message.
To use a customer reply template:
1. Click the  button to display the text editor toolbar.
2. Click the  button in the text editor toolbar.
3. Select the required template in the lookup.
The template text will be added to the message.
4. Edit the message by specifying all the case-specific information, such ast the customer's name.
5. Click the [Publish] button.
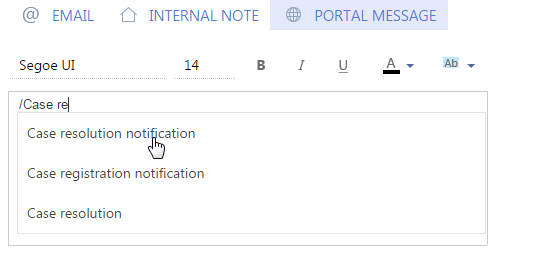
If you already know the template name, enter the “/” character followed by the template name. Select the template in the menu that appears (Fig. 131).
Fig. 131 Quick selection of the template
If an employee leaves a portal message, the customer receives an email notification.
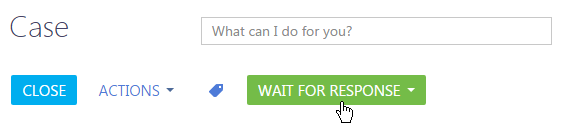
After sending a reply to the customer, change the case status to "Pending" (Fig. 132), which assumes that this case is waiting for a reply from the customer.
Fig. 132 Placing a case on hold
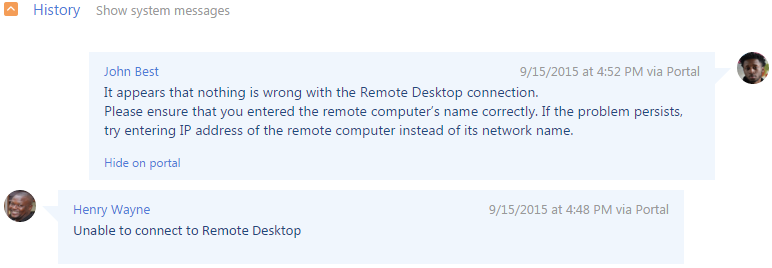
The customer can reply by email or leave a message on the customer portal. The customer's reply will appear in the [History] detail (Fig. 133). The employee responsible for processing the case will receive a notification the customer's reply.
Fig. 133 The history of communications with the customer
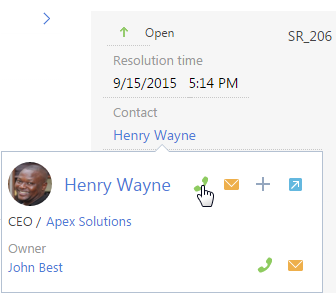
To quickly call the customer, place the cursor on the contact's name in the case profile. If the contact has any communication options that are phone numbers, dialing options will be available on the mini-card (Fig. 134).
Fig. 134 Dialing the case customer
You can also use the communication panel to dial the customer.
After the customer is provided with an answer, change the case status to “Resolved”.
Fig. 135 Resolving the case

The customer will be notified by an email that the case has been resolved. The email will contain the user satisfaction scale which the customer can use to grade the performance of the contact center or help desk:
• If the user satisfaction level is "1" or "2", the case will be reopened and the [Assignee] field will be cleared. The assignees group specified in the case will receive an email notification about reopening the case.
• If the user satisfaction level is "3", "4" or "5", the case status will be changed to “Closed”.
Specify the knowledge base articles that can be used to resolve similar cases in the future. If there are no such articles in the knowledge base, bpm’online will automatically suggest creating a new article.
If any uncompleted tasks remain connected to the closed case, the system will ask what to do with them. You can mark all tasks as completed, cancel all tasks or leave them unchanged.
See also