Application registration for integration with Google
The bpm’online application integrates with Google calendar and Google contacts. To use the integration features, you need to register the bpm'online Google account.
Registration procedure can be divided into two steps:
• First, you have to register a Google account and set it up, enable an access to Calendar API, generate the keys (“Client ID” and “Client secret”) needed for integration.
• Second, enter the received “Client ID” and “Client secret” keys into bpm’online as the values of the [Google service access key] and [Google secret access key] system settings respectively.
Setting up an account and receiving Google keys
To configure the Google account:
1. Register the bpm’online service account in Google. The information about registration can be found in the Google reference materials.
2. Follow this link: https://code.google.com/apis/console/.
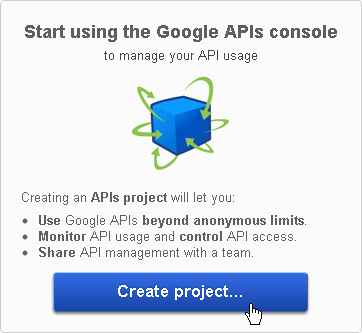
3. Click the [Create project] button (Fig. 269).
Fig. 269 Creating a new project using Google APIs
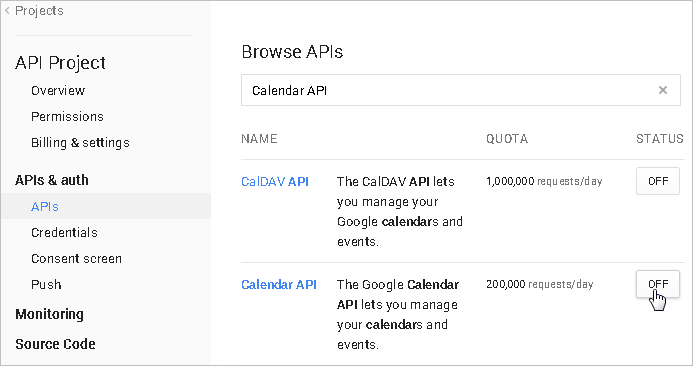
4. From the list of available APIs (APIs&auth –› APIs in the left panel), select Calendar API and click the “OFF” button in the “STATUS” column (Fig. 270).
Fig. 270 Activating Calendar API
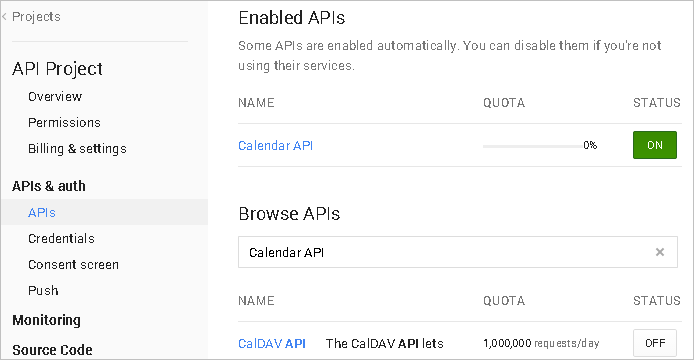
5. As a result, the Calendar API will be added to the list of available APIs in the project (Fig. 271).
Fig. 271 – Calendar API in the list of available APIs in the project
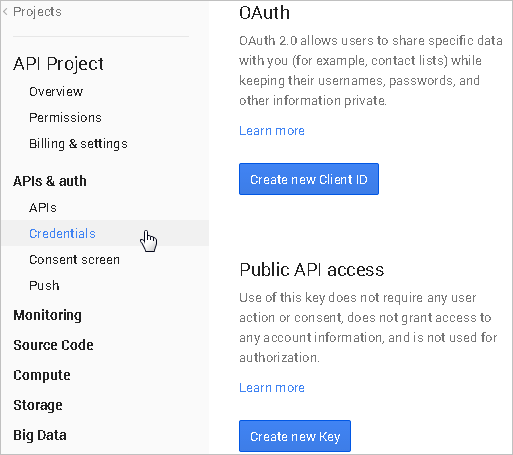
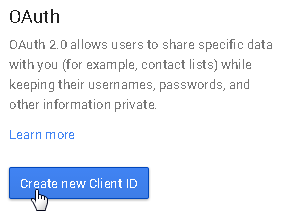
6. Open the credentials setup page ([APIs & auth] –› [Credentials]) (Fig. 272).
Fig. 272 The credentials setup page
7. Click the [Create new client ID] button (Fig. 273).
Fig. 273 Creating OAuth 2.0 Client ID
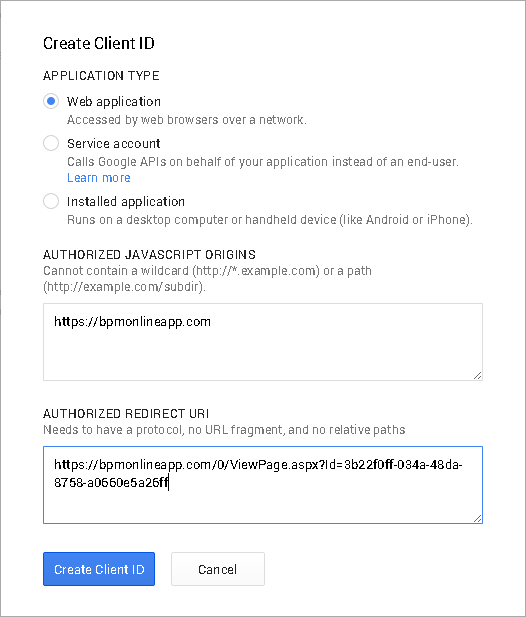
8. In the opened window, specify the following parameters (Fig. 274):
a. APPLICATION TYPE – select the [Web application] option.
b. AUTHORIZED JAVASCRIPT ORIGINS – enter the web address of your application, for example, “https://bpm’onlineapp.com” (without the quotes).
c. AUTHORIZED REDIRECT URI – specify the application web page to which the authentication data will be sent. This will enable users to get access to the system of exchange data between the Google and bpm’online accounts. As a rule, this is the application home page whose address is composed as follows: [Application website address] + “/0/ViewPage.aspx?Id=3b22f0ff-034a-48da-8758-a0660e5a26ff”. For example, “https://bpm’onlineapp.com/0/ViewPage.aspx?Id=3b22f0ff-034a-48da-8758-a0660e5a26ff” (without the quotes).
Fig. 274 Configuring parameters to create the Client ID
9. Click the [Create ID] button.
As a result, the table that contains the data for the created Client ID will be displayed. The table will contain the “Client ID” and “Client secret” keys used in integration.
10. Finally, specify information about the product for which the Client ID is created. To do this, open [APIs & auth] –› [Consent screen]. On the opened page, fill in the required properties:
a. EMAIL ADDRESS – specify the email address of the bpm’online service account.
b. PRODUCT NAME – specify the product name, for example, “bpm’online”.
11. Click the [Save] button to save the changes.
Entering Google key into bpm’online
Enter the received “Client ID” and “Client secret” keys into bpm’online as the values of the [Google service access key] and [Google secret access key] system settings using the following steps:
1. Open the bpm’online application.
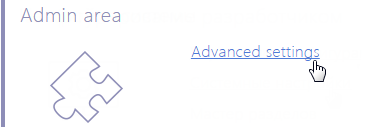
2. Open the system designer by clicking the  button at the top right corner of the application.
3. Click the [System settings] link in the [System setup] block (Fig. 275). The [System settings] section will be opened in a separate window.
Fig. 275 The [System settings]section
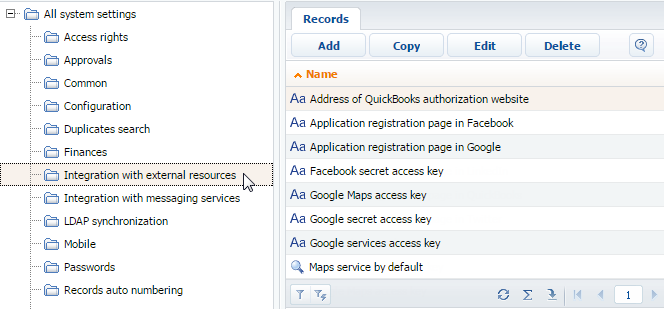
4. In the folder area, select the [Integration with external resources] folder of system settings (Fig. 276).
Fig. 276 The [Integration with external resources] group of system settings
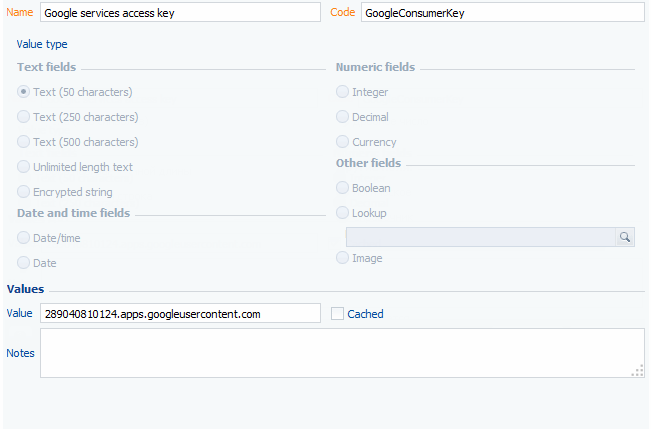
5. Select the [Google service access key] system setting in the list and click [Edit].
6. In the [Value] field of the system setting card, enter “Client ID” key received during the bpm’online registration in Google (for example, “123456789000.apps.googleusercontent.com”) and click [OK] (Fig. 277).
Fig. 277 Entering the “Client ID” key into bpm’online
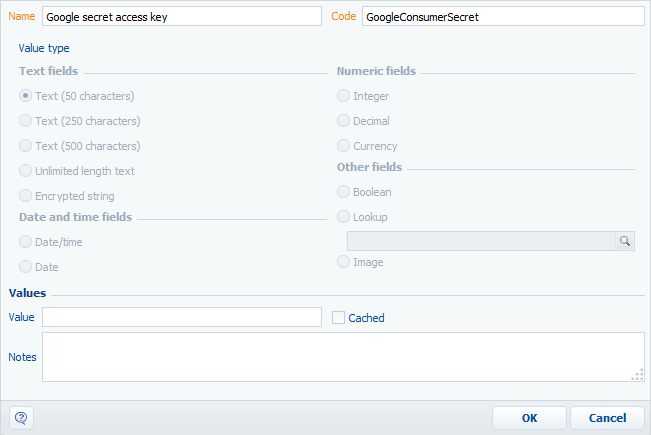
7. Select the [Google secret access key] system setting in the list and click [Edit].
8. In the [Value] field of the system setting card, enter the “Client secret” key received during the bpm’online registration in Google (for example, “AbcDEf1G23HIjKlmnOPqRStu”) and click [OK] (Fig. 278).
Fig. 278 Entering the “Client Secret” key into bpm’online
As a result, the bpm’online users will be able to synchronize their tasks and contacts with the Google calendar and Google contacts.