You can quickly add and view records using mini-pages.
How to add records using the mini-page
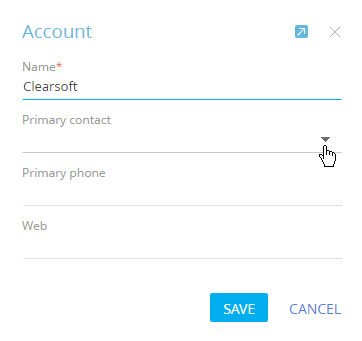
When you add records in the [Contacts], [Accounts], [Activities], [Leads], [Opportunities] sections, a mini-page opens. Fill the page out and save the changes (Fig. 84).
Fig. 84 Adding a new record via mini-page
How to view the mini-page of a record
You can view mini-pages for contacts, accounts, activities, leads and opportunities. When you hover the mouse cursor over a hyperlink to open these records, a mini card is displayed (Fig. 85).
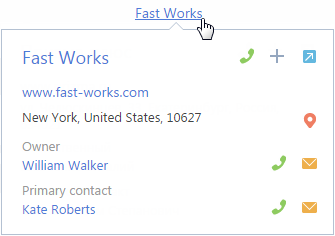
Mini-pages contain only fields that are filled in for the record. If, for example, the [Address] field is not filled in on the account page, it is not displayed in the mini-page of this account.
Which actions are available in mini-pages
With mini-pages, you can perform the basic actions available on the edit pages of the corresponding records.
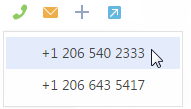
To make a call, click the  button and select the required number (Fig. 86).
Note
If the phone integration is not set up, the  button will display phone number. Call management is covered in a separate article.
To send an email, click the  and select an email address.
Note
Working with emails is covered in a separate article.
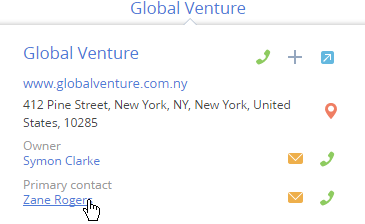
To open records displayed in the mini-page, click the corresponding links (Fig. 87).
Fig. 87 Opening the contact edit page
To open the edit page of a record from its mini-page, click the  button in the upper right part of the mini-page.
Note
The information and available actions are different for the contact, account and activity mini-pages.
In addition to the ability to call or send emails, you can also create tasks and contacts from the mini-pages in the [Accounts] section, as well as view the location of an account on the map.
You can use mini-pages in the [Contacts] section to make calls, send emails and check contact's current local time.
To create a task or a contact, click the  and select the required action. To view the location of an account on the map, click the
  button.
Additional options available in the activity mini-page
In addition to making calls and sending emails directly from an activity mini-page, you can also:
Schedule employee and customer activities in different timezones, taking into account the time difference. More information about working with contacts in different time zones is available in a separate article.
Edit planned date and time.
Change activity status. If an activity status is “Not started” or “In progress”, you can complete or cancel it as well as specify its result using the mini-page.
Add connected records to an activity mini-page.
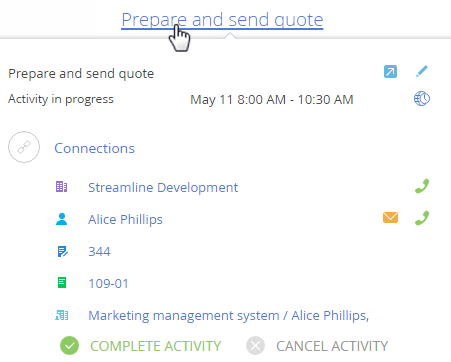
The information available in an activity mini-page depends on which fields are filled in on the activity record page (Fig. 88). If, for example, the [Contract] field is not filled in on the account page, it is not displayed in the mini-page of this account.
Fig. 88 The activity mini-page
How to add connected records to an activity mini-page
Using mini-pages, you can connect an activity to a different system record. To connect an activity to a contract:
1.Enable editing by clicking the  button at the top right corner of the mini-page.
2.Click the  button in the [Connected to] block to add the [Contract] field to the mini-page and select a contract from the list.
Note
The list of contracts displayed when you hover the mouse cursor over the [Contract] field, is filtered by the [Account] field.
How to add activity participants
1.Click the  button to open the record page.
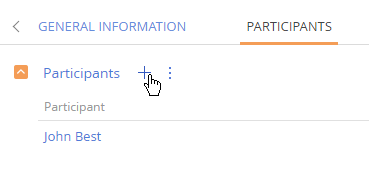
2.Go to the [Participants] tab and click the  button, then select a contact (Fig. 89).
Fig. 89 Adding activity participants
You can exit the edit mode by clicking the  button or pressing the “Esс” key.
See also