
To set up the page tabs, use the area (Fig. 196) located under the fields setup area.
Using the functionality of the tabs setup area, you can add new tabs, edit existing ones, and manage the order in which they are displayed on the page.
By default, the area already contains the [General information] and [Feed] tabs.
To set up page tabs, click the [Configure] button in the right part of the area. The tabs setup window will open (Fig. 197).
Fig. 197 The page tabs setup window
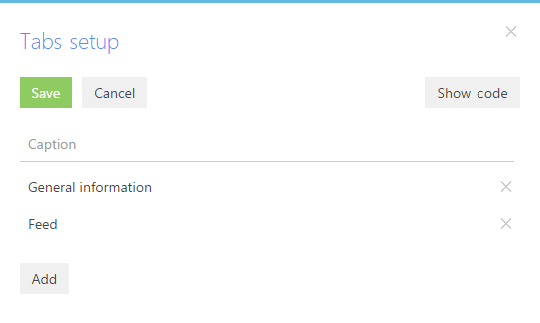
[Show code]/[Hide code] – show/hide the tab name that the system will use to identify the tab.
[Save] – save changes made in the window.
Setting up tabs
To add a new tab on the page, click the [Add] button of the tabs setup window. In the opened window, enter the caption for the new tab and click the [Save] button of the field (Fig. 198).
Fig. 198 Adding a new tab on the page

To change the tab caption, select it in the window list.
To change the tab position on the page, use the [Up] and [Down] buttons in the tab edit mode, and save the field.
To delete the tab, click the [x] button next to the tab record. The [x] button is not displayed in the record edit mode. To remove the record selection, select another record or save the selected one.