Webhooks overview
Level: intermediate
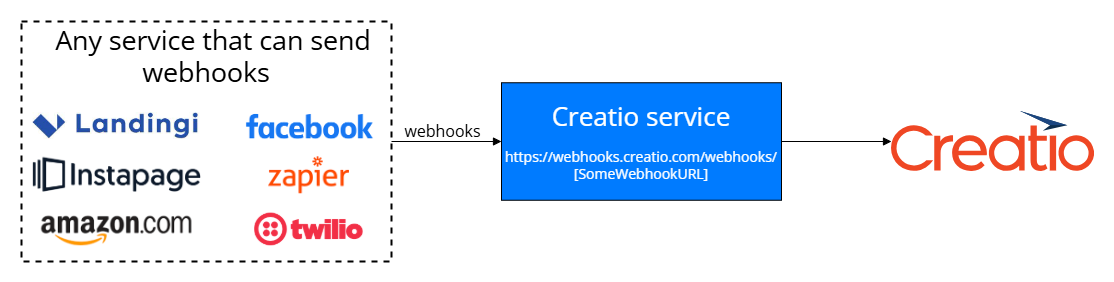
A webhook is an automated callback that lets an external app push data to Creatio in real time. Use webhooks to drive Creatio records and business processes from events in any system that can send a POST request, without coding or scheduled imports. Creatio receives each webhook within seconds, stores it in the Webhooks section of the Studio workplace, and processes it automatically.
Webhook processing
Every webhook lands in the Webhooks section of the Studio workplace and is parsed by a business process. You decide how that parsing works:
- Let Creatio create the record for you. When your webhook follows the required structure, Creatio writes a record into the target object automatically. Out of the box, this works for Contact, Lead, Order, and Submitted form objects. To enable more objects and shape the payload, see Retrieve a webhook in Creatio.
- Handle the webhook yourself. To validate data, fire a notification, or store the webhook without creating a record, build a custom business process. See Process webhooks in Creatio.
See also
Integrate with landing pages and web forms
Tech Hour: Webhooks. Integrating with Landingi, Wordpress and MS Forms