Single Sign-On via Okta
You can integrate Creatio with Okta to manage single sign-on for all Creatio users that work in the corporate network.
This example uses the https://site01.creatio.com/Demo_161215/ Creatio URL. Replace this URL with the corresponding URL of your website when you perform the actual setup.
The following steps are the general procedure required to set up Single Sign-On in Creatio:
- Download the file that contains integration metadata. Read more >>>
- Perform the setup in Okta. Read more >>>
- Perform the setup in Creatio. Read more >>>
Download the metadata
- Click the
 button to open the System Designer.
 - Click Single Sign On configuration.
- Click
 . This opens a drop-down menu.
 - Select "Okta". This opens the setup page.
- Click Get metadata.
- Save the file to your local machine.
Perform the setup in Okta
-
Add a new SAML 2.0 app.
Fig. 1 New SAML 2.0 app 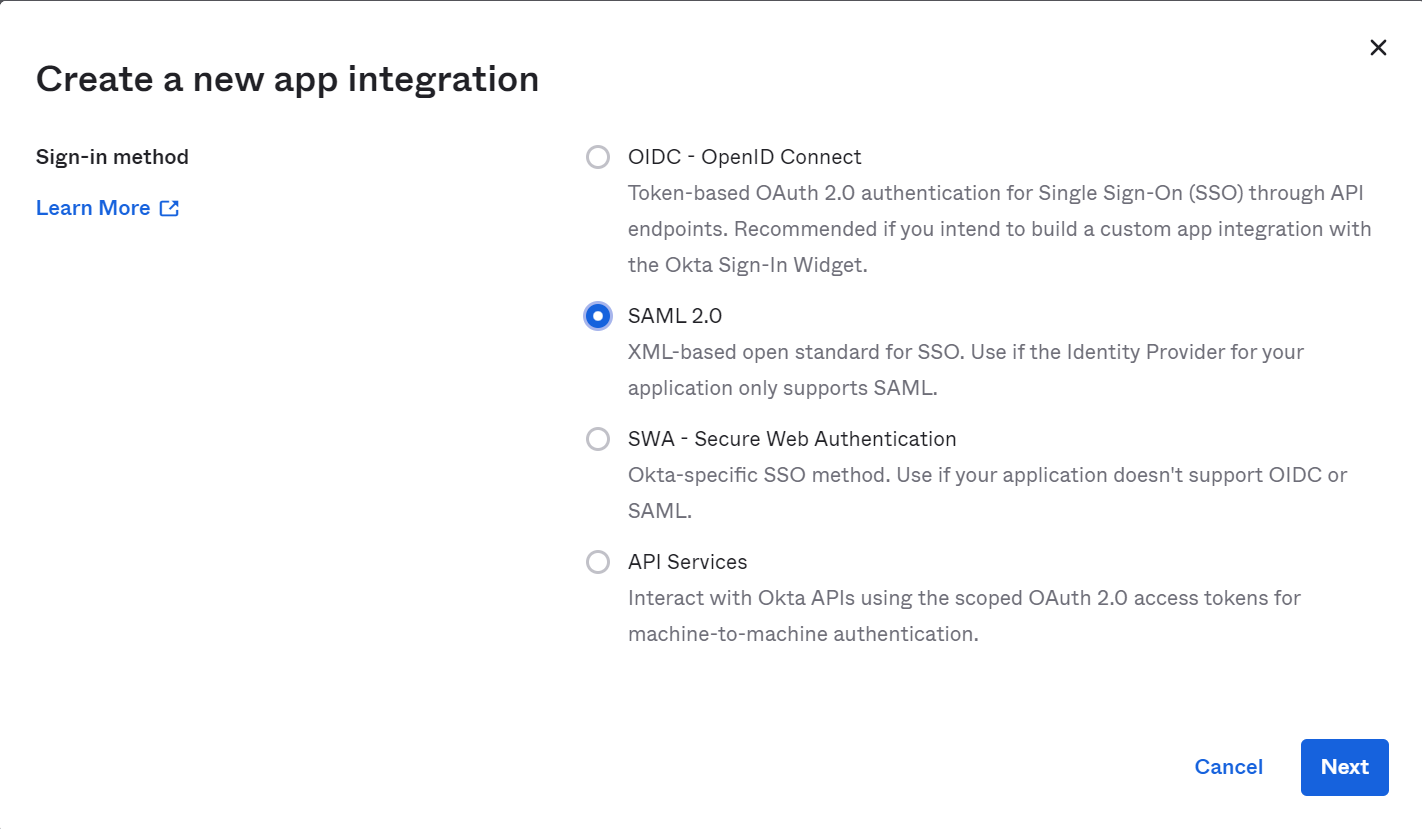
-
Fill out the general parameters: app name, logo, and description. These parameters will be displayed to all users. Click Next.
Fig. 2 The general parameters 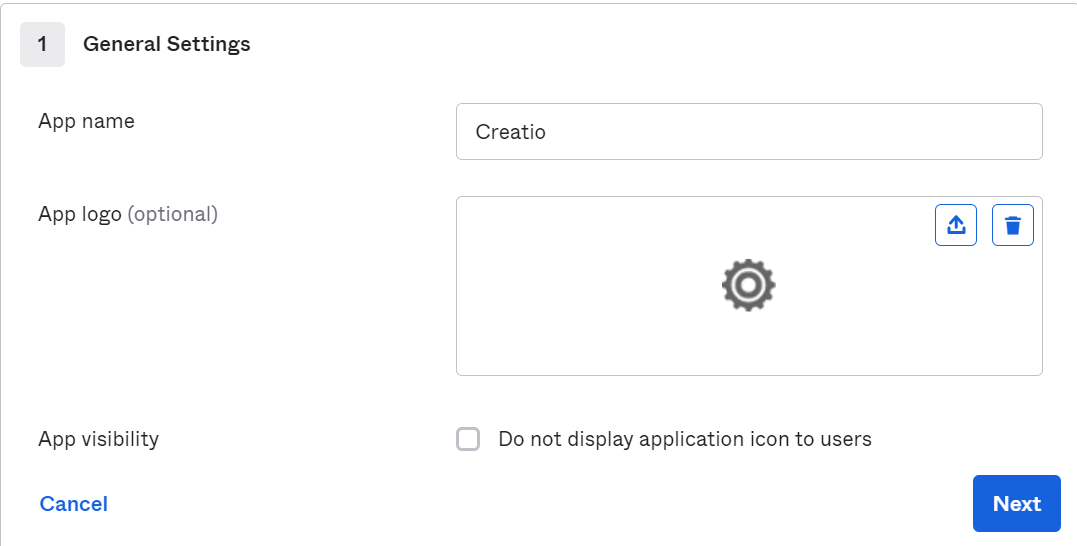
-
Fill out the SSO parameters.
- Enter the URL of your Creatio website SSO in the Single sign on URL parameter. Use the following pattern:
https://yoursite.com/ServiceModel/AuthService.svc/SsoLogin. - Enter the URL of your Creatio website in the Audience URI (SP Entity ID) parameter. For example,
https://site01.creatio.com/Demo_161215/. - Select "Unspecified" in the Name ID Format parameter. This specifies the data type required to log in to your website.
- Select "Email" in the Application username parameter. This specifies the parameter required for Just-In-Time Provisioning to work correctly.
Fig. 3 The SSO parameters 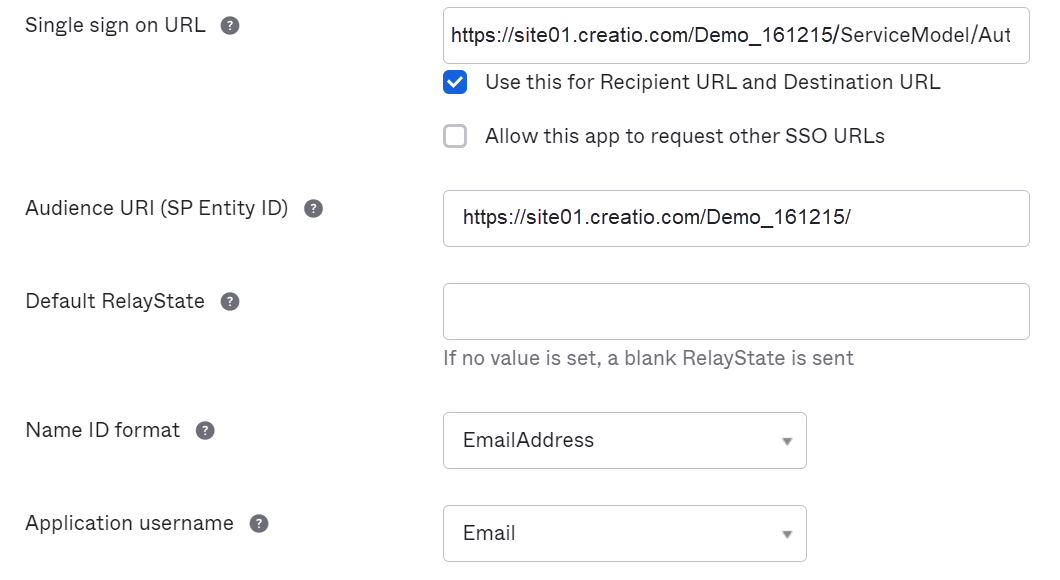
- Enter the URL of your Creatio website SSO in the Single sign on URL parameter. Use the following pattern:
-
Fill out the advanced settings.
- Specify whether to sign queries for safe data transfer in the Response parameter. Select "Signed" for the production environment or "Unsigned" for the testing environment.
- Specify the security configuration type in the Assertion Signature parameter. Select "Signed" for the production environment or "Unsigned" for the testing environment.
- Set Enable Single Logout to turn on single sign-out for your Creatio website.
Fig. 4 The advanced settings 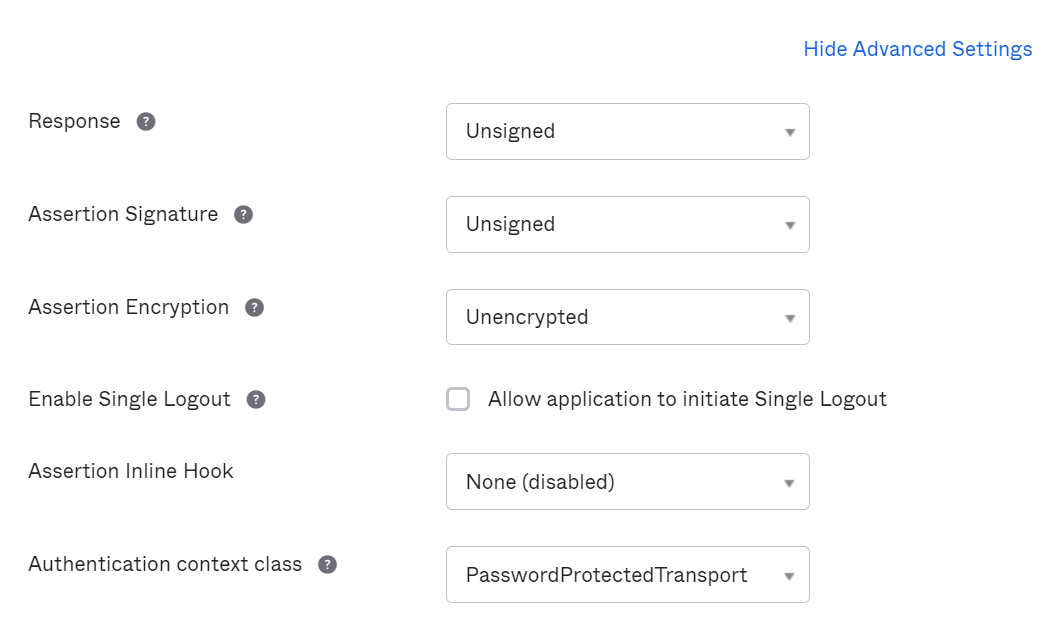
-
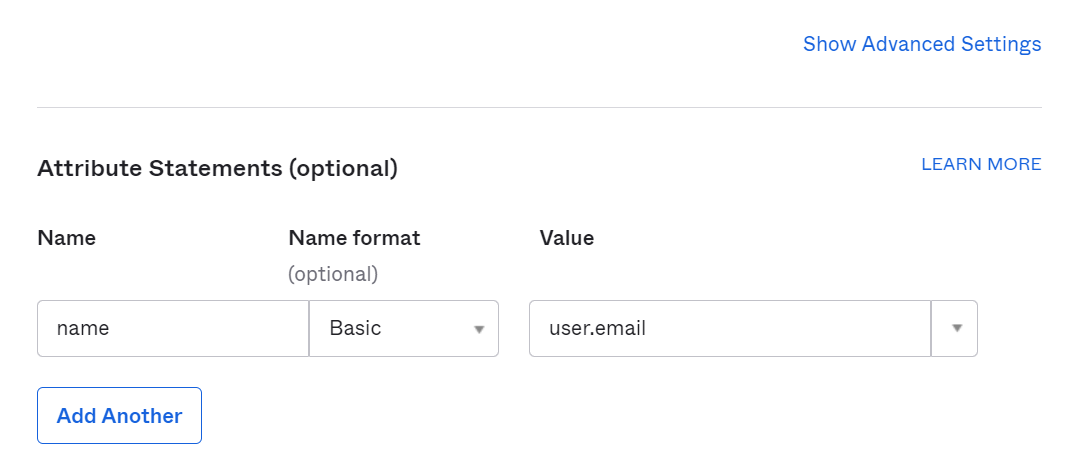
Map the following fields for JIT Provisioning (optional):
-
Download the Okta Certificate if you are going to use Signed Response, Assertion Signature, and Single Logout.
Fig. 6 The Okta certificate download 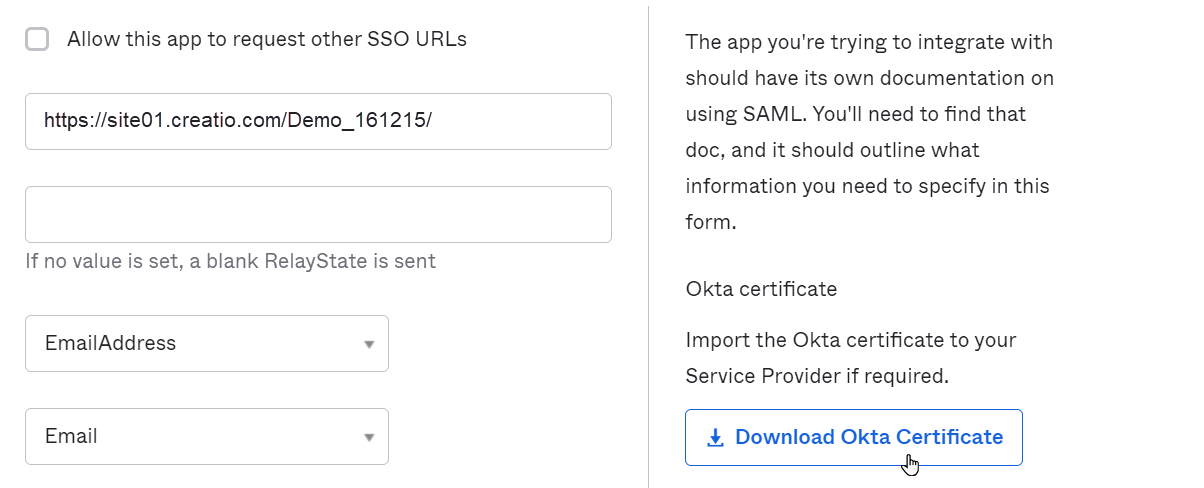
Perform the setup in Creatio
Follow these steps to set up single sign-on in Creatio:
- Click the button to open the System Designer.
- Click Single Sign On configuration.
- Click . This opens a drop-down menu.
- Select "Azure AD". This opens the setup page.
- Fill out the following parameters:
Parameter | Parameter Value |
|---|---|
IdP Issuer | The unique ID of the client. Retrieved while setting Okta up. |
SingleSignOnServiceUrl | The URL of the identity provider’s single sign-on. For Okta, this is usually |
SingleLogoutServiceUrl | The URL of the identity provider’s single sign-off. For Okta, this is usually |
-
Fill out the provider's name to display on the Creatio login page in the Display name field.
-
Save the changes.
-
Turn on Just-In-Time Provisioning (optional). This mechanism automatically creates the corresponding Creatio user account with data from the identity provider, such as user group, employee name, contact information, etc. For company employees, select the Create and update company employees data when log in (Just-In-Time Provisioning) checkbox and map the fields. For external users, select the Create and update external users data when log in (Just-In-Time Provisioning) checkbox and map the fields (Fig. 7).
Fig. 7 Set up Just-In-Time Provisioning 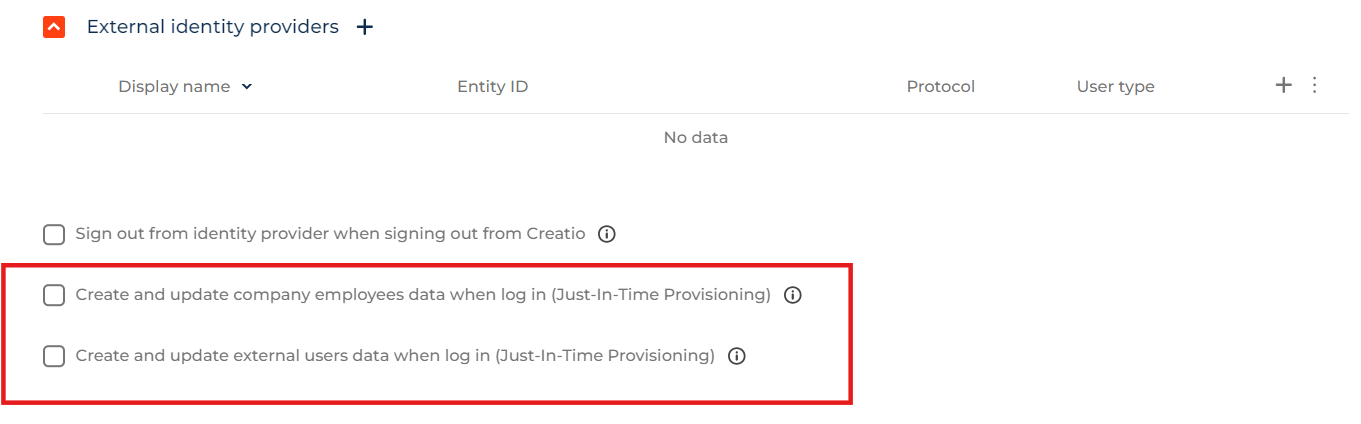
-
Define your provider. To do this, specify the provider in the "Default SSO provider" system setting ("DefaultSsoProvider" code) and save the changes.
-
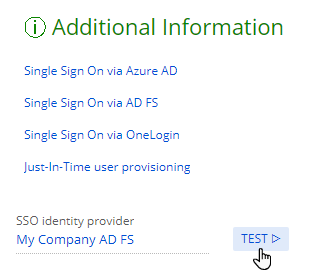
Test whether the provider is working correctly (optional). To do this, open the provider page and click Test Sign In.
Set up SSO authentication for Mobile Creatio
Mobile Creatio lets you log in using the Single Sign-On technology. To set up SSO authentication for Mobile Creatio, turn on the "Use SSO in the mobile app" ("MobileUseSSO" code) system setting.
If the SSO authentication for Mobile Creatio is turned on, the app displays an identity provider page that includes the login and password fields.