Set up Single Sign-On
The Single Sign-On technology in Creatio enables users to log in to multiple services using a single account. After a user signs in once via an identity provider, they can access their applications and services without the need to enter their login credentials. When a user signs out of any of the applications, any sessions in other, connected applications end as well.
Prerequisites:
- A Creatio website available over HTTPS.
- Administrator privileges on the website.
- Administrator privileges in the identity provider.
- Users in the corporate domain.
You can expedite the setup by using one of the following pre-configured providers:
- AD FS
- Azure AD
- Okta
- Cognito
- Ping Identity
You can also integrate Creatio with any identity provider that supports the SAML 2.0 protocol.
For detailed instructions, check out the individual provider articles. In general, the following steps are required to set up Single Sign-On:
- Download the file that contains integration metadata.
- Set up the identity provider by adding Creatio to trusted websites.
- Set up the trusted identity provider in Creatio.
SSL Certificate
An SSL Certificate is used for signing and encrypting SAML requests sent to the SSO provider. SAML requests, outlined below in the next section, are mandatory.
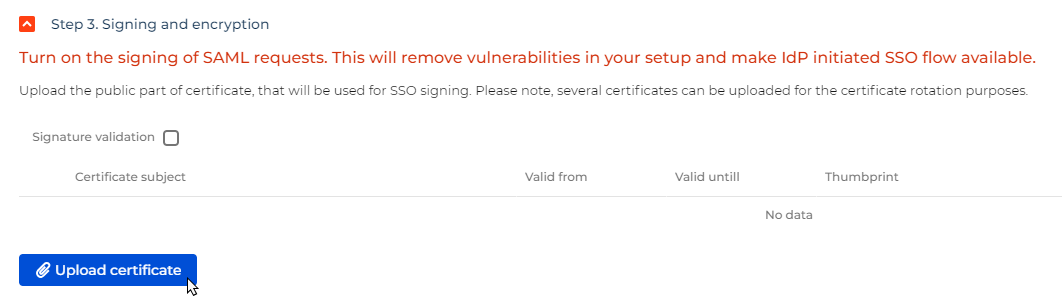
You can upload a public Secure Sockets Layer (SSL) Certificate to sign and encrypt SAML requests by clicking the Upload Certificate button (Fig. 1).
SAML Request Validation
SAML requests signing is a minimum required option for secure SSO configuration. An SSO configuration without SAML requests signing is considered vulnerable, and will be automatically disabled.
To validate the signing of any SAML requests, select the Signature Validation checkbox (Fig. 2).

We strongly recommend not using SSO login without SAML signing or SAML encryption. This configuration is insecure and should be used exclusively in development environments.
Display login via SSO
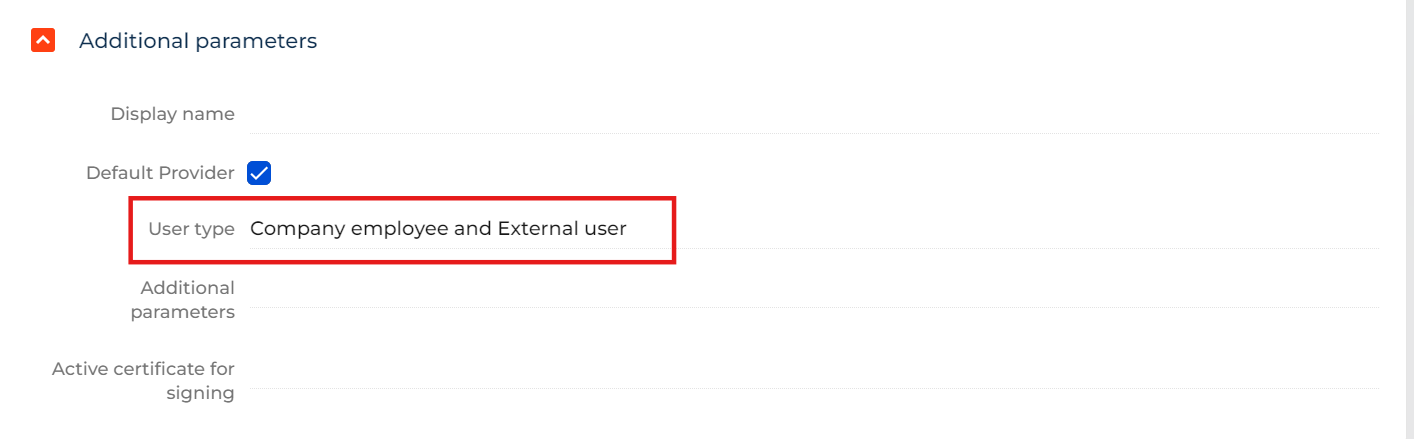
You can specify where the user will see the Login via SSO link depending on their user type, with the main login page, the login page for external users, or both as the available options. This option allows you to enable SSO login exclusively for a specific group of users. To specify its location, perform its set up in the User Type field of the Additional Parameters section of an individual SSO provider's page (Fig. 3).
Import SSO Configuration
You can also import the configuration of your SSO provider from an existing SSO metadata file. Importing the configuration this way greatly simplifies the SSO setup. This functionality allows you to quickly and efficiently create either a new SSO provider, or to update an existing provider. To do this, you need a metadata file, which is a specifically formatted XML file that contains all the required information for setting SSO up on Creatio's side, and the SSL Certificate to be installed. An overwhelming majority of SSO providers supports this functionality. After you upload the metadata file (Fig. 4), Creatio automatically adds all the settings, including the SSO certificate for signing and encryption of your SAML requests. If the provider's metadata does not include a Single Logout URL (for example, Google), the import succeeds and the Single Logout URL field is left empty.

Turn SLO for SSO off
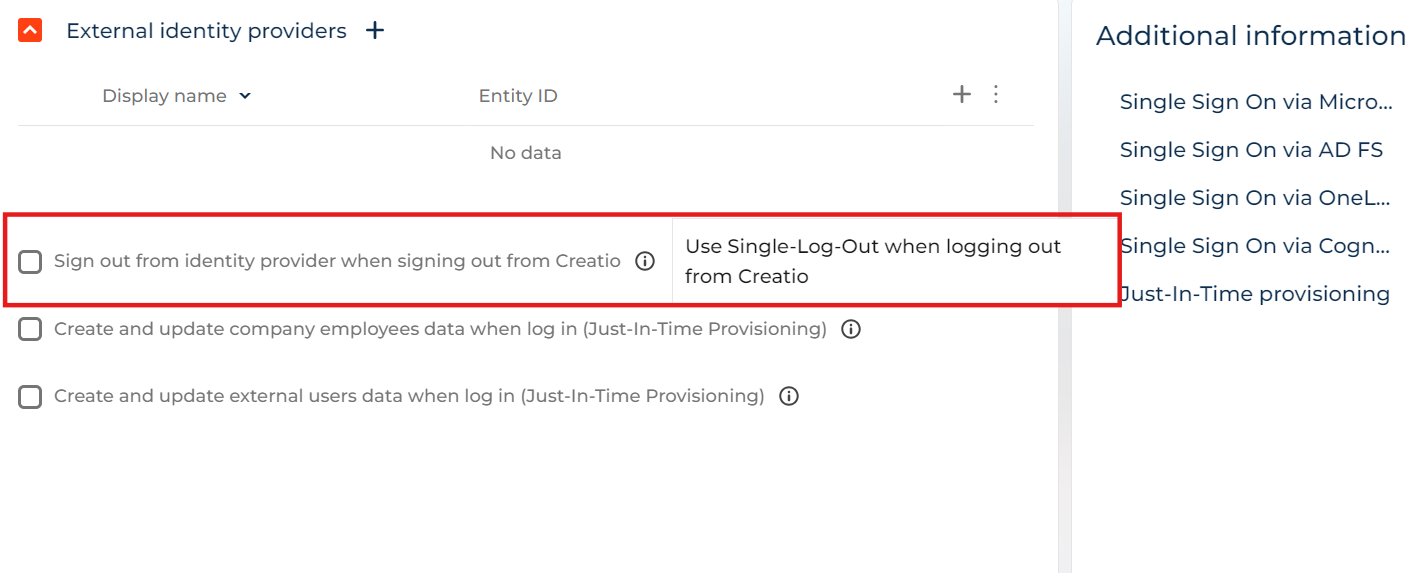
You can turn Single Logout (SLO) off in your SSO configuration. This is an entirely optional option, and not mandatory. If SLO is turned off, the user is only logged out from Creatio upon logging out from Creatio. If SLO is turned on on the other hand, the user is logged out from all services that use the corresponding SSO service (Fig. 5).
Disable login with username and password for company employees
You can enhance security by disabling login with username and password for company employees. To do this, enable the Manage login with username and password for company employees (DisableInternalUserPasswordAuth code) system setting. The setting is disabled out of the box.
If you enable the setting, company employees must use an alternative authentication method, such as SSO. System administrators keep the ability to log in with username and password, including two-factor authentication.