Notify the assignee about a new request
To implement the example:
- Set up the app. Read more >>>
- Add a notification type. Read more >>>
- Set up the business process that notifies the assignee. Read more >>>
- Set up how to display the notification. Read more >>>
Show a desktop notification to a user when another user creates a request assigned to them. Users create requests for a period, for example, a vacation request that has start and end dates. Show the notification if the Creatio tab is not active, so the user does not miss new requests while working in other apps.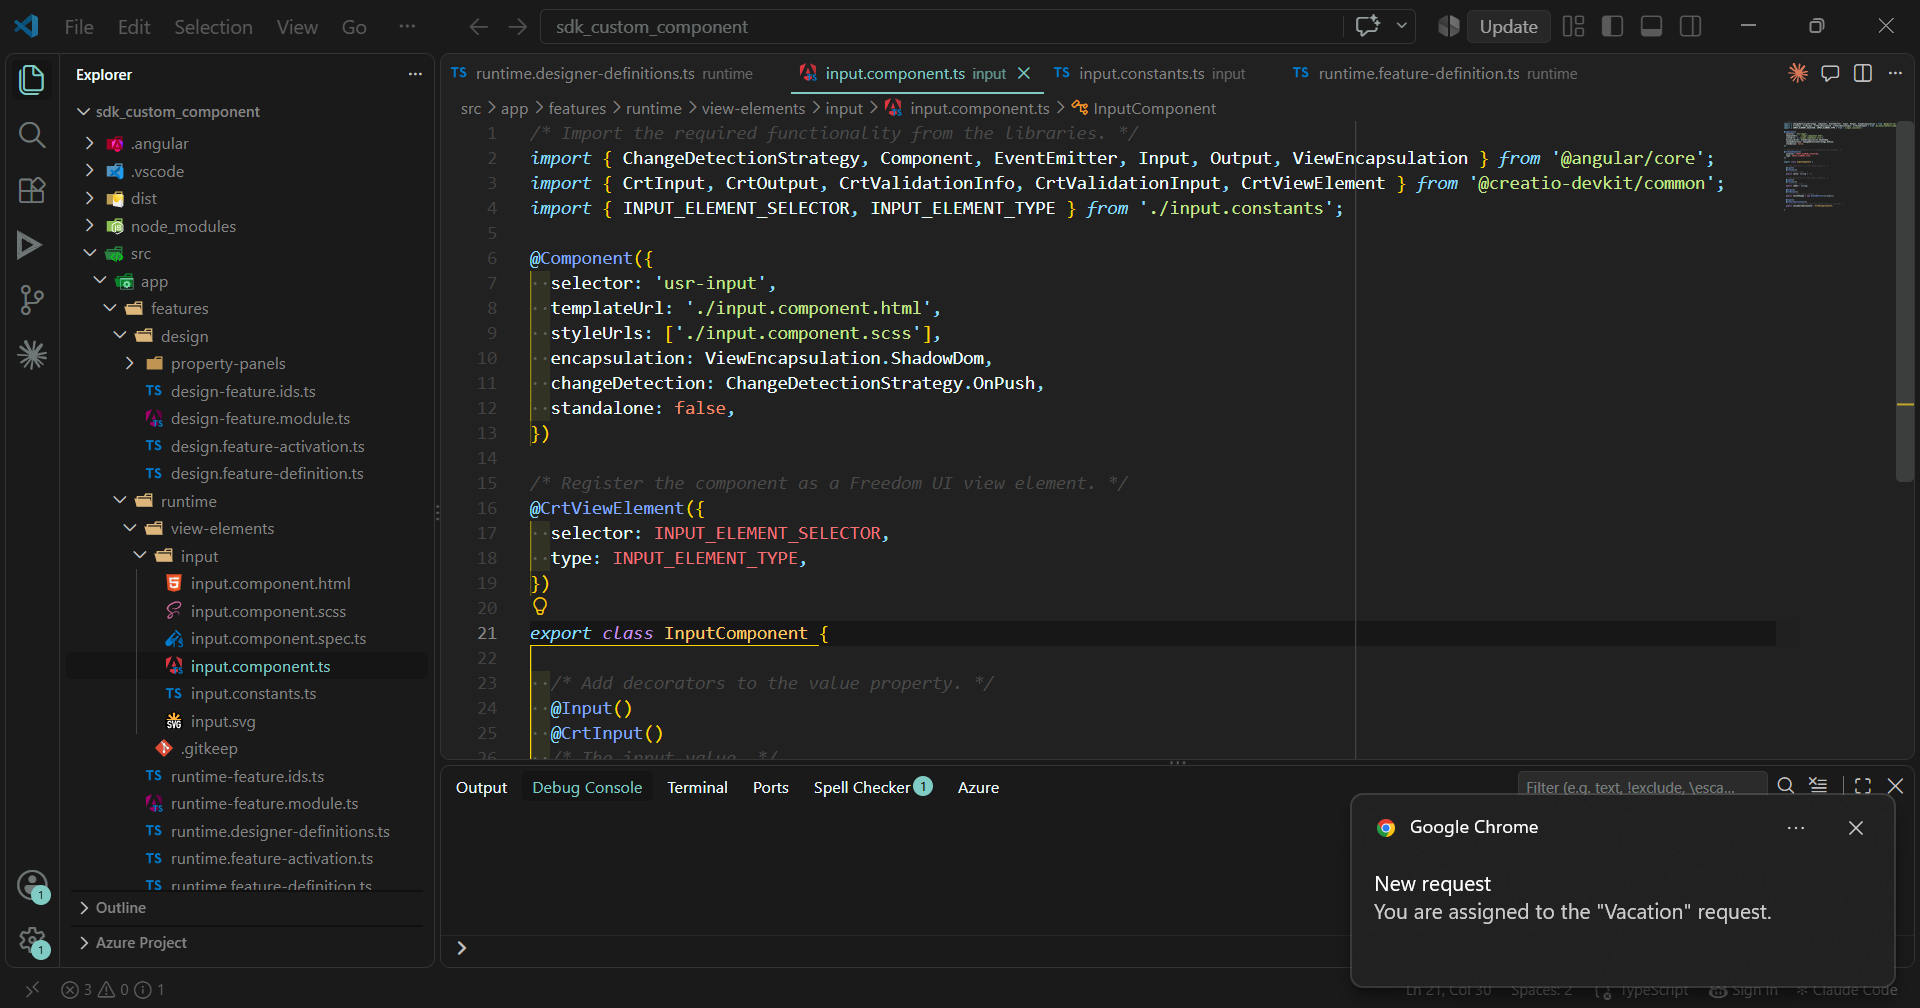
1. Set up the app
-
Create an app based on the Records & business processes template. Instructions: Create an app manually (user documentation).
For this example, create a Requests app.
-
Open the form page in the Freedom UI Designer.
For this example, open the Requests form page.
-
Set up the following page elements.
Element
Type
Parameter
Value
Field that contains the assignee
Dropdown
Title
Owner
Code
UsrOwner
Lookup
Contact
Element code
UsrOwner
Field that contains the start date of the request
Date/Time
Title
Start date
Code
UsrStartDate
Format
Date
Element code
UsrStartDate
Field that contains the end date of the request
Date/Time
Title
End date
Code
UsrEndDate
Format
Date
Element code
UsrEndDate
-
Save the changes.
2. Add a notification type
-
Click
 in the top right → System setup → System settings.
-
Click Add setting.
-
Fill out the system setting properties.
Property
Value
Name
Requests browser notifications
Code
UsrRequestsPopupNotificationState
Type
Boolean
Default value
Select the checkbox
-
Click Save.
-
Add the system setting to the "Notification settings" folder. Creatio shows only system settings from this folder on the Notification settings tab of the user profile page. Creatio does not add a new system setting to the selected folder, so add the system setting to the folder separately.
- Select the "Requests browser notifications" system setting.
- Click Actions → Add to folder. This opens the Select: System settings folder window.
- Select the "Notification settings" folder.
- Click Select.
As a result, Creatio displays the Requests browser notifications checkbox on the Notification settings tab of the user profile page. The tab uses the Name property of the system setting as the notification type checkbox. Users can turn the notification type on or off on the profile page even if the Access for modification for internal users property is set to "Restrict for all." If internal users cannot read the system setting, Creatio does not show the notification to them.
3. Set up the business process that notifies the assignee
-
Create a business process.
-
Open the Requests app in the Application Designer.
-
Open the Advanced settings tab.
-
Select a user-made package to create a business process.
For this example, select the
UsrRequestspackage. -
Click Add → Business process.
-
Open the Settings tab.
-
Fill out the schema properties.
Property
Value
Title
Notify the request assignee
Code
UsrNotifyRequestAssignee
-
Save the changes.
-
-
Set up the start signal.
-
Click the Simple start event on the canvas →
 → Signal.
-
Fill out the element properties.
Property
Value
Which type of signal is received?
Object signal
Object
Requests
Which event should trigger the signal?
Record added
-
-
Set up the "Script task" element.
-
Click
 → place the Script task element between the Signal start event and the Terminate end event on the canvas.
-
Fill out the element properties.
Property
Value
Title
Notify the assignee
-
Go to the element setup area.
-
Add the source code. The code reads the request, finds the user of the assignee contact, and sends a WebSocket message to this user.
"Notify the assignee" script task// IMPORTANT: When implementing// long-running operations,// it is crucial to enable timely and// responsive cancellation. To achieve// this, ensure that your code// is designed to respond appropriately// to cancellation requests using// the context.CancellationToken// mechanism. For more detailed// information and examples,// please, refer to our documentation./* Retrieve the ID of the request that triggered the signal. */var requestId = Get<Guid>("StartSignal1.RecordId");/* Read the request name and assignee. */var esq = new EntitySchemaQuery(UserConnection.EntitySchemaManager, "UsrRequests");var nameColumn = esq.AddColumn("UsrName").Name;var ownerColumn = esq.AddColumn("UsrOwner.Id").Name;var request = esq.GetEntity(UserConnection, requestId);if (request == null) {return true;}var requestName = request.GetTypedColumnValue<string>(nameColumn);var ownerId = request.GetTypedColumnValue<Guid>(ownerColumn);if (ownerId == Guid.Empty) {return true;}/* Find the users of the assignee contact. */var userEsq = new EntitySchemaQuery(UserConnection.EntitySchemaManager, "SysAdminUnit");userEsq.PrimaryQueryColumn.IsAlwaysSelect = true;userEsq.Filters.Add(userEsq.CreateFilterWithParameters(FilterComparisonType.Equal, "Contact", ownerId));foreach (var user in userEsq.GetEntityCollection(UserConnection)) {/* Send a message with the "UsrRequestNotification" sender. */var message = new SimpleMessage {Body = JsonConvert.SerializeObject(new {RequestId = requestId, RequestName = requestName }),Header = {Sender = "UsrRequestNotification",BodyTypeName = "System.String" }};MsgChannelManager.Instance.Post(new[] { user.PrimaryColumnValue }, message);}return true;
-
-
Set up the business process methods.
-
Click an arbitrary place on the canvas.
-
Open the Methods tab.
-
Add the business process methods.
-
Click
 .
-
Fill out the method properties.
Property
Value
Namespace
Terrasoft.Core.Entities
-
Click Save.
-
Repeat steps 1–3 for the
Terrasoft.Messaging.CommonandNewtonsoft.Jsonnamespaces.
-
-
Click Save.
-
-
Click Publish.
4. Set up how to display the notification
-
Open the list page in the Freedom UI Designer.
For this example, open the Requests list page.
-
Click
 → Source code to open the source code of the Freedom UI page.
-
Add a dependency on the
@creatio-devkit/commonlibrary to the AMD module. The library includes theMessageChannelServiceservice that receives messages from the server.AMD module dependencies/* Declare the AMD module. */define("UsrRequests_ListPage", /**SCHEMA_DEPS*/["@creatio-devkit/common"]/**SCHEMA_DEPS*/, function/**SCHEMA_ARGS*/(sdk)/**SCHEMA_ARGS*/ {return {...}}); -
Subscribe to the messages.
- Go to the
handlersschema section. - Add a custom implementation of the
crt.HandleViewModelInitRequestbase request handler. - Add a custom implementation of the
crt.HandleViewModelDestroyRequestbase request handler that unsubscribes from the messages when the user closes the page.
handlers schema sectionhandlers: /**SCHEMA_HANDLERS*/[{request: "crt.HandleViewModelInitRequest",/* The custom implementation of the base request handler. */handler: async (request, next) => {const result = await next?.handle(request);const context = request.$context;/* Create an instance of the message channel service. */const messageChannelService = new sdk.MessageChannelService();/* Subscribe to messages from "UsrRequestNotification." */context.UsrRequestSubscription =await messageChannelService.subscribe("UsrRequestNotification", async (event) => {/* Creatio parses the message body automatically. */const data = event.body;/* Show the desktop notification. */await context.executeRequest({type: "crt.ShowDesktopNotificationRequest",config: {/* Code of the notification type system setting. */code: "UsrRequestsPopupNotificationState",/* One notification per ID. */id: data.RequestId,title: "New request",body: `You are assigned to ` +`the "${data.RequestName}" request.`,/* Close the notification after 10 seconds. */timeout: 10000}});});return result;}},{request: "crt.HandleViewModelDestroyRequest",/* The custom implementation of the base request handler. */handler: async (request, next) => {/* Unsubscribe from the messages. */request.$context.UsrRequestSubscription?.unsubscribe();return next?.handle(request);}}]/**SCHEMA_HANDLERS*/, - Go to the
-
Save the changes.
View the result
-
Log in to Creatio as an arbitrary user in a private browser window. For example, log in as William Walker.
-
Allow notifications for the Creatio instance in the browser.
-
Open the Requests section.
-
Switch to another app. Do not close the private browser window that has the Requests section open.
-
Log in to Creatio as an arbitrary user in a regular browser window. For example, log in as John Best.
-
Open the Requests section.
-
Click New.
-
Fill out the request properties.
Property
Value
Name
Vacation
Owner
William Walker
Start date
12/14/2026
End date
12/18/2026
-
Click Save.
As a result, Creatio shows William Walker a desktop notification about the new request. View the result >>>
If the notification does not appear, check the following conditions:
- The browser allows notifications for the Creatio instance. If the user blocked notifications earlier, Creatio does not show them and does not display an error.
- The Creatio instance uses HTTPS. Browsers block notifications on instances that use HTTP.
- The operating system allows notifications from the browser, and the "Do not disturb" mode is off.
- William Walker has the Requests section open, and the browser window is not active.