Set up the OAuth 2.0 authorization
OAuth 2.0 protocol to securely authorize third-party apps and web services you integrate with Creatio. This technology does not pass Creatio logins and passwords to third-party apps. OAuth 2.0 also lets you restrict Creatio permissions for the integrated apps. If you use Creatio in the cloud, contact Creatio support to set up OAuth 2.0 authorization for integrated applications.
Before you set up the OAuth 2.0 authorization, set up the Identity Service. Instructions: Set up the Identity Service.
General procedure to set up the OAuth 2.0 authorization for Creatio on-site:
- Connect the Identity Service to Creatio. Read more >>>
- Set up OAuth 2.0 authorization for third-party app. Read more >>>
1. Connect the Identity Service to Creatio
-
Enable the OAuth 2.0 integration in Creatio. To do this, change the status of the "OAuth20Integration" additional feature. Instructions: Change the status of an additional feature for all users (developer documentation).
As a result, the OAuth 2.0 integrated application section will be displayed in the Application management block of the System Designer (Fig. 1).
Fig. 1 OAuth 2.0 integrated application section 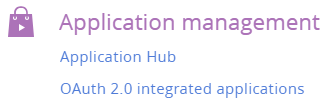
-
Open the System settings section. To do this, click
 in the top right → System setup → System settings.
 -
Fill out the system settings.
System setting
System setting description
System setting value
Authorization server Url for OAuth 2.0 integrations (OAuth20IdentityServerUrl code)
Website URL you specified in the Sites area of the IIS
http://localhost:8090/Client id for OAuth 2.0 integrations (OAuth20IdentityServerClientId code)
Client Id you specified in the
ClientIdparameter of the appsettings.json fileIdServiceUser
Client secret for OAuth 2.0 integrations (OAuth20IdentityServerClientSecret code)
Secrets you specified in the
Secretsparameter of the appsettings.json fileItIsMyPasswordForIdentityService
-
Create a default resource. This is a one-time procedure.
- Open the OAuth 2.0 integrated application section. To do this, click in the top right → Application management → OAuth 2.0 integrated application.
- Click Actions → Create default resource. The operation might take some time.
- Open the OAuth 2.0 integrated application section. To do this, click
As a result, the default resource will be created, and the Identity Service will be connected to Creatio.
2. Set up OAuth 2.0 authorization for third-party app
-
Open the OAuth 2.0 integrated application section. To do this, click
in the top right → Application management → OAuth 2.0 integrated application. -
Click New.
-
Fill out the third-party app parameters.
Parameter
Parameter description
Parameter value
Name required
The title that the integration list and logs will use.
Postman
Application URL required
The URL of the third-party app or web service.
Description
The purpose of the integration.
Active
The integration status (enabled or disabled).
Set by default
System user
The Creatio user that has sufficient permissions for this integration. We recommend permitting this user only to read and edit the fields the integrated third-party app or web service need to change. For example, if you integrate a web service that passes the currency exchange rates to Creatio, grant permissions only to read and edit the Rate and Start fields of the Currency lookup.
User for Identity Service authorization
Creatio automatically populates the "Client Id" and "Client secret" parameters (Fig. 2).
Fig. 2 Set the client parameters 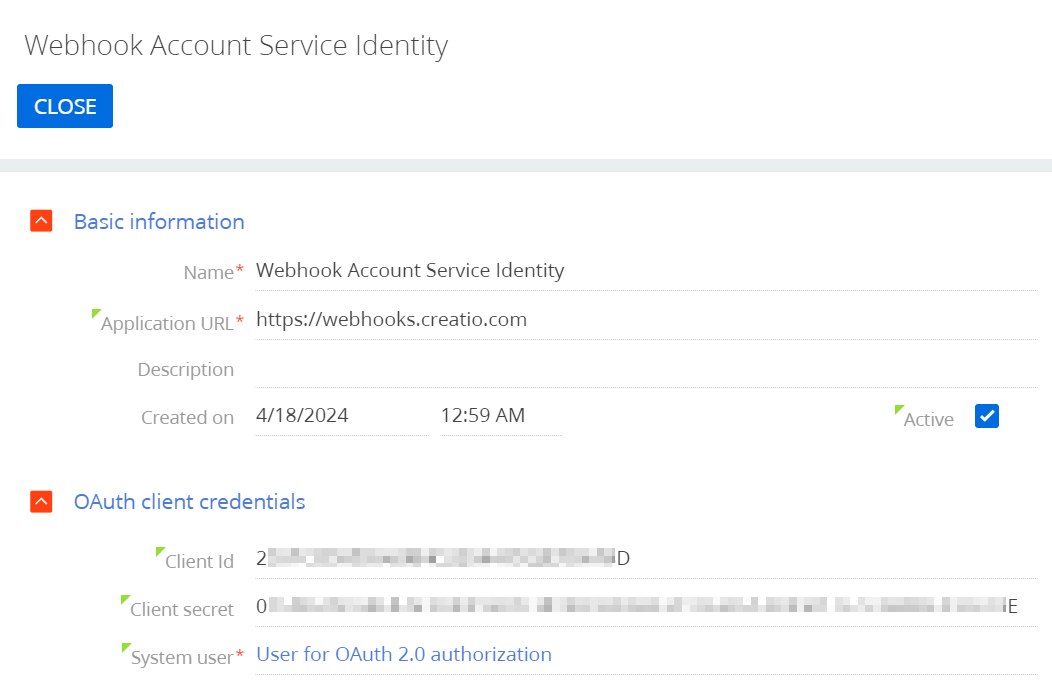
-
Save the changes.
-
Repeat steps 2-4 for all third-party apps and web services you need to authorize with OAuth 2.0.
See also
Update the Identity Service using IIS
Resources
Tech Hour - Integrate like a boss with Creatio, part 2 (Odata)