Set up a Folder component
Use the Folder component to segment an object's records in an organized hierarchy of folders. This component holds the functionality for both dynamic and static folders.
Set up dynamic folders
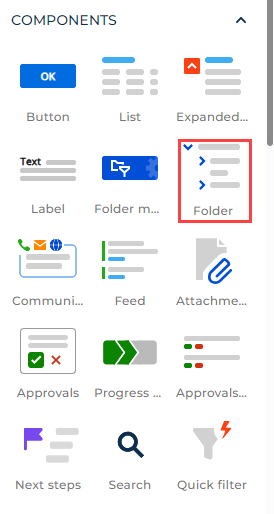
The Folder component is included out of the box in the template of a list page. However, you can also manually add folders to any page in the Freedom UI Designer (Fig. 1).
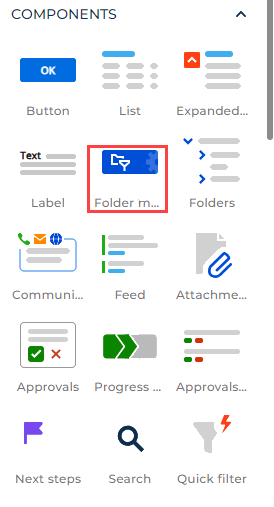
You also need to add the Folder management component (Fig. 2) to the same page. This adds a button that can hide and un-hide folders in runtime to save working space on your page. Without it the user has no way to bring the folders back after hiding them.
Segment a large expanded list of requests using a folder tree on the contact page.
-
Open the Contacts form page in Freedom UI Designer.
-
Open the Request tab.
-
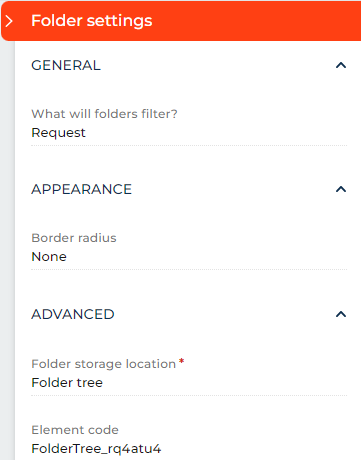
Add a Folder component to the tab.
-
Set the What will folders filter? field in the element settings area to "Request."
-
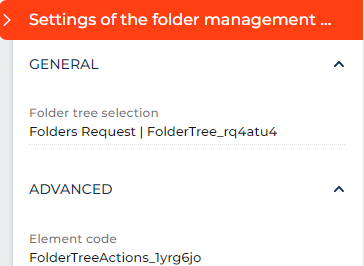
Add a Folder management menu component to the tab.
-
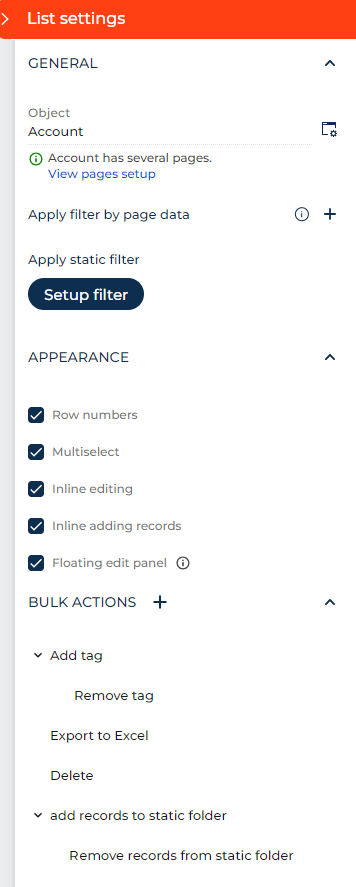
Open the List component settings by selecting the element on the canvas and clicking
 .
. -
Select the corresponding folder tree in the Apply pre-configured filter area. For this example it is "Folders Requests".
-
Save the page.
As a result, users will be able to segment and search data in the expanded list of requests using the folder tree. The folder area can be hidden using the folder management menu to save workspace.
Set up static folders
Except for Marketing, Creatio products need additional setup to make static folders available. To enable the static folders functionality:
-
Add and enable the "IsAllowUseStaticFolders" feature. Learn more: Add a custom additional feature, Manage an existing additional feature (developer documentation).
-
Add your section code to the Schemas for enable static folder in folder tree lookup. The section code is accessible through the data model parameters in the Application Hub or the object parameters within the Configuration section.
-
Repeat step 2 for all sections where you need to use static folders.
As a result, working with static folders will be available in the selected sections.
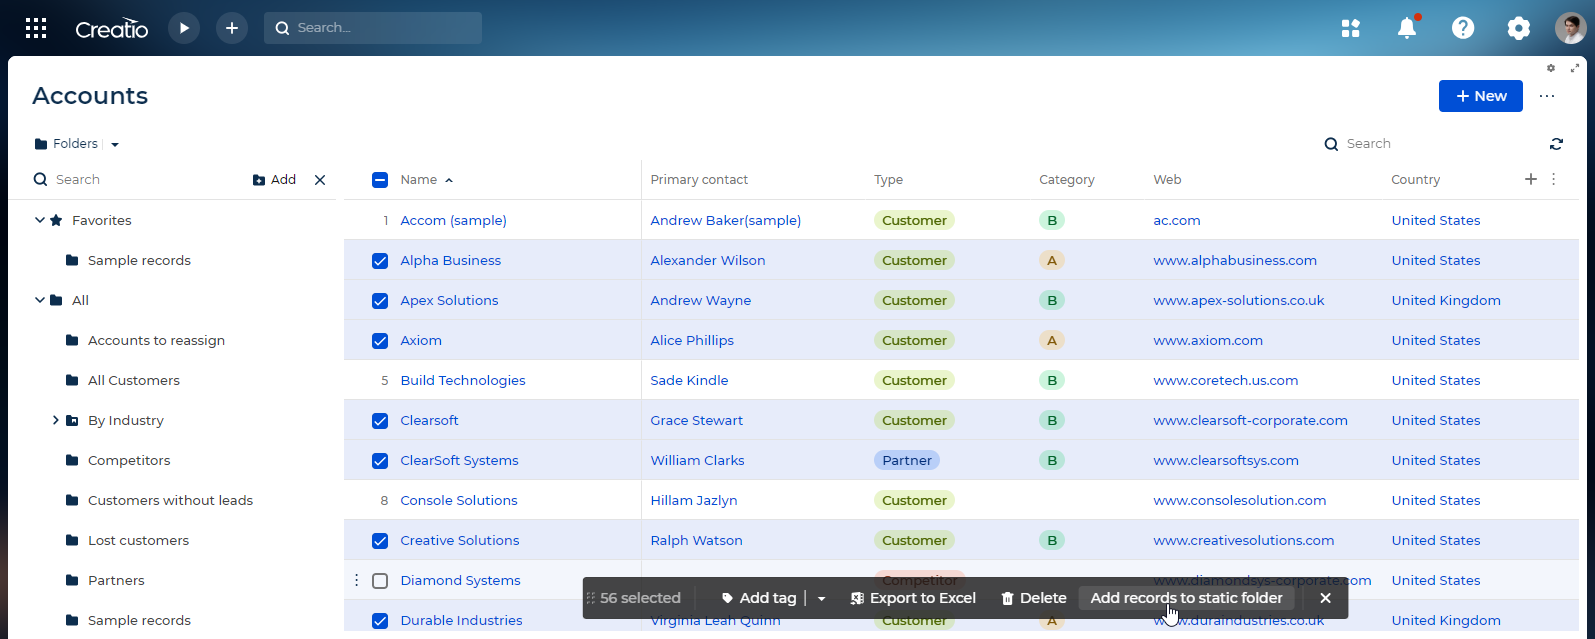
Add static folders to the accounts folder tree. Set up the ability to add multiple records to a static folder and to remove records from a static folder.
-
Open the Accounts list page in Freedom UI Designer.
-
Select the List element and click
. -
Select the Multiselect checkbox in the element setup area.
-
Select the relevant object to add static folders . In this example, it is the "Account" object.
-
Click
 in the Bulk actions area to add a bulk action to enable adding records to static folders. Fill out the action parameters:
a. Enter the action Title that will be displayed to the user.
b. Select the action to perform in the Action field. For this example, it is "Add records to static folder" action.
-
Click
in the Bulk actions area to add a bulk action to enable removing records from static folders in the Menu Items block in a similar way. -
Save the changes.
As a result, users will be able to use static folders, and add and remove records in bulk in the Accounts section.
See also
Overview of Freedom UI Designer and its elements