Customize the Timeline component
Use the Timeline component to enable users to view the history of communication regarding the record as well as records linked to it in chronological order. Users can like and comment feed records in the timeline. Learn more: Overview of Freedom UI Designer and its elements (user documentation).
Customize an object column to display in the Timeline component
Out of the box, the timeline displays the primary display value and creation date of linked records. You can customize the columns to display in the timeline addon of the relevant object using no-code tools.
To customize an object column to display in the Timeline component:
-
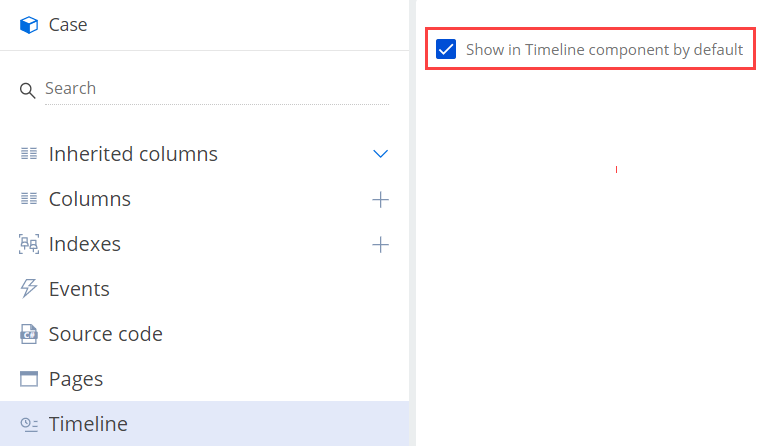
Make sure that the object includes the column to customize and the Show in Timeline component by default checkbox is selected. Otherwise, preconfigure the object.
-
Create an object schema or replacing object schema. To do this, follow the instructions: Object. For example, create a replacing schema of the
Caseobject. -
Add a column.
- Click
 in the context menu of the Columns node of the object structure. This opens a menu.
 - Select a column type.
- Fill out the column properties in the Object Designer.
For example, add the Some custom column column (
UsrCustomColumncode). - Click
-
Display an additional object in the Timeline component.
- Open the Timeline node of the object structure.
- Select the Show in Timeline component by default checkbox.
-
Save the changes. This adds the
UsrCaseTimelineEntityaddon schema.
-
-
Set up the column layout of the relevant object in the Timeline component.
-
Open the
UsrCaseTimelineEntityaddon schema. -
Open the Modifications package node of the addon structure.
-
Set up the column layout of the
Caseobject in the Timeline component. To do this, add the column configuration object to theColumnLayoutsarray of column configuration objects.Property
Property value
ColumnName
Code of the column in the
CaseobjectColumnLayout
Column layout
The following example sets up the Some custom column column of the
Caseobject below.Example that sets up the Some custom column column of the Case object{"MetaData": {"Schema": {...,"AD4": {"SchemaName": "Case","TypeColumnUId": "00000000-0000-0000-0000-000000000000","TimelineEntityValues": [{...,"ColumnLayouts": [{"ColumnName": "UsrCustomColumn","ColumnLayout": "{\"column\": 1,\"row\": 2,\"colSpan\": 12,\"rowSpan\": 1}"},...]}]}}}}The
UsrCustomColumnstarts on column 1 row 2 and spans 12 columns 1 row. -
Save the changes.
-
-
Update addons.
- Open the
Casereplacing object schema. - Open the Timeline node of the object structure.
- Clear and select the Show in Timeline component by default checkbox.
- Save the changes.
- Open the
-
Add the Timeline component to the Freedom UI page. If the page already includes the component, re-add it.
As a result, the Some custom column column of the Case object will be displayed in the Timeline component on the Freedom UI page.
Customize an icon of the timeline object
-
Set up the icon of the relevant object in the Timeline component.
-
Open the
UsrCaseTimelineEntityaddon schema. -
Open the Modifications package node of the addon structure.
-
Add the
IconIdproperty to the configuration object.Property
Property value
IconId
Icon ID from the
[SysImage]database tableThe following example sets the object icon of the
Caseobject below.Example that sets the object icon of the Case object{"MetaData": {"Schema": {...,"AD4": {"SchemaName": "Case",...,"IconId": "78B0D4C5-891D-49A3-A364-0AFC10F2A93A"...}}}}To change the object icon, add another value from the
[SysImage]database table to theIconIdproperty. -
Save the changes.
-
-
Update addons.
- Open the
Casereplacing object schema. - Open the Timeline node of the object structure.
- Clear and select the Show in Timeline component by default checkbox.
- Save the changes.
- Open the
-
Add the Timeline component to the Freedom UI page. If the page already includes the component, re-add it.
As a result, the icon of the Case object will be displayed in the Timeline component on the Freedom UI page.
See also
Overview of Freedom UI Designer and its elements (user documentation)
Best practices for optimizing data fetching in Freedom UI page logic