Debug C# code
1. Export the C# code schemas to the local directory files
-
Modify the Creatio configuration files to debug C# code.
-
Set the
debugattribute of the<compilation>element totruein theWeb.configconfiguration file located in the Creatio root directory.Web.config<compilation debug="true" targetFramework="4.5" />Save the file.
-
Set the following values in the
Web.configconfiguration file located in the..\Terrasoft.WebAppdirectory:- Set
IncludeDebugInformationto "true." - Set
ExtractAllCompilerSourcesto "true" (if you need to export all schemas while executing the Compile action in the Configuration section) or "false" (if you need to export only modified schemas, the default value).
..\Terrasoft.WebApp\Web.config<add key="IncludeDebugInformation" value="true" /><add key="ExtractAllCompilerSources" value="false" />Save the file.
- Set
-
-
Execute the Compile all action in the Configuration section.
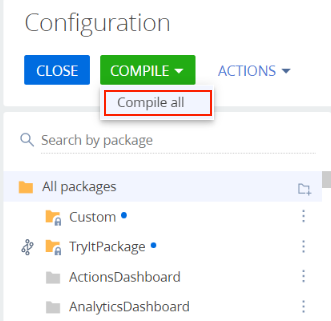
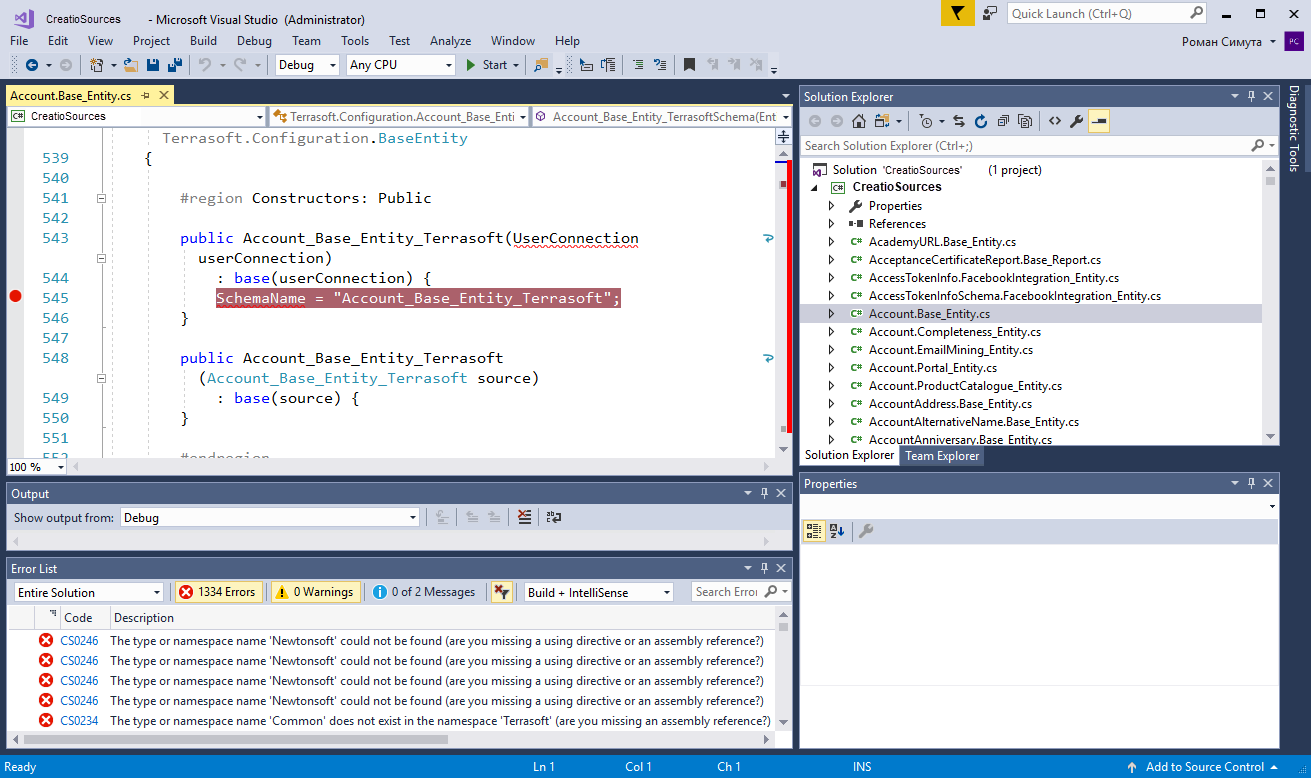
As a result of compilation, Creatio will export the files that contain the source code of configuration schemas to the ../Terrasoft.WebApp/Terrasoft.Configuration/Autogenerated/Src directory. For example, configuration libraries, their modules, and files that contain debugging information (*.pdb files). Creatio exports the source code of schemasupon each compilation.
The file names of exported schemas follow this pattern: SchemaNameInConfiguration.PackageName_SchemaType.cs, for example, Contact.Base_Entity.cs, ContractReport.Base_Report.cs.
2. Create a Visual Studio Code project for debugging
You do not have to create a Visual Studio project to debug the source code. You can simply open the needed files in Visual Studio. If you debug files often or need to manage a large number of files at the same time, create a project streamline the workflow.
To create a Visual Studio Code project for debugging:
-
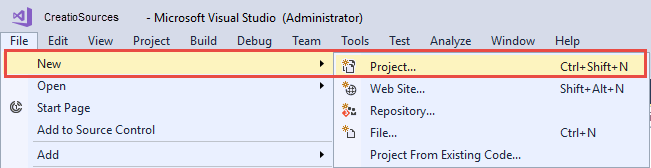
Click File → New → Project on the Visual Studio toolbar.
-
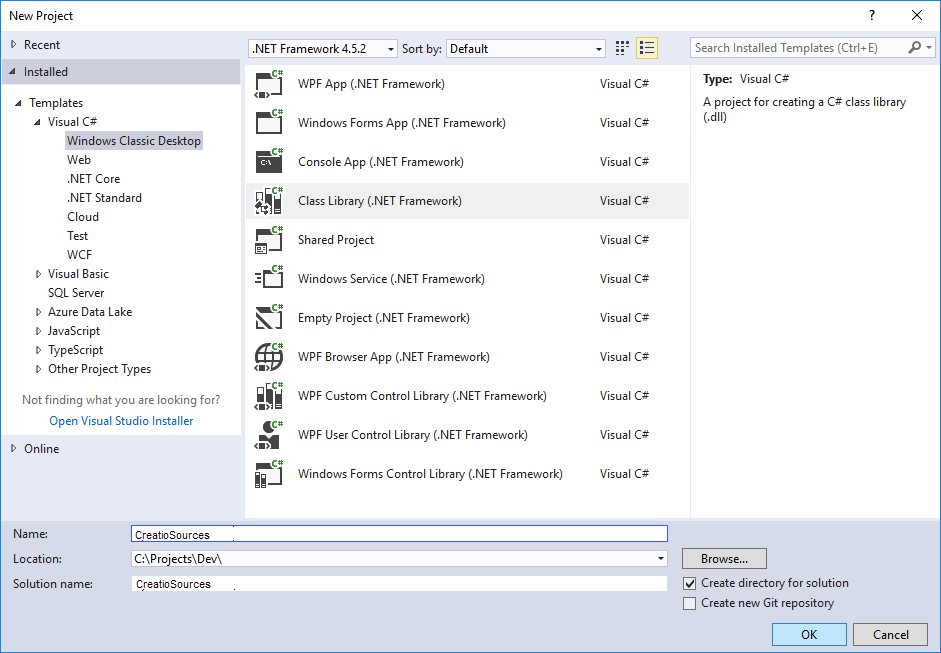
Fill out the project properties:
- Select the "Class Library (.NET Framework)" project type.
- Enter the project name.
- Enter the project location.
-
Delete the
Class1.csfile from the project after creating it and save the project.
3. Add the exported files to the Visual Studio Code project
-
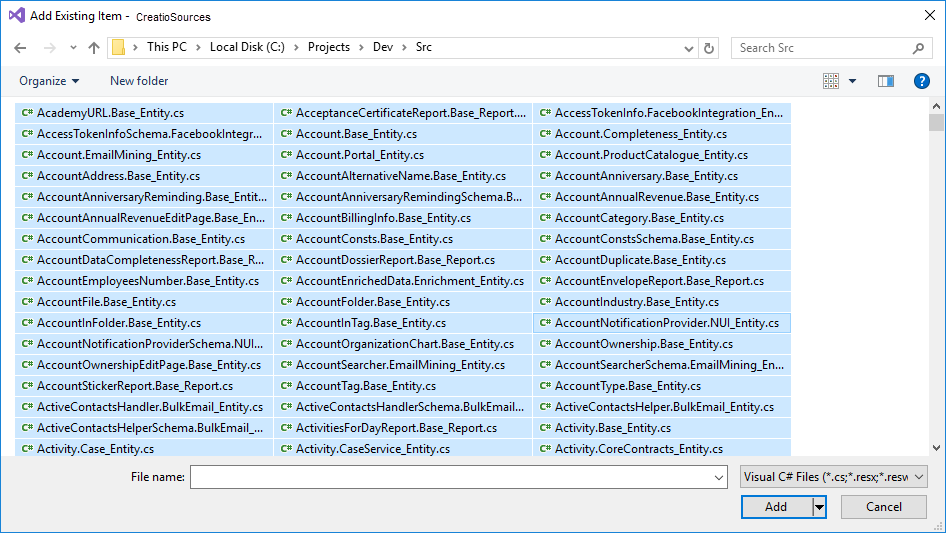
Click Add → Existing Item in the context menu of the project in the solution explorer.
-
Select all files in the exported files directory.
 note
noteYou can only add files needed to debug to the Visual Studio project. In this case, the transition among methods while debugging is limited to the class methods implemented in the added project files.
-
Save the project.
4. Connect the project to the IIS server workflow and debug code
-
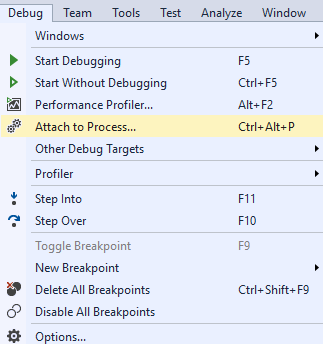
Click Debug → Attach to process on the Visual Studio toolbar.
-
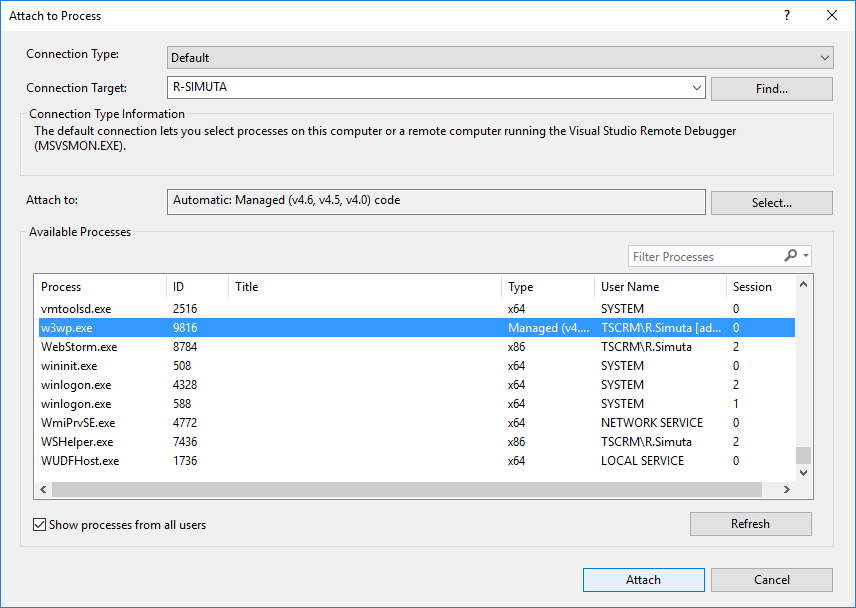
Select the IIS workflow where the Creatio instance pool runs from the process list.
 Important
The workflow name depends on the current IIS server configuration and might differ. The process name for the regular IIS Web Server is
w3wp.exeandiisexpress.exefor IIS Express.By default, IIS runs the working process as the account whose name matches the name of the application pool. To display processes from all users, select the Show processes from all users checkbox.
-
Open the source code file and set a breakpoint.
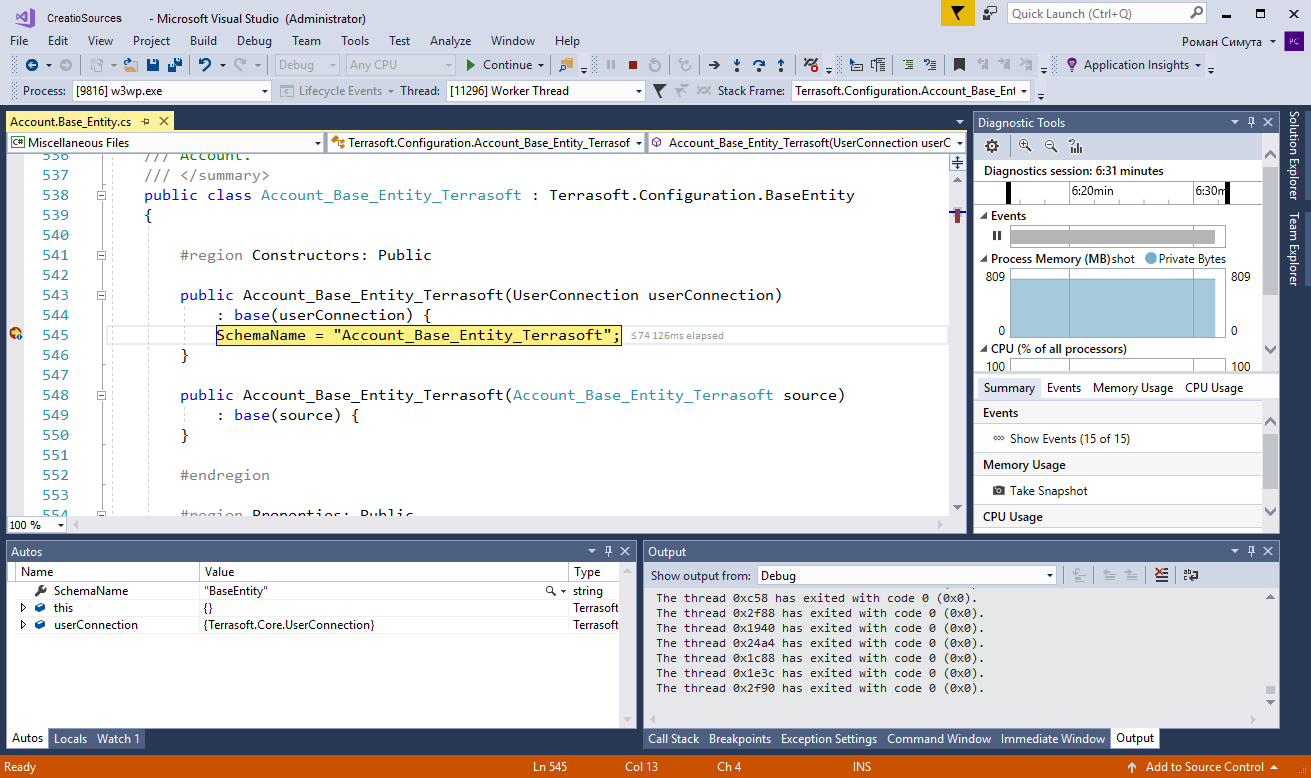
As soon Visual Studio Code runs the method that has a breakpoint set, the program execution is stopped. You can check the current state of the variables and trace the code after stopping.