Set up Creatio instance for working with Clio
Before you set up Creatio instance for working with Clio, install Clio. Instructions: Install Clio.
You can connect Clio to an existing Creatio instance or deploy a Creatio instance from scratch using Clio.
Connect Clio to an existing Creatio instance
-
Open the terminal of Visual Studio Code or run the command-line interface as administrator.
-
Run the
clio reg-web-app SomeEnvironmentName -u SomeCreatioURL -l SomeLogin -p SomePasswordcommand, where:SomeEnvironmentNameis the name of your Creatio environment.SomeCreatioURLis the URL of already deployed Creatio instance.SomeLoginis the user login to the Creatio instance.SomePasswordis the user password to the Creatio instance.
Deploy a Creatio instance using Clio
Clio lets you deploy Creatio on .NET and .NET Framework platforms and use Microsoft SQL or PostgreSQL DBMS.
1. Install additional components
-
Install Linux on Windows (for Windows only). Instructions: How to install Linux on Windows with WSL (official vendor documentation).
View the example that configures
.wlsconfigfile below..wlsconfig file[wsl2]memory=8GB # Limits VM memory in WSL 2 to 16 GBprocessors=4 # Makes the WSL VM use 8 virtual processors -
Install Rancher Desktop that creates a local Kubernetes cluster. Instructions: Rancher Desktop by SUSE (official vendor documentation).
We recommend using the latest stable Kubernetes version and Docker Container Engine.
-
Make sure that you have required Windows components enabled (for Windows only).
- Run the
clio check-windows-featurescommand. - Check enabled components. Enable required components if needed. Instructions: Enable required Windows components (user documentation).
- Run the
2. Set up a local Kubernetes cluster
-
Run the
kubectl cluster-infocommand to make sure that local Kubernetes cluster is installed. -
Run the
clio create-k8-filescommand to generate k8s manifests for required components. This creates theC:\Users\SomeWindowsUser\AppData\Local\creatio\clio\infrastructuredirectory for Windows or/home/SomeLinuxUser/.local/share/creatio/clio/infrastructurefor Linux. The directory includes pre-configured services of your environment, such as Email Listener, Microsoft SQL server, PostgreSQL server, Redis server and pgAdmin GUI to manage PostgreSQL databases.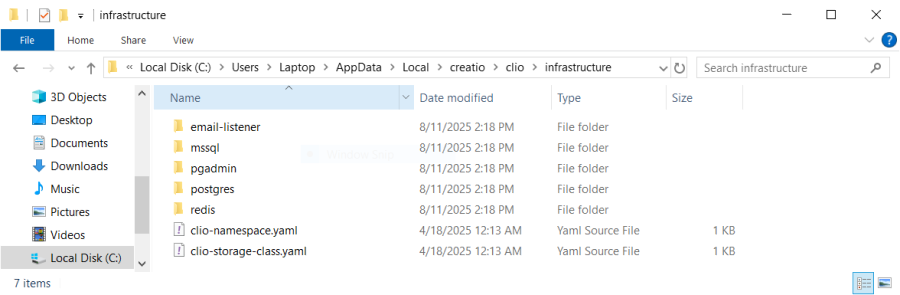
-
Set up paths to the generated k8s manifests.
-
Go to the
infrastructuredirectory in command-line interface. -
Run the following commands.
# Retrieve the path to the "appsettings.json" file and store it in the "$appsettings" variable.$appsettings = clio externalLink clio://GetAppSettingsFilePath# Extract the directory path of the "appsettings.json" file and store it in the "$dir" variable.$dir = Get-Item $appsettings | Select-Object -ExpandProperty DirectoryName# Change the current location to the "infrastructure" directory located next to "appsettings.json" file.Set-Location -Path $dir/infrastructure# Display all files and subdirectories in the "infrastructure" directory.Get-ChildItem -Path $dir/infrastructure
-
-
Make sure your kubectl context is set to Rancher Desktop. Otherwise, your Creatio instance will be deployed into another Kubernetes cluster.
-
Modify nested files in the
infrastructuresubdirectories to redefine CPU resources dedicated to Creatio (optional).-
Go to the
cliodirectory in command-line interface. -
Run the
code .command to open the structure ofcliodirectory in Visual Studio Code. -
Redefine CPU resources.
For PostgreSQL
- Go to the
postgresdirectory →postgres-stateful-set.yamlfile. - Redefine requested amount of
postgres-datastorage. To do this, go to thespecobject →volumeClaimTemplatesarray of objects → object whosenamestring is "postgres-data" →specobject →resourcesobject →requestsmap →storagestring → change to "10Gi." - Redefine requested amount of
postgres-backup-imagesstorage. To do this, go to thespecobject →volumeClaimTemplatesarray of objects → object whosenamestring is "postgres-backup-images" →specobject →resourcesobject →requestsmap →storagestring → change to "3Gi." - Open the
postgres-volumes.yamlfile. - Redefine quantity of
postgres-data-pvresource. To do this, go to the object whosenamestring is "postgres-data-pv" →specobject →capacitymap →storagestring → change to "10Gi." - Redefine quantity of
postgres-backup-images-pvresource. To do this, go to the object whosenamestring is "postgres-backup-images-pv" →specobject →capacitymap →storagestring → change to "3Gi."
For Microsoft SQL
- Go to the
mssqldirectory →mssql-stateful-set.yamlfile. - Redefine requested amount of
mssql-datastorage. To do this, go to thespecobject →volumeClaimTemplatesarray of objects → object whosenamestring is "mssql-data" →specobject →resourcesobject →requestsmap →storagestring → change to "10Gi." - Open the
mssql-volumes.yamlfile. - Redefine quantity of
clio-mssql-data-pvresource. To do this, go to the object whosenamestring is "clio-mssql-data-pv" →specobject →capacitymap →storagestring → change to "10Gi."
- Go to the
-
-
Apply the changes.
-
Go to the command-line interface that is run as administrator.
-
Go to the
infrastructuredirectory. -
Run the following commands.
# Create or update Kubernetes resources defined in the "clio-namespace.yaml' file.kubectl apply -f clio-namespace.yaml# Create or update a Kubernetes "StorageClass" defined in the "clio-storage-class.yaml" file.kubectl apply -f clio-storage-class.yaml# Apply Kubernetes resource files located in the "redis" directory.kubectl apply -f .\redis# Create or update Kubernetes resources located in the "postgres" directory.kubectl apply -f .\postgres# Create or update Kubernetes resources located in the "pgadmin" directory.kubectl apply -f .\pgadmin
-
-
Make sure Rancher Desktop includes required resources.
-
Open the Rancher Desktop.
-
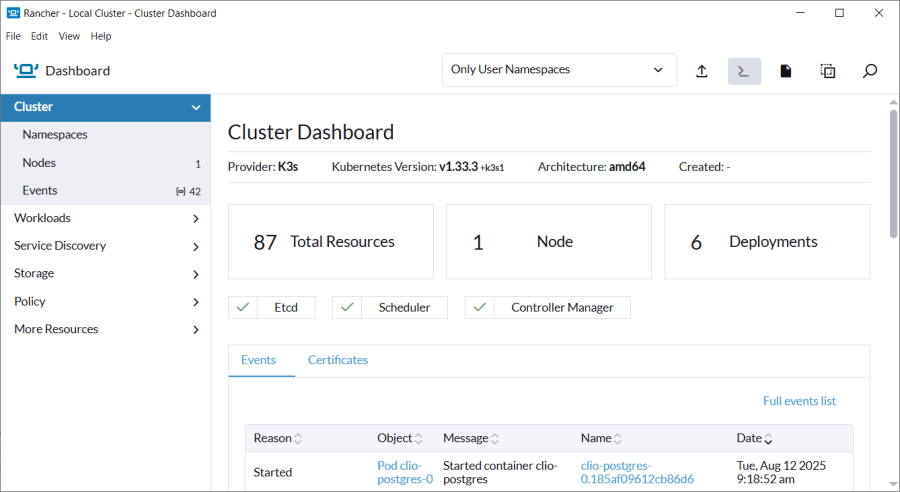
Click Cluster Dashboard to open the Rancher - Local Cluster - Cluster Dashboard window.
-
Click Workloads → Deployment to open the Rancher - Local Cluster - Deployments tab.
-
Make sure the
clio-pgadminandclio-redishave the "Active" states.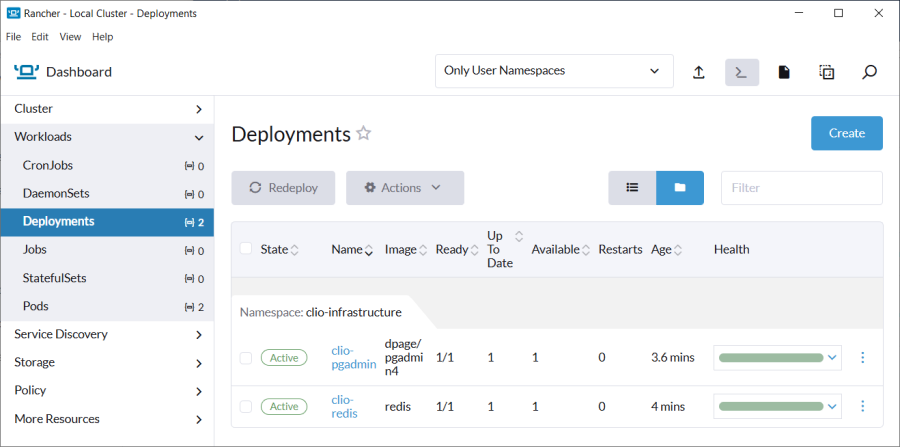
-
Click StatefulSets to open the Rancher - Local Cluster - StatefulSets tab.
-
Make sure the
clio-postgreshas the "Active" state.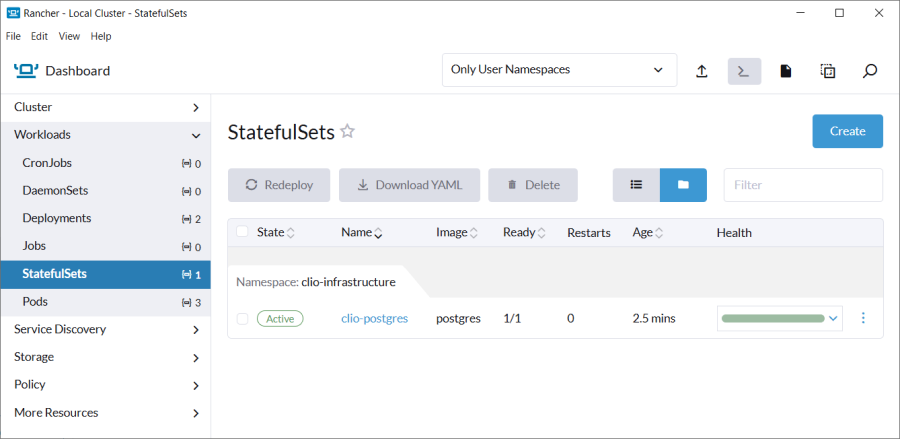
Otherwise, we recommend deleting all the files from the
postgresdirectory:- Go to the command-line interface that is run as administrator.
- Go to the
infrastructuredirectory. - Run the
kubectl delete -f postgrescommand. - Open the Rancher Desktop.
- Click Cluster Dashboard to open the Rancher - Local Cluster - Cluster Dashboard window.
- Click Storage → PersistentVolumes to open the Rancher - Local Cluster - PersistentVolumes tab.
- Click
 → Delete.
 - Click Storage → PersistentVolumeClaims to open the Rancher - Local Cluster - PersistentVolumeClaims tab.
- Select the postgres-data-clio-postgres-0 and postgres-backup-images-clio-postgres-0 checkboxes → click Delete → confirm the action.
- Run the
kubectl apply -f .\postgrescommand to re-create Kubernetes resources located in thepostgresdirectory. - Make sure Rancher Desktop includes required resources.
-
3. Verify that the pgAdmin GUI is accessible
-
Find the port number through which pgAdmin is accessible.
- Open the structure of
cliodirectory in Visual Studio Code. - Go to the
pgadmindirectory →pgadmin-services.yamlfile. - Go to the
specobject →portsarray of objects →portinteger value. The port number is "1080."
- Open the structure of
-
Find the user credentials to login.
-
Open the
pgadmin-secrets.yamlfile. -
Go to the
stringDataobject.The
PGADMIN_DEFAULT_EMAILstring includes email to log in to pgAdmin website and is equal to "root@creatio.com."The
PGADMIN_DEFAULT_PASSWORDstring includes password to log in to pgAdmin website and is equal to "root."
-
-
Log in to
http://localhost:1080URL using user credentials. This opens the pgAdmin website.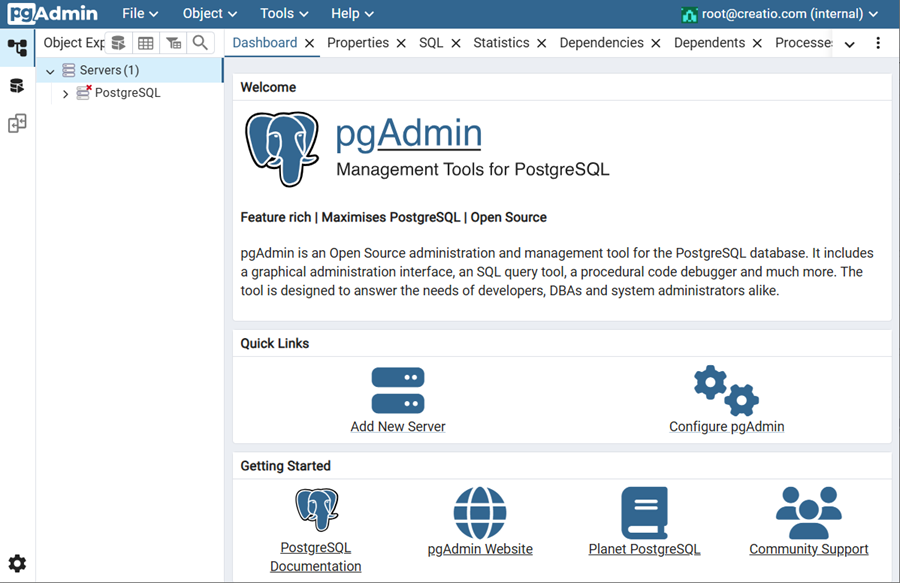
-
Click Servers → PostgreSQL to open the Connect to Server window.
-
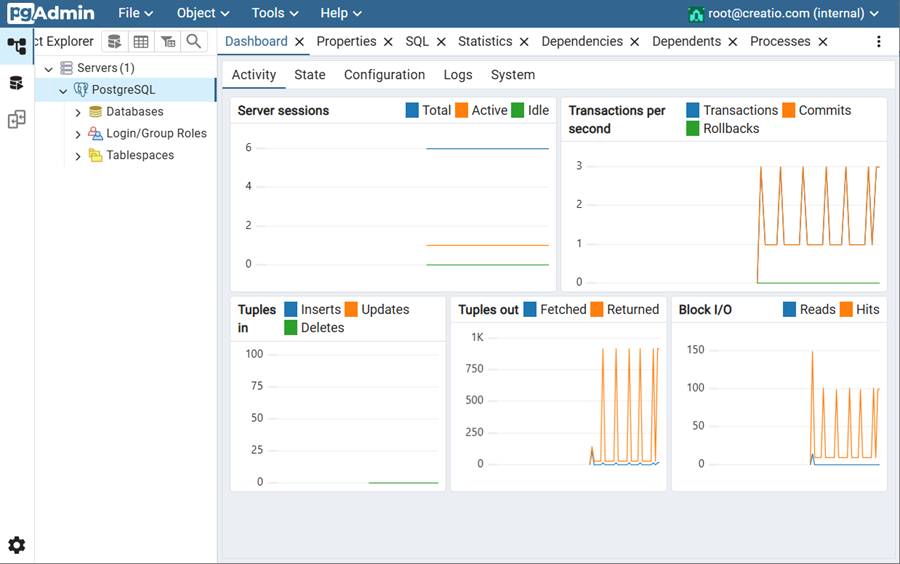
Connect to the PostgreSQL server using the same user password as the pgAdmin website. This opens the Activity tab for the connected server.
-
Allow pgAdmin to display template databases.
- Click File → Preferences to open the Preferences tab.
- Go to the Browser → Display.
- Select the Show template databases? checkbox.
- Click
 . This opens the Object explorer refresh required window.
 - Click Refresh.
4. Set up Redis server
-
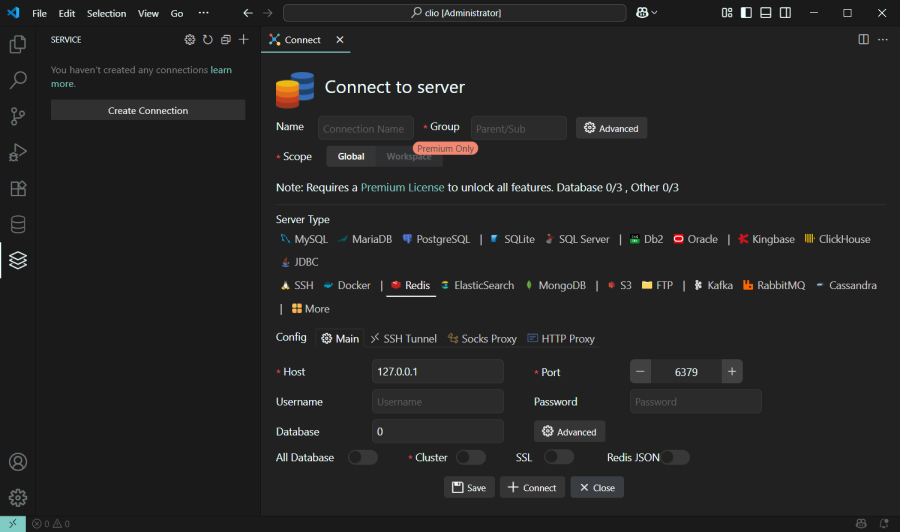
Install Redis extension (Redis Client for Visual Studio Code). Instructions: official vendor website.
-
Connect to the server.
 .
.Out of the box, Redis server supports 99 databases. To check whether the database is supported by the Redis server:
- Click
 to open the Redis terminal.
 - Run the
select SomeDatabaseIndexcommand.
As a result:
- If the terminal returns "OK" response, a database whose number is
SomeDatabaseIndexcan be supported by the Redis server. - If the terminal returns "ERR DB index is out of range" response, a database whose number is
SomeDatabaseIndexcannot be supported by the Redis server.
5. Select the way to deploy Creatio
Clio lets you deploy Creatio in the following ways:
- using File Explorer context menu
- using terminal
Before you select the way to deploy Creatio:
- Find the path and name of the IIS root directory where Clio is deployed. The directory path and name are specified in the
iis-clio-root-pathproperty of theC:\Users\SomeWindowsUser\AppData\Local\creatio\clio\appsettings.jsonfile. Out of the box,C:\\inetpub\\wwwroot\\clio. - Create the IIS root directory.
- Make sure that IIS_IUSRS user has the Full control checkbox selected for the IIS root directory.
- Contact Creatio support to receive Creatio setup zip archive. We recommend using PostgreSQL database.
- Save Creatio setup zip archive to the directory on your local device. The directory path is specified in the
creatio-productsproperty of theC:\Users\SomeWindowsUser\AppData\Local\creatio\clio\appsettings.jsonfile. Out of the box,C:\\CreatioProductBuild.
Deploy Creatio using File Explorer context menu
-
Open the directory that has Creatio setup zip archive saved.
-
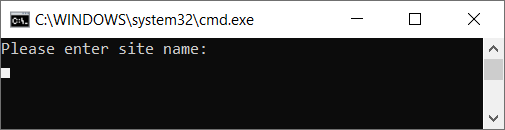
Right-click a Creatio setup zip archive → clio: deploy Creatio. This opens the Windows command prompt.
If context menu does not include Clio options, re-register Clio. To do this:
- Go to the command-line interface that is run as administrator.
- Run the
clio registercommand.
-
Fill out the parameters to deploy Creatio.
Parameter
Description
Please enter site name
An arbitrary name of the Creatio to deploy. For example, "DevEnv."
Please enter site port, Max value - 65535:
(recommended range between 40000 and 40100)Port to access deployed Creatio website. For example, "40015."
-
Click Enter to start deploying Creatio. Operation might take some time.
Deploy Creatio using terminal
-
Open the terminal of Visual Studio Code or run the command-line interface as administrator.
-
Run the
clio deploy-creatio --SiteName SomeCreatioWebsite --SitePort SomePort --ZipFile PathToSomeCreatioArchivecommand, where:SomeCreatioWebsiteis an arbitrary name of your Creatio website.SomePortis the port number to deploy Creatio instance.PathToSomeCreatioArchiveis the full path to the Creatio setup zip archive including archive name.
This starts deploying Creatio. Operation might take some time.
As a result:
- Creatio instance will be deployed.
- Creatio login page will be opened in the browser. Log in to Creatio using your user credentials.
Now you can start using Clio and execute different operation with Creatio using Clio directly from Visual Studio Code based on your business goals. Instructions: Use Clio.
See also
Resources
Official Clio documentation (GitHub)
Clio explorer extension for Visual Studio Code
Clio tutorials (YouTube)