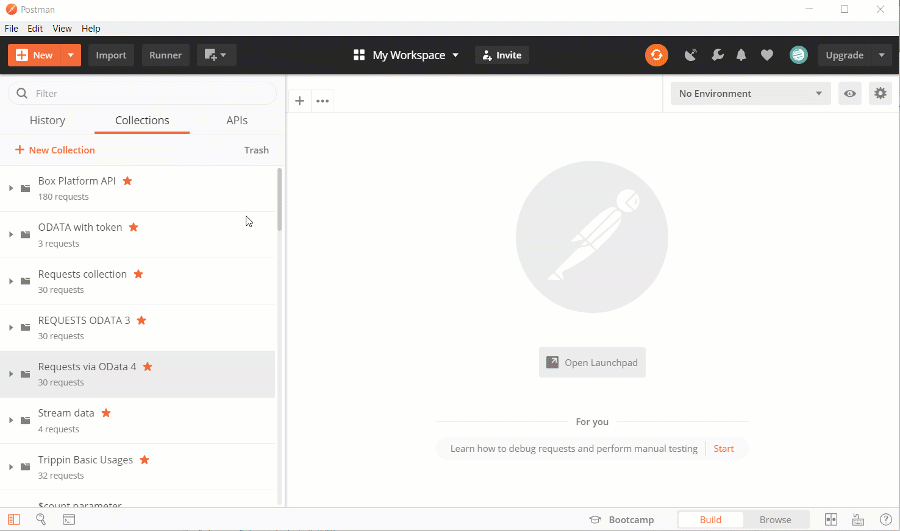
Test requests using Postman
Adding a request
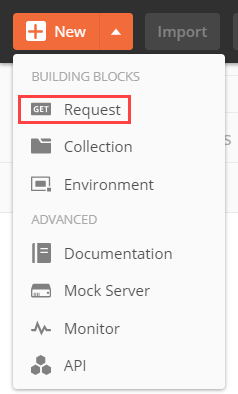
There are two ways of adding a request in Postman:
-
Open the Create New tab, then in the Building blocks click New → Request.
-
In the dropdown menu of the New button, click Request.
Populate the fields in the new request window:
New request fields
Field name | Description |
|---|---|
Request name | The name of the new request. |
Request description (Optional) | Additional information about the request (optional). |
Search for a collection or folder | Search for an earlier created collection of requests, or create a new one. |
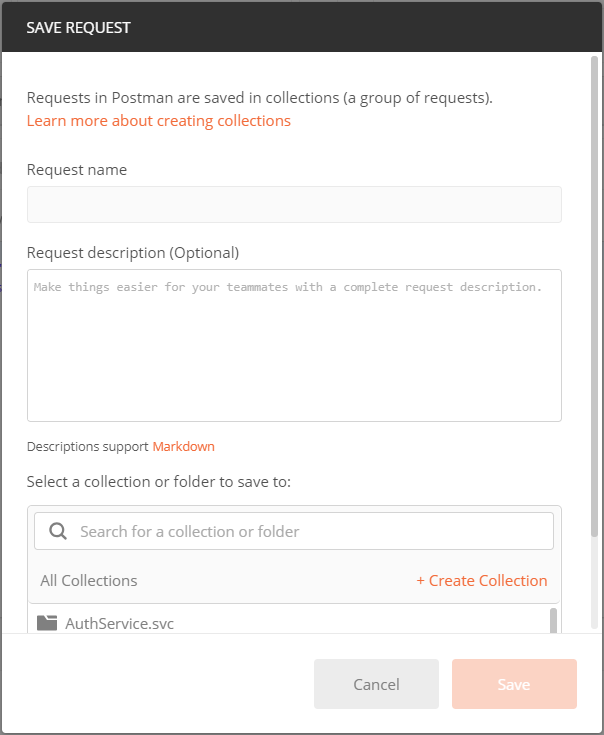
Populate the fields and click Save. The button becomes active only after the Search for a collection or folder field is populated.
Setting up the request
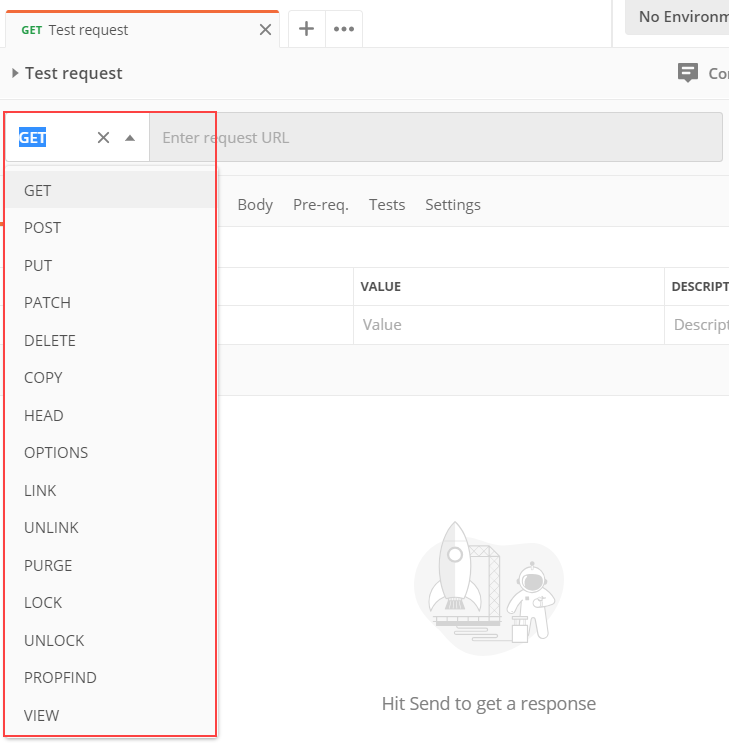
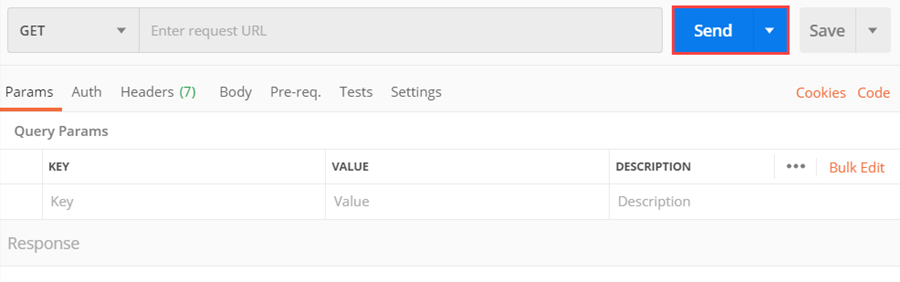
To set up the request:
-
Select the request method.
-
Enter the request string.
-
Set the data format of the request. Go to the Body tab, select the "
raw" option andJSONtype.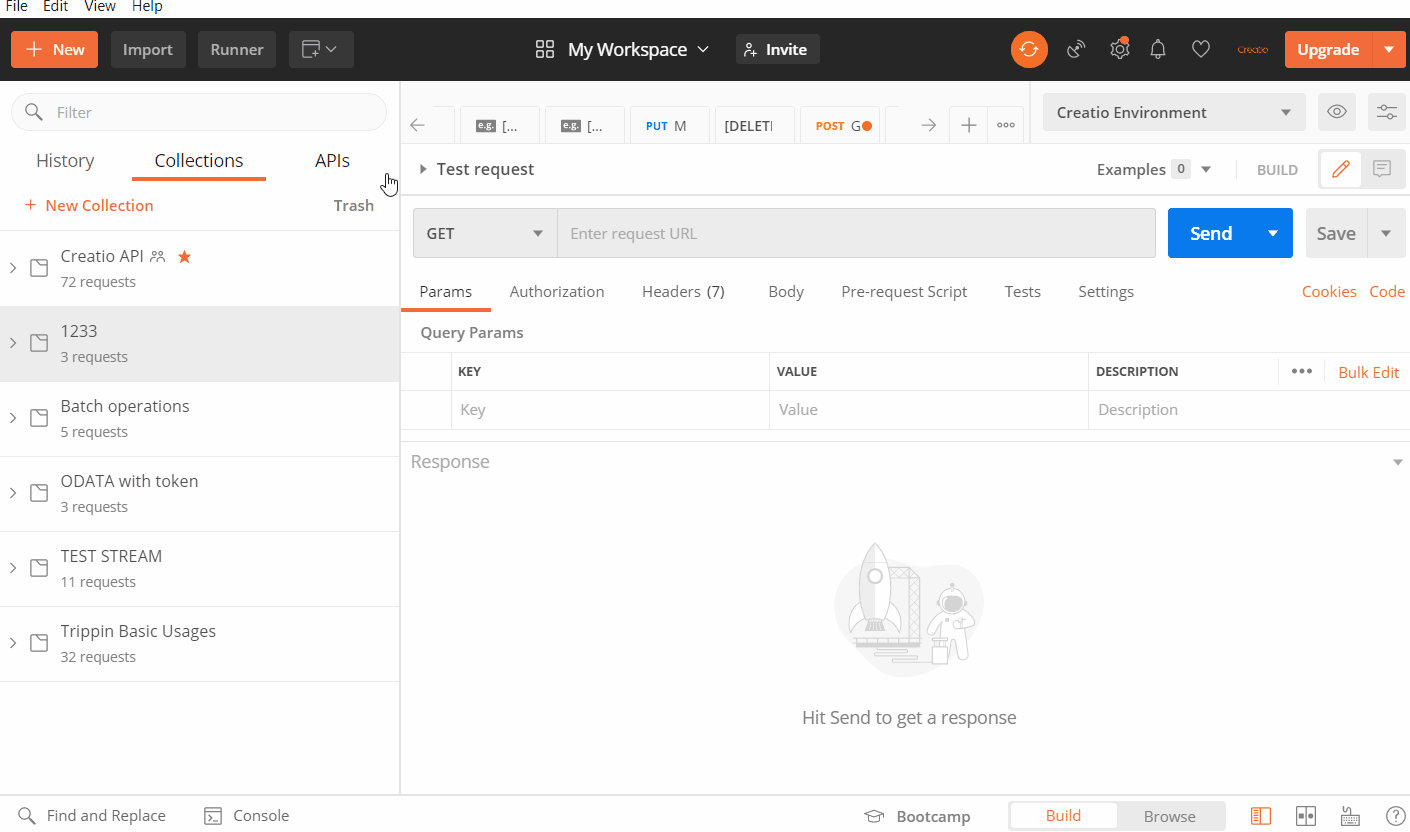
-
Populate the request body for
POSTandPATCHmethods. -
Go to the Headers tab and set the headers.
HeadersAccept: application/jsonContent-Type: application/json; charset=utf-8ForceUseSession: true
Executing the request
To execute a request, click Send.
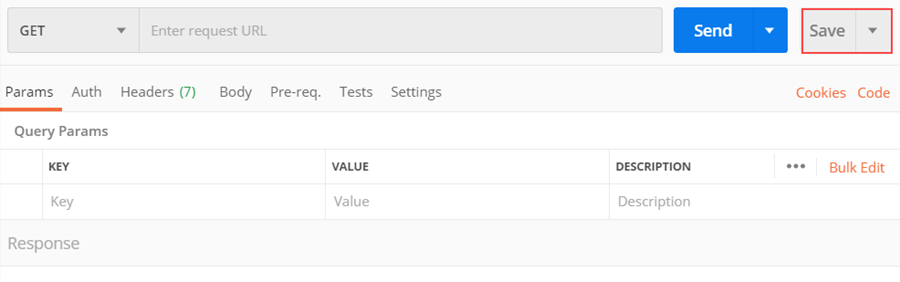
Saving the request
To save a request, click Save.
We recommend using Postman for testing queries when developing integrations with Creatio via OData.