Sales rep's actions during a visit
Field Sales for Creatio manages a sales rep’s "to-do" list during the visits and records results of each activity. For that, the sales rep uses a mobile device with Creatio mobile app. We recommend that sales reps use tablets for the best experience when working in the field. Visit pages are most informative when viewed in the horizontal layout.
Only the users included to the "Sales representatives" role can use the field features in the mobile app.
The list of actions that must be performed during a visit is stored on the Visit actions detail of the visit page. For example, according to the rule of the visit, the visit agenda of a sales rep is as follows: check in, do a presentation, place an order for the next batch of products and check out.
To complete an item on a visit agenda:
-
Open the visit page.
-
On the Visit action detail, toggle the switcher next to the corresponding action to the "Completed" position.
The switcher of a completed action is highlighted in blue.As a result, the visit action will be considered completed. You can finish the visit once all required actions are completed (you can skip optional visit actions). A field employee cannot complete a required action unless all preceding required actions on the agenda have been completed. Once the last required action is completed, the visit is considered finished. The action that is not required can be skipped.
All visit actions are available in the offline mode of the mobile app. When working offline, you do not need to maintain a constant Internet connection. It is required to periodically synchronize the mobile application with the main application to save the changes made when using the mobile device on the Creatio server.
To synchronize the mobile app with the primary Creatio application:
-
Make sure that the mobile device has established an Internet connection.
-
Open the Settings section of the mobile application.
-
Click the Synchronization button.
As a result, the data from the primary application will be displayed in the mobile app and the primary application will display the records that were created using the mobile app.
Do a presentation
If the visit agenda requires conducting a presentation, the "Presentation" action (Fig. 1) becomes available to the employee. As a result, a Microsoft PowerPoint file will open in your mobile app, so you can use it during the presentation. Learn more: Set up rules and actions of a field meeting.

Place an order
To place an order, on the Visit actions detail of the mobile app, perform the "Order placement" action (Fig. 1).

When the action is completed, a new order will be automatically added. It will be connected to the current visit and the account specified in the visit.
To add products to the order:
-
A page with a list of products specified in the last order of the current account will open after running the Order placement action (Fig. 2). Filter the required products from the catalog using quick filters. You can learn more about product selection in the "Find products in the catalog" article.
Fig. 2 The order product page 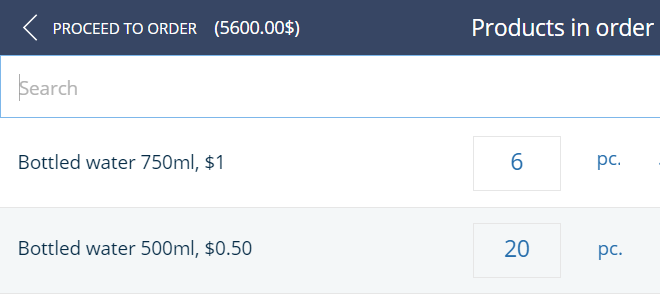
-
Click the
 button next to the needed product.
 -
In the displayed window, enter the number of ordered products and tap Enter. If necessary, repeat the action to add more products.
To remove a product from the order, specify "0" as its quantity. -
Tap the Proceed to order link on the Products in order page that is located at the top left corner of the application window.
As a result, a new order with specified products will be added to the system.
Find products in the catalog
In the mobile app, you can search for products using the product catalog. The product folders that are used to search for products in the mobile app correspond to the product catalog that is configured in the Products section of the main application.
The product folders in the mobile app can be set up based on all base lookup fields of the Products section. In the mobile app, you cannot see the folders created based on the custom fields.
For example, the catalog is set up based on product categories and types. Display the products with the "Bottled water" category and the "Soda" type:
-
Go to the Products detail in the mobile app.
-
Click the Products in order link that is located in the title of the product list.
-
In the displayed window, select the needed product category, for example, "Bottled water" (Fig. 1).
Fig. 1 Selecting the product category 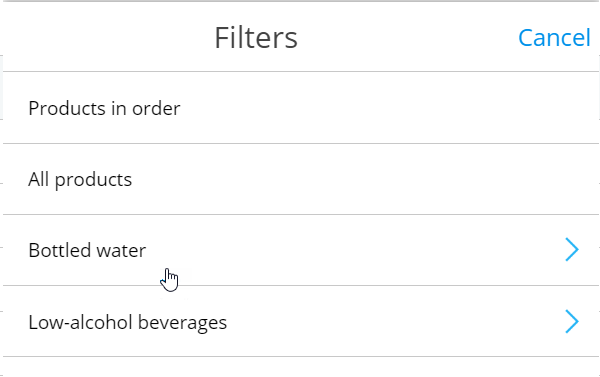
-
From the list of tags that are connected to the selected category, select the needed product type, for example, "Soda" (Fig. 2).
Fig. 2 Selecting the product type 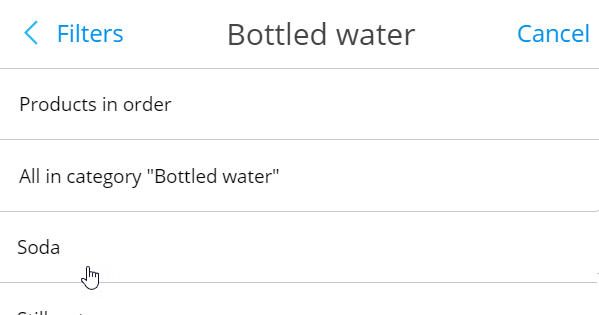
As a result, the detail will display all products of the selected type that are available in Creatio.
To view the products that have been added to the order, select the Products in order folder.
You can also display all products that are stored in Creatio. To do this, select the All products folder.
To display all products of a certain category, select the All in category... folder from the menu of the corresponding category:
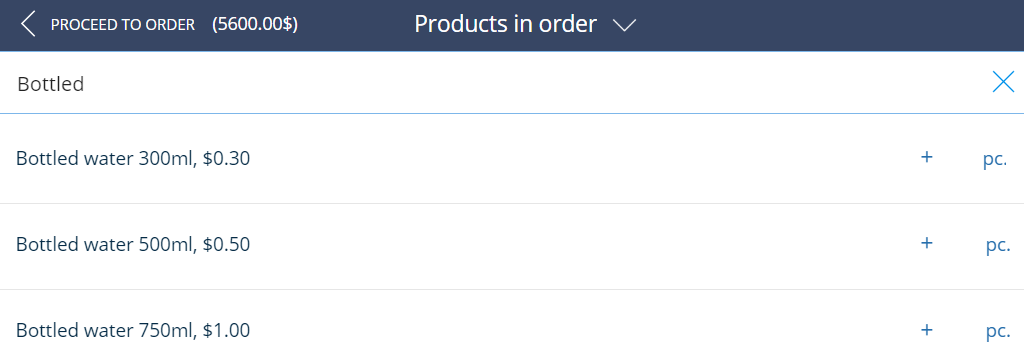
To perform a search by name, use the search string that is located at the top of the product list on the Products detail. Enter the needed value in the string. As a result, the detail will display all products whose name matches the search criteria (Fig. 3).
Copy products
Alternatively, filter products using the list of products from the last order from the current sales outlet. When scheduling a visit, the Products detail is automatically filled in with the list of products specified during the previous visit to this sales outlet.
Monitor SKU
During a visit, tap the SKU Monitoring action. A page will open, where you can enter the availability of products in stock and identify whether the products are on display (Fig. 1).
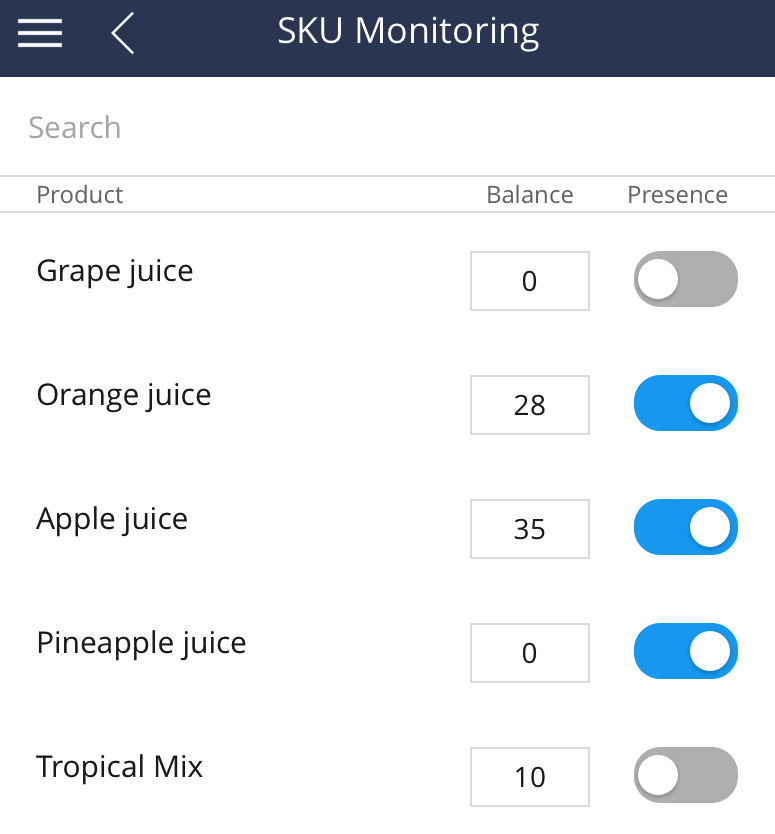
You can also use the smartphone or tablet camera to take a picture of products on display and attach it to the visit. To do this:
-
On the section page, click Edit.
-
Select the Attachments detail.
-
Click
 .
. -
Select the photo you made earlier and attach it to the activity. You can also use the Take picture action. The mobile device will switch to its camera mode. The picture taken will be automatically added to the Attachments detail.