Creatio cloud users can set up secure remote access for Creatio technical support specialists to troubleshoot and resolve cases faster. Remote access sessions will not compromise your personal and commercial data security since you do not have to share your login credentials with support.
-
To hide section record data from the technical support specialists, use the data isolation mode.
-
To restrict technical support specialists from modifying configuration settings, use the configuration restriction mode. The support specialists will still have permission to read configuration settings needed to resolve the customer’s case.
To enable remote support access, a user must have system administrator privileges (have the “System administrators” role). Technical support specialists can connect remotely under the administrator account or the account of any other application user. All remote support session data are logged and can be retrieved later. Logged connection data include the time of the connection and information on which data were modified during the session.
Set up remote sessions
-
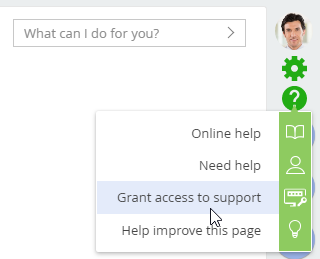
Click
 → “Grant access to support” in the upper right corner of the application window. (Fig. 1)
 -
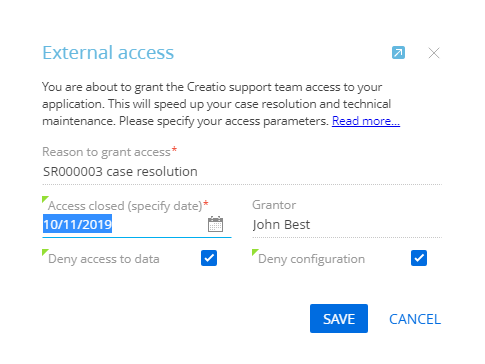
Fill out the displayed mini page (Fig. 2):
-
In the Reason to grant access field, specify what problem requires granting access to support, the request number, or the list of services a technical support specialist has to provide.
-
In the Access close date field, specify the date when the granted access expires. Granted access will expire at 11:59 PM on the specified date.
-
In the Grantor field, the user who is granting access is specified by default. You can specify a different user account to use by technical support specialists for accessing your application.
-
Select or clear the Deny access to data and Deny configuration checkboxes to enable or disable the data isolation mode and configuration restriction mode respectively. By default, both checkboxes are selected. This means that a technical support specialist will not be able to see your section record data or configure the system.
-
If you need the technical support specialist to have the same permissions as the user under whose account remote access is granted, clear both of the checkboxes.
-
If you need the technical support specialist to modify the current configuration without being able to see your records, only clear the Deny configuration checkbox. The technical support specialist will also be able to access the System designer functions required for updating configuration (for instance, the Lookups, Advanced settings, Process library sections and more). The record data in the main sections will remain unavailable to the Creatio support.
-
If you need the technical support specialist to be able to access your records without being able to modify the configuration of the system, you should only clear the Deny access to data checkbox. In this case, Creatio support will be able to access the system configuration in the read-only mode.
-
-
Save the record.
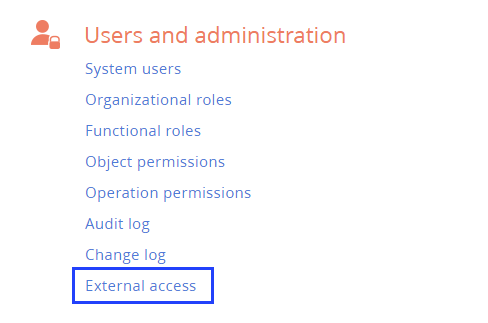
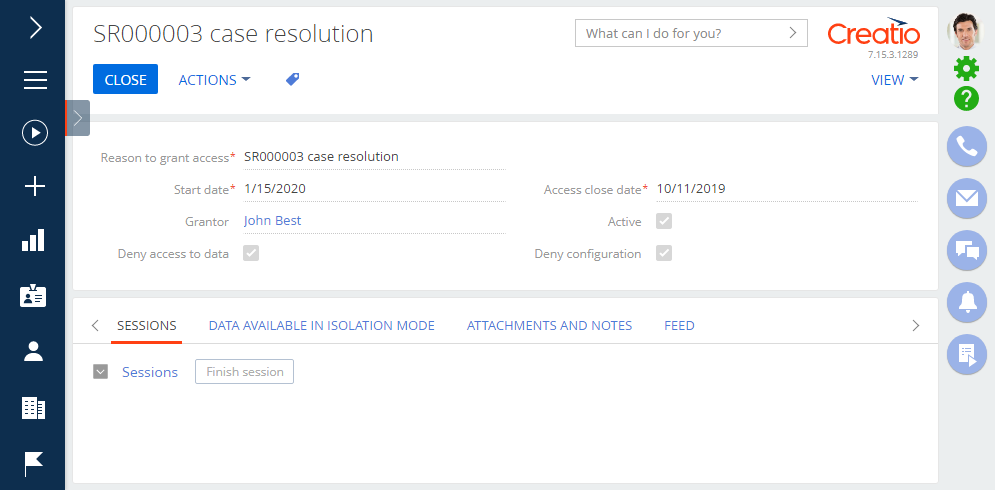
As a result, a new record will be added in the External access section. Technical support specialists will be able to log in under the user account specified as the Grantor. Support specialists will not need login credentials. The specialists will have access to the corresponding permissions not otherwise restricted in the sessions settings. The remote access session will expire on the specified date at 11:59 PM.